Disclosure: This post may contain affiliate links. This means, we may receive a small commission if you choose to purchase something from a link we post (including links to amazon.com because we are a participant in the Amazon Services LLC Associates Program.) Don’t worry, it won’t cost you anything.
Ladies, ladies. We need to have a little chat… ok? OK!
We are going to talk about beauty sleep. Now, we all know how important sleep is, especially with the busy lives us women lead. BUT, I’m not talking about plain old sleep… I’m talking about beauty sleep! How much time do we spend sleeping every day… 7-8 hours? Lets do some calculating; that means we spend about 114 days per year sleeping! By the time we are 30 years old that means we have slept for close to 10 years! We do a lot of sleeping! I think that calls for some serious thought to how we sleep!!
Over the last year as I have done tons of research on how to get my hair to grow I have found so many helpful hints! From Coconut oil Treatments to Silk pillowcases! I was in a department store one day about to buy a polyester satin pillowcase, I had heard that satin pillow cases were the KEY to keeping my hair hydrated and healthy. When I approached the checkout counter the woman asked me why I was buying the pillowcase? “Uh.. because my hair is breaking off and super damaged!” To my surprise she told me to put the pillowcase back. She proceeded to tell me that while she was a hair dresser for 25 years she had seen the miracles that SILK satin not polyester satin had worked on her clients. I went home and did my research. Sure enough.. silk is exactly what I needed.
This is a DIY silk pillowcase tutorial, but if you don’t want to make your own, LingSilk has an excellent line of silk pillowcases, bedding, even scrunchies that I recommend.
Here are some of the benefits of sleeping on silk:
– Silk is the nearest thing to human skin known to man. Silk contains a natural protein and 18 essential amino acids. Studies have shown that amino acids can counter the effects of aging, especially in the facial skin. Silk also contains natural cellular albumen, which helps speed up metabolism of skin cells — thus helping to reduce signs of aging. Wrinkles are caused by a consistent loss of daily moisture and skin elasticity that go far beyond the sleeping hours. Unlike cotton (a very absorbent fiber), silk will not absorb natural moisture from your face and hair, or facial beauty creams while you sleep. It allows for more effective use of night creams, providing better skin hydration, as a result giving you a clearer skin.
– Silk pillowcases feel cooler against the skin, because they don’t trap body heat like other fabrics. Silk pillowcases are thin and soft. Silk is a natural heat regulator. It will maintain body temperature and does not conduct heat, or static electricity! Silk helps to retain heat on cold nights and keep you cool on those toasty summer nights!
– Silk is hypoallergenic. It is amazing for those who have sensitive, dry or itchy skin. Silk is inhospitable to dust mites and house mites unlike other pillow surfaces.
– Silk pillows offer a smoother surface for the face, so you don’t wake up with the crease marks that are common with other fabrics. The material doesn’t bunch up, making it less likely your skin will have added lines in the morning.
– Sleeping on Silk can help prevent hair from thinning. Cotton causes more friction, disrupting hair follicles as we move in our sleep, which leads to hair breakage and split ends. Silk Pillowcases will prevent hair from tangling as we move in our sleep, they will also help keep our hairstyle better for the next day. Cotton may feel soft to the skin but its weave actually grips and tugs at individual strands causing damage and breakage.
– Hair treated by bleaching, highlighting, coloring, chemical perms, blow drying and curling or straightening is especially susceptible to breakage – For braided, chemically treated or normal hair the use of silk pillowcases reduces hair breakage, helps maintain proper moisture balance, protects hairstyles and eliminates most tangling.
– Silk is important for those who have hair extensions/weaves and eyelash extensions. It won’t loosen or tangle the hair while you sleep and provides the ability for the extensions to last longer.
– Silk also helps prevent messy bed head, the proteins are anti-frizz and trap less body heat than other fabrics.
– Silk is a very easy fabric to care for. It should be washed on cold and hung out to dry, the best part is it dries very quickly!
Whew.. You see? I mean, we should all be sleeping on silk! I have been sleeping on silk for the last 2 months and I can vouch for the miracle differences it makes. For me silk has worked, my skin is smoother and clearer than ever and my hair feel and looks amazing. My beauty sleep has never been better!!!
NOW.. on to the rest of the story. I searched for silk pillowcases everywhere. It was so hard to find any that were 100% silk. The ones I did find were expensive, and some had horrible reviews! So I decided.. Why not make one? The problem was.. Where do I find silk? Well ladies. I found the silk and I have put together a little tutorial for all of you so we can all enjoy a restful night sleep on a sweet silk pillowcase.
JUST IN TIME FOR MOTHERS DAY!!!
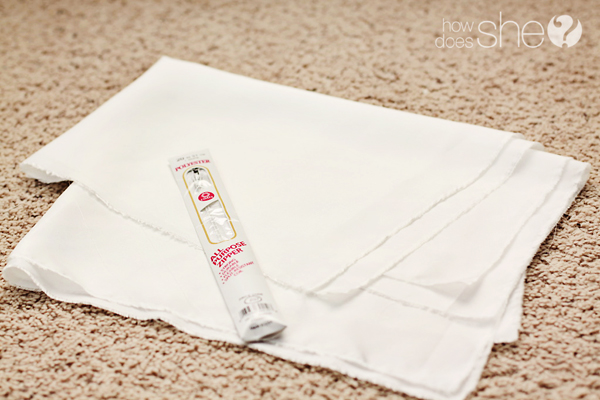
First you will want to order some silk fabric. Hop on over to dharmatrading.com for ordering. You have 2 options for silk: here and here. The 19.5 mm is a little bit thicker and more luxurious. The 12 mm is lighter weight, but still a very soft and beautiful fabric. They are both excellent choices, so it totally depends on personal preference. You will need to order 1 yard of the 45 inch wide fabric. This is only enough for 1 pillowcase. If you are planning to make more than one, order 1 yard per pillowcase.
You will also need a 20 inch all purpose zipper that matches your fabric. Silk is so slippery that if there isn’t a zipper, you will constantly be fixing your pillowcase!
Cut 2 pieces of silk to be 21 x 28 inches. (Standard Size Pillowcase)
Set your sewing machine to a baste stitch setting. Lay the two pieces of fabric right sides (shiny satiny side) together. Pin one of the short sides together. Baste along the short side at 5/8 inch.
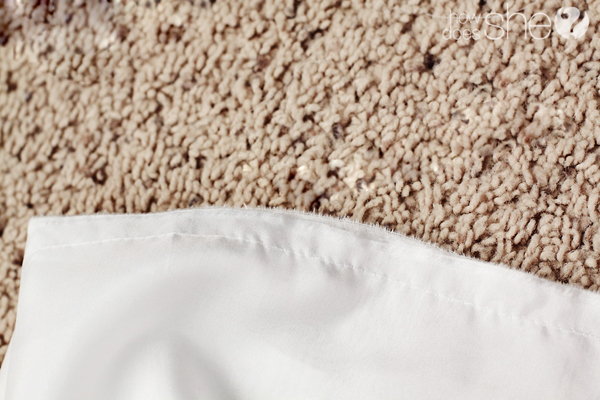
 Once you have basted along the short edge, press the seam open with a cool/warm iron. We are going to apply the zipper down the center of the seam. Place the zipper face down and centered down the seam, the same distance from each edge. Make sure you leave the zipper pull sticking up instead of laying under the zipper. We will need to use the zipper pull to push the zipper open. (pull to push.. doesn’t really sound right) 😉

 Place a few pins down one edge of the zipper to hold it centered against the basted seam.
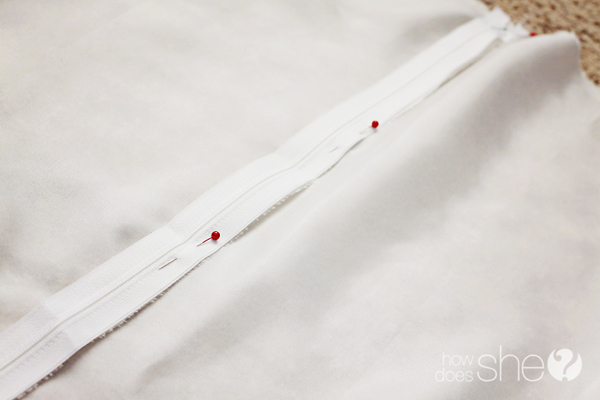
 Pull out your zipper foot. You will need to move your needle to the left of the right so you don’t break it when you start sewing. Line the zipper foot up with the edge of the zipper and sew (regular stitch length) to the inside of the zipper foot. Make sure you back stitch, and sew the entire length of the zipper. When you get to the end of the first side, remove the pins from the other side, flip it around and sew the second side the same as you did the first.
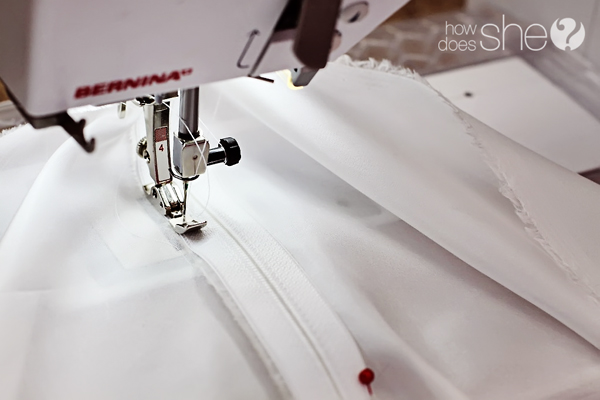
 You should end up with a seam looking something like this, with the zipper in the center of the seam!
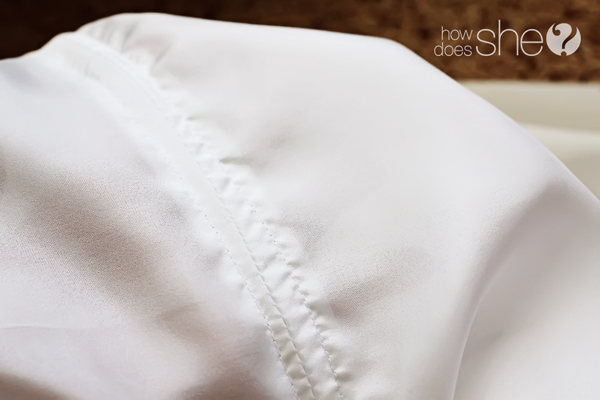
 Unpick about an inch away from the edge of the basted seam. You will want to unpick about 2 inches of the center seam. Push the zipper pull down until it is in the open you just created. We will use this opening to flip the pillow right side out after we are done sewing!

 On to sewing the rest of the pillowcase. Flip the pillow back over so you are working with the inside! Fold the zipper in half and pin that corner. Like the picture below!

 Line all of the edges up and place 3-4 pins along each edge and one at each corner of the pillowcase.

 Start at one end of the zipper. You are only going to sew around the three sides (not including the zipper edge). Stitch at regular length, back stitch and stitch at 5/8 inch. Be careful as you sew over the zipper portion. You will want to turn the hand wheel to make sure you don’t break the needle on the teeth.

 Once you have sewn around the edge you will want to secure the raw edges so they don’t fray! If you have a surger, lucky you! Surge the three edges you sewed along. You won’t need to worry about the zipper edge being secured. For the rest of us.. Use a zig zag stitch and sew right along the 3 edges!
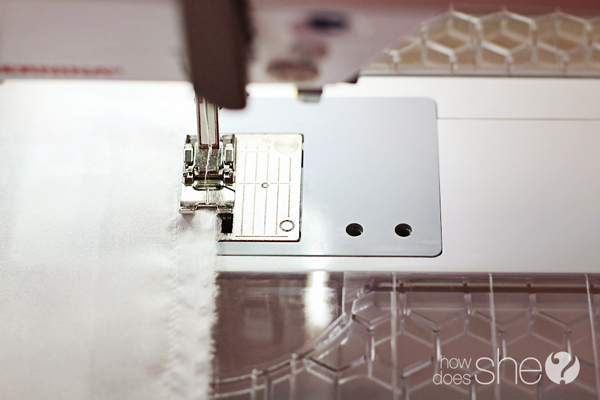
 This will prevent the inside edges from fraying and gives it a nice finished look! Trim up all the strings and we are done sewing!

 Now back to the opening. You will turn the pillowcase right side out with the little hole you opened previously!

 Once it is right side out you will need to finish unpicking the rest of the based zipper seam.
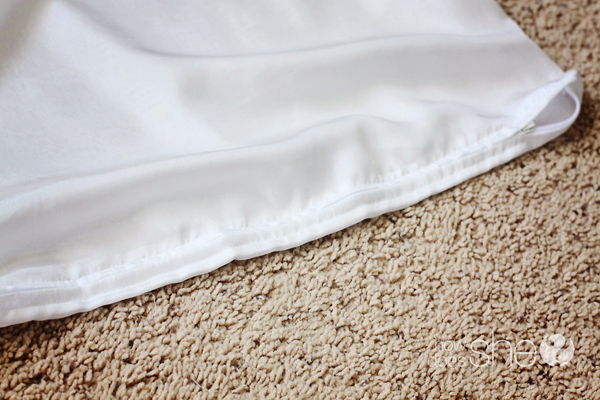
 Then you have a perfectly centered hidden zipper! Isn’t it pretty? 😉

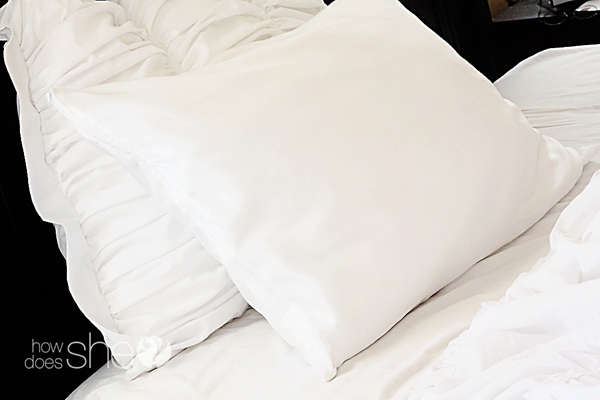
 You are ready for your beauty sleep! Try this pillowcase on your standard sized pillow and feel just how soft it really is!
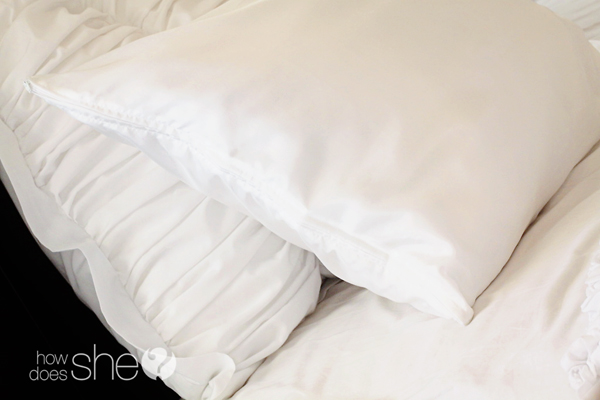
 We love our moms, so take a few minutes to whip out this pillowcase for your mom, grandma or special woman in your life! We can all use our beauty sleep, young and old alike. Tie it up with a pretty ribbon and pair it with a yummy treat (hemmm hemm, mint brownies) 😉
She will love it!
What are some of your favorite beauty sleep tricks?
I’m sure we all have some great secrets to share!
