This website may contain affiliate links and advertising so that we can provide recipes to you. Read my disclosure policy.
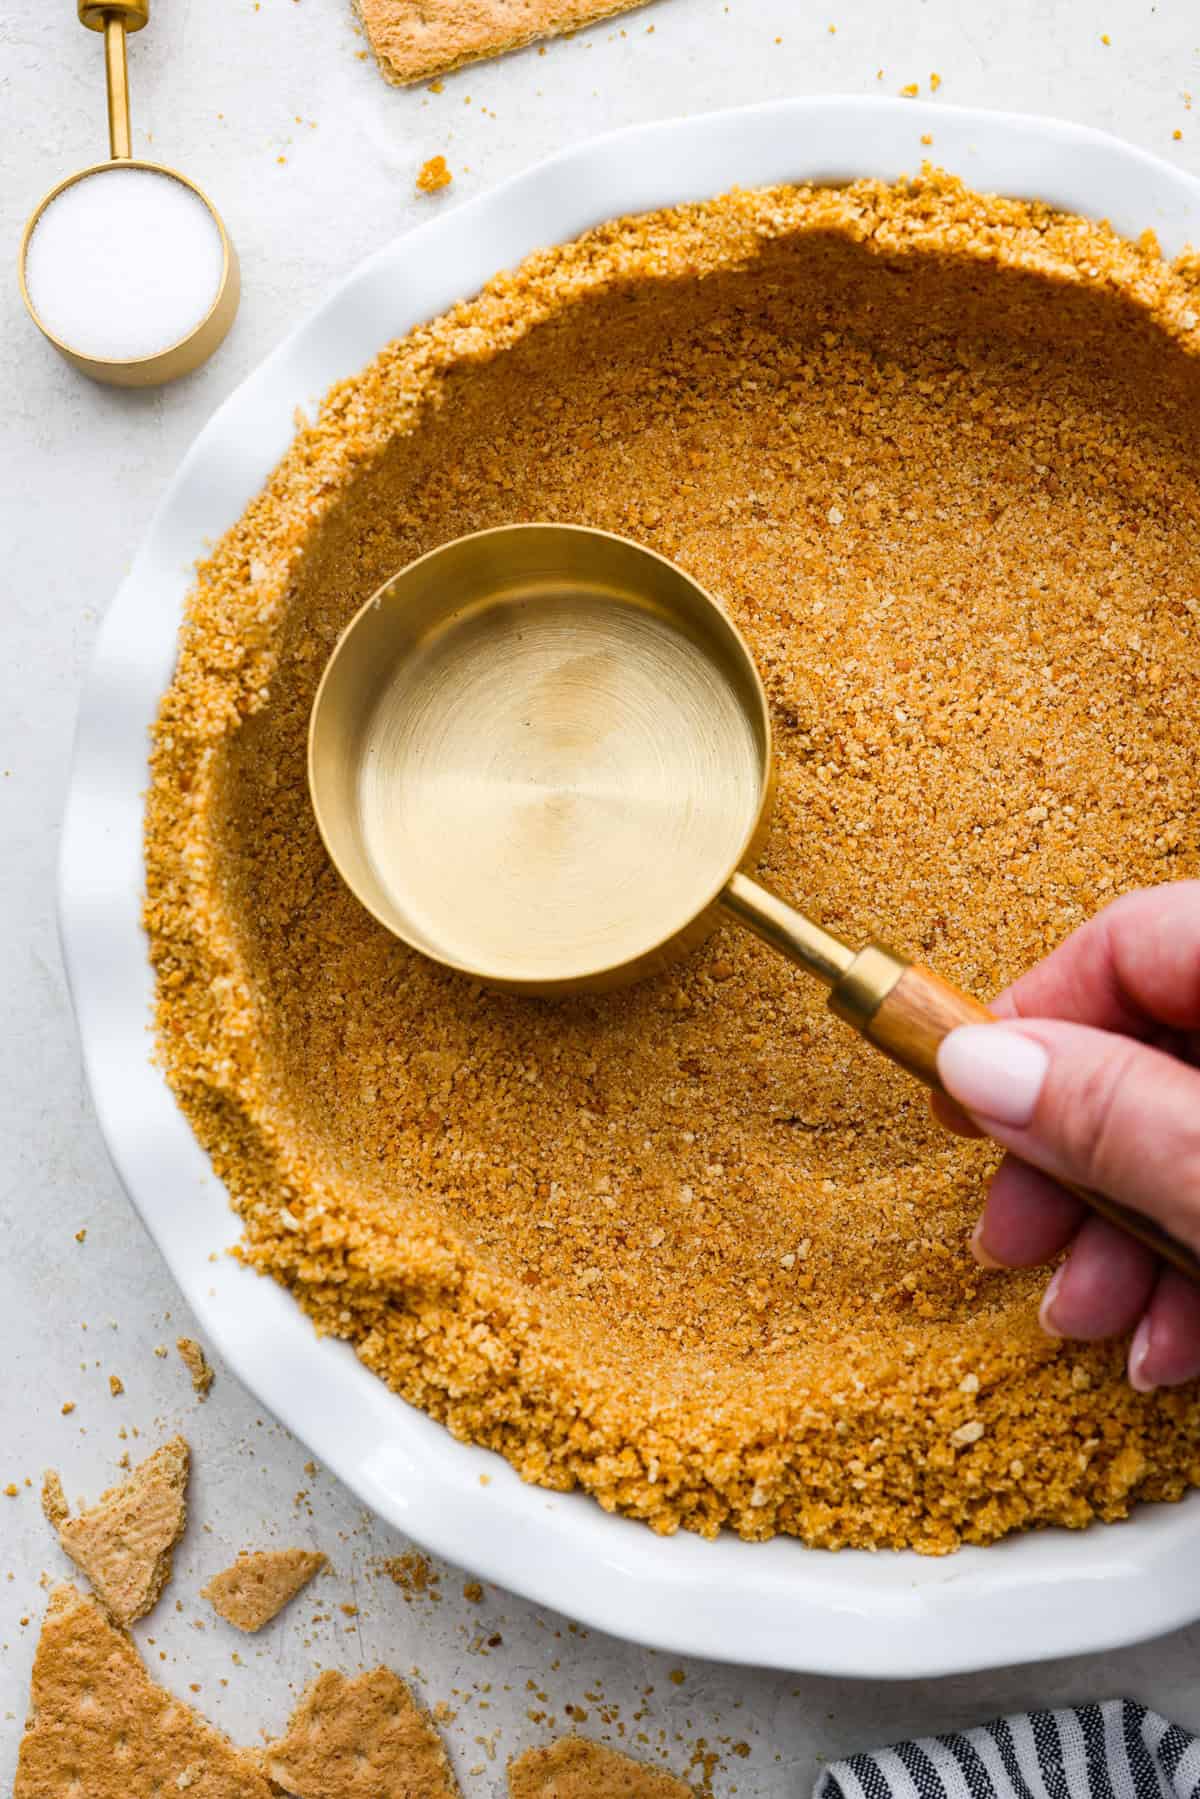
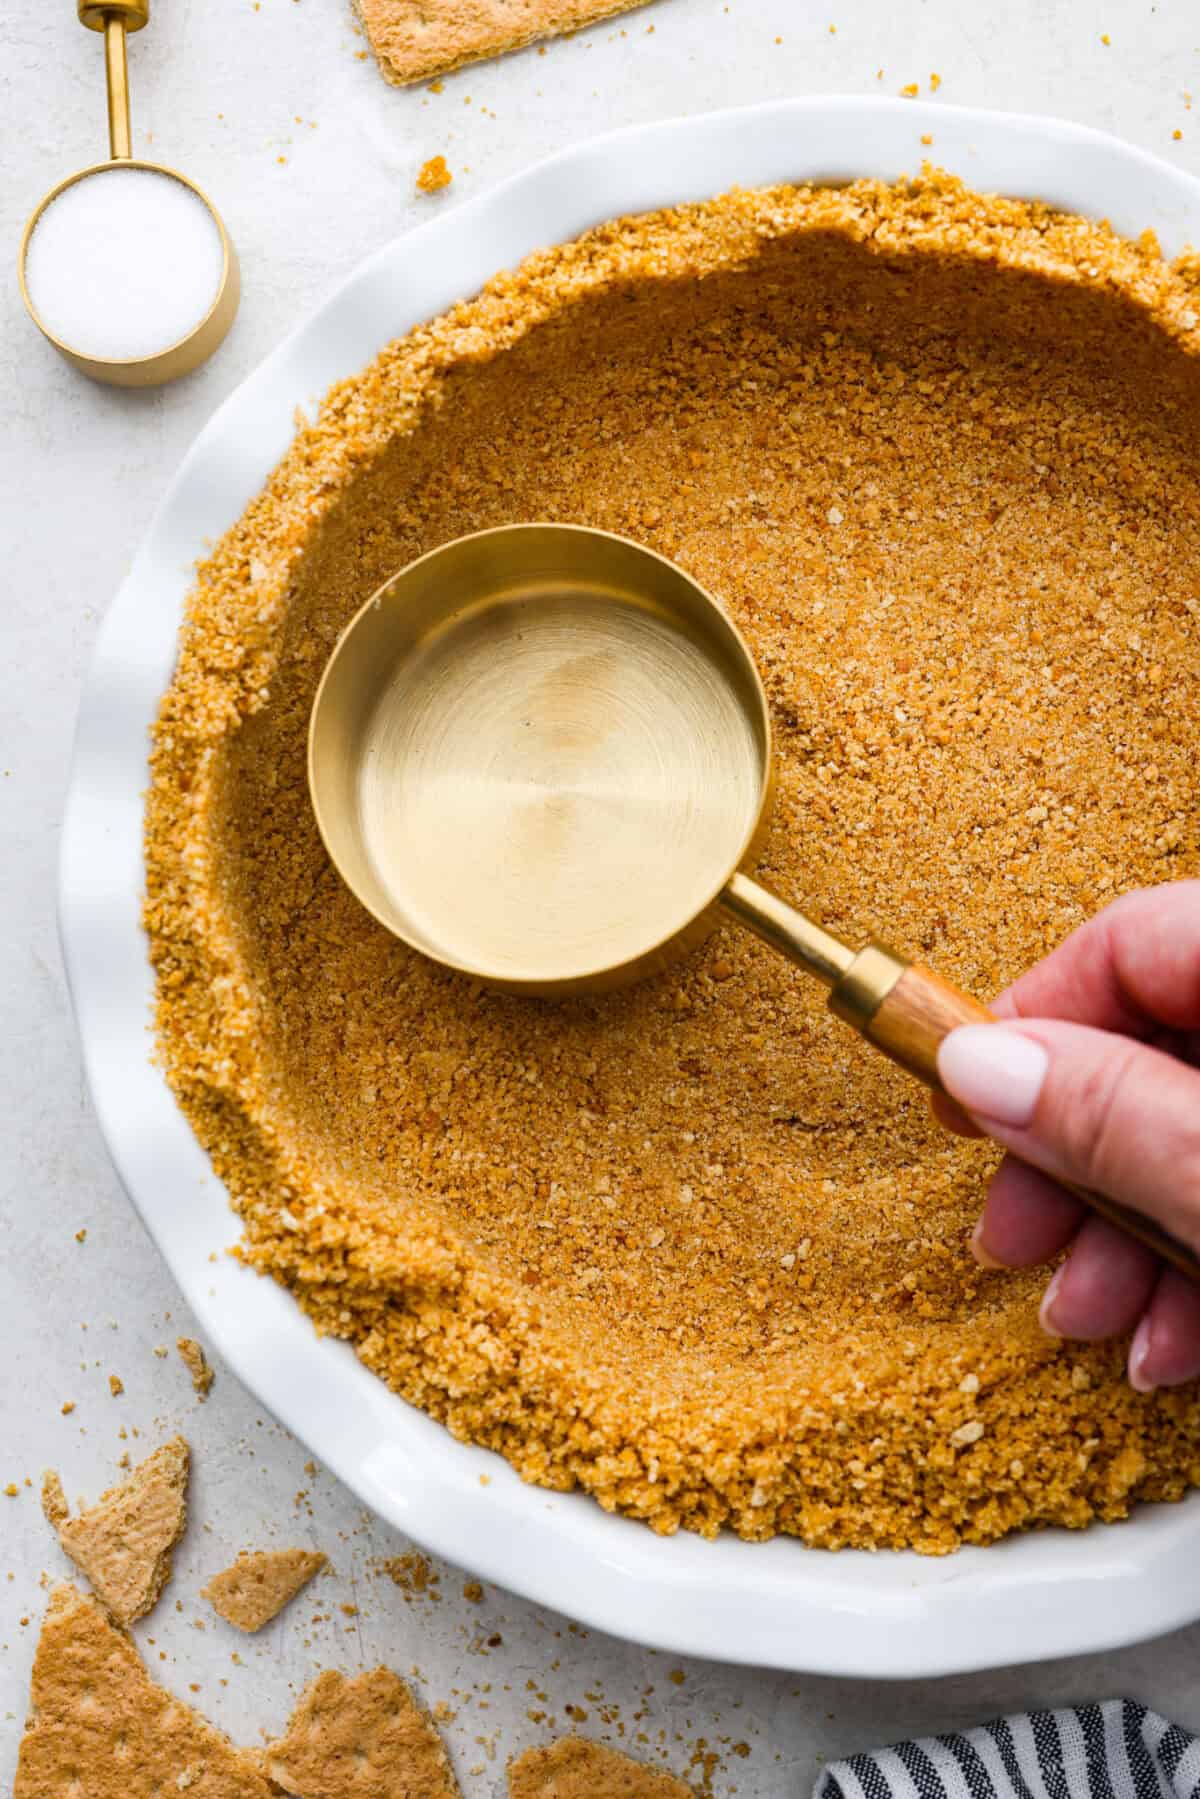
Learn how to make the perfect homemade Graham Cracker Crust! It comes together in just 10 minutes with 3 simple ingredients for the right amount of buttery sweetness and crunch! You’ll never buy one from the store again!

Reasons to Love This Recipe
- No Baking Required: It doesn’t get any easier than a no-bake pie! This pie crust recipe comes together quickly with no fuss.
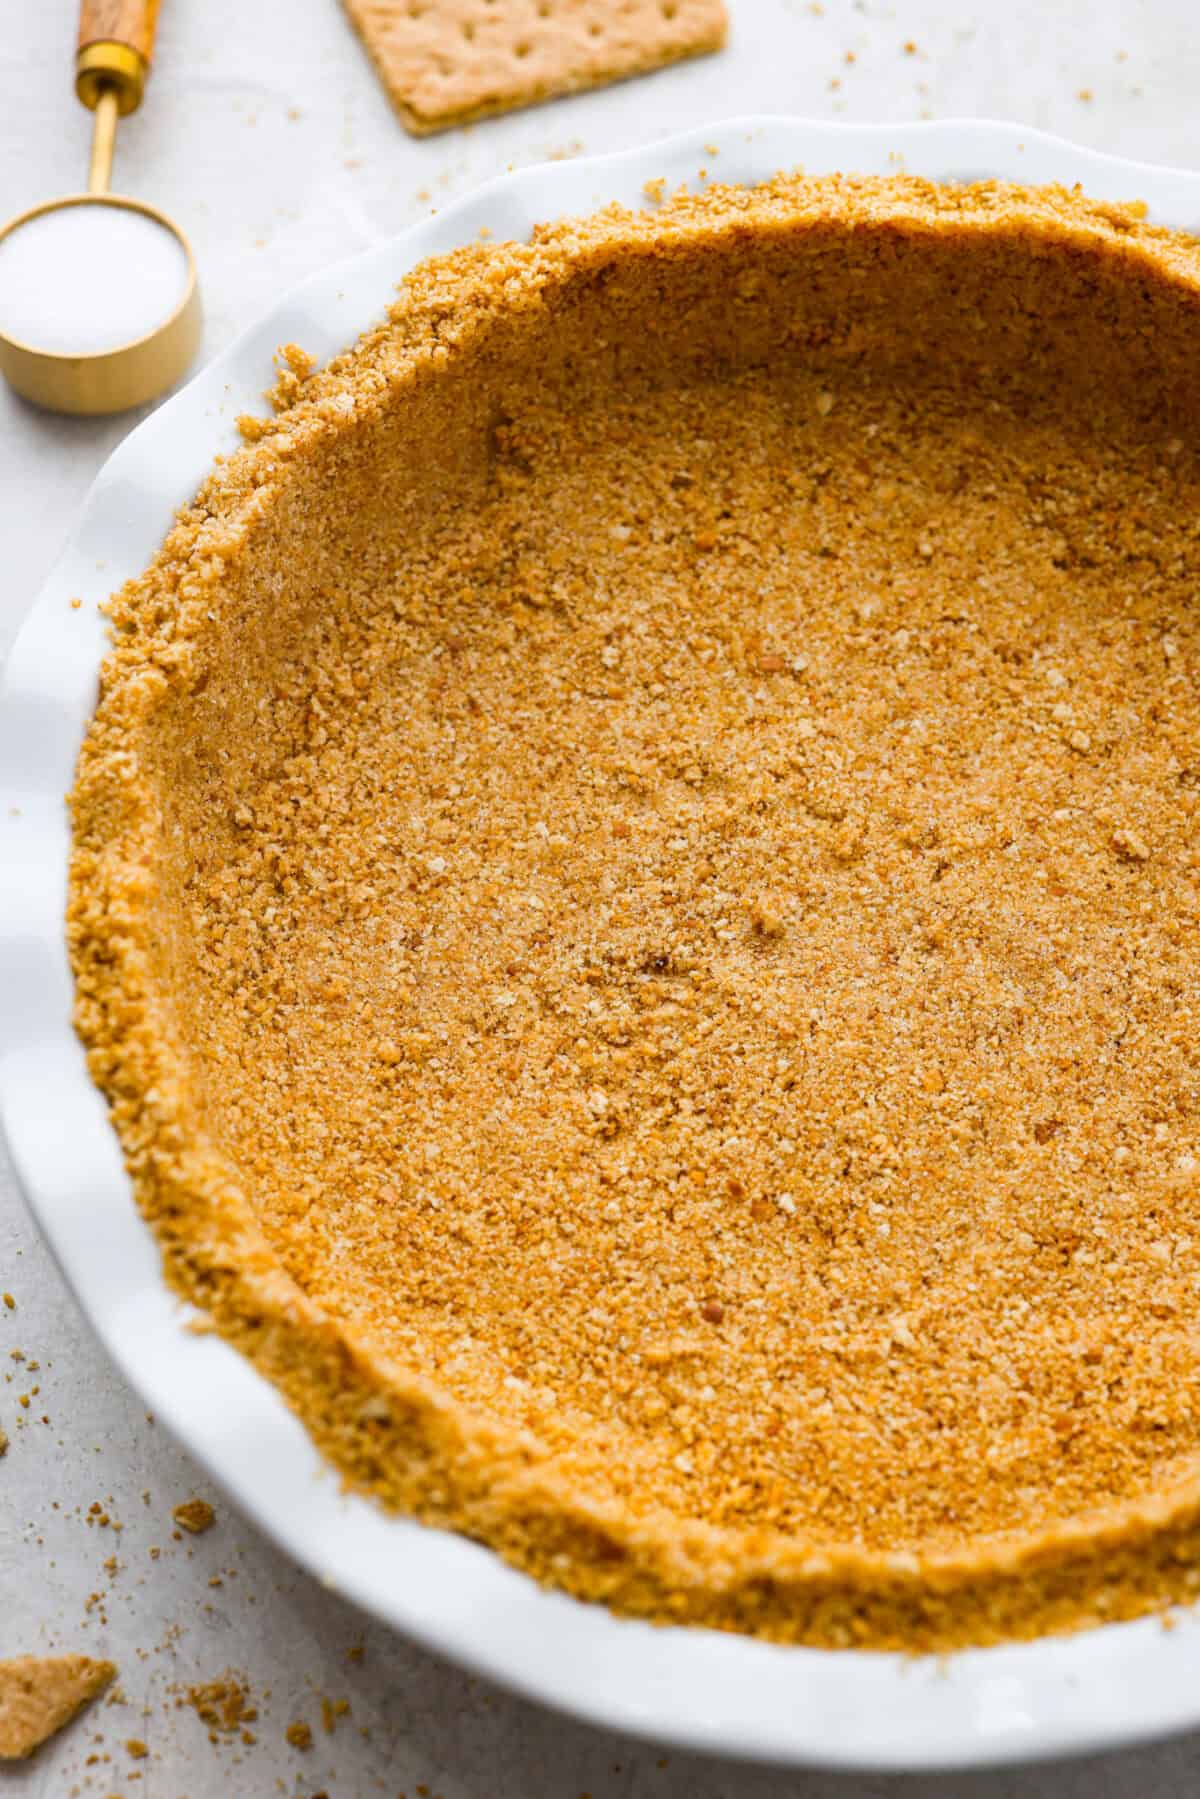
- Best Taste and Texture: This crust is perfectly sweet and buttery tasting, plus it’s just the right amount of crisp and crumbly while still holding its shape.
- Simple Ingredients: It only takes 3 ingredients to whip up this easy pie crust!
Graham Cracker Crust Recipe
Every baker needs a reliable graham cracker crust recipe to have in their arsenal. This one is simple to make and so delicious! It’s my go-to recipe, from cream cheese pie to my key lime tart. While you can always use a store-bought crust, homemade tastes so much better, and it has a much better texture than a packaged crust from the store.
Ingredients You’ll Need
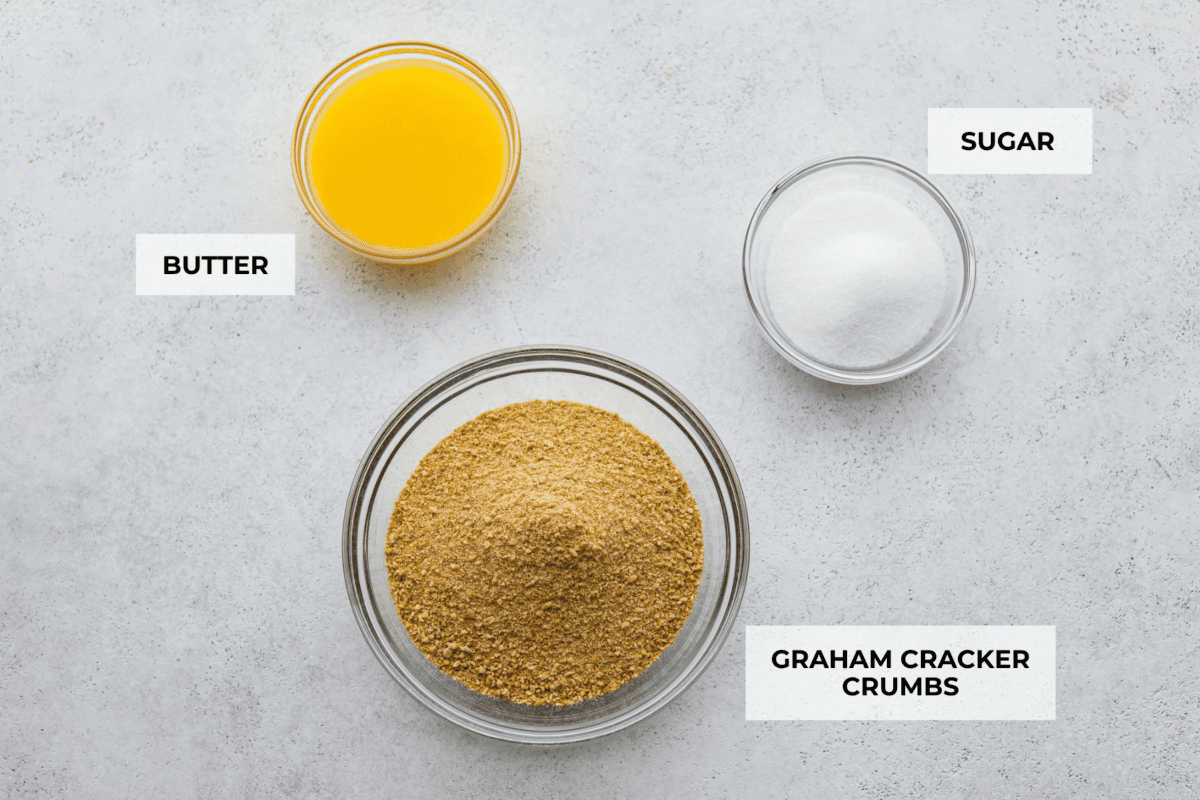
One of my favorite things about this pie crust recipe is that the ingredient list is short and sweet. You need only three simple ingredients to make it! Exact measurements of the ingredients can be found below in the recipe card.
- Graham Cracker Crumbs: You can purchase graham cracker crumbs in a box down the baking aisle or make the crumbs yourself by crushing about 12 sheets of graham crackers.
- Granulated Sugar: For wonderful sweetness without overwhelming the graham cracker flavor.
- Salted Butter: Melted butter is what will bind the tiny crumbs and sugar together. It also will give the crust an incredibly rich and buttery flavor.

How to Make a Graham Cracker Crust
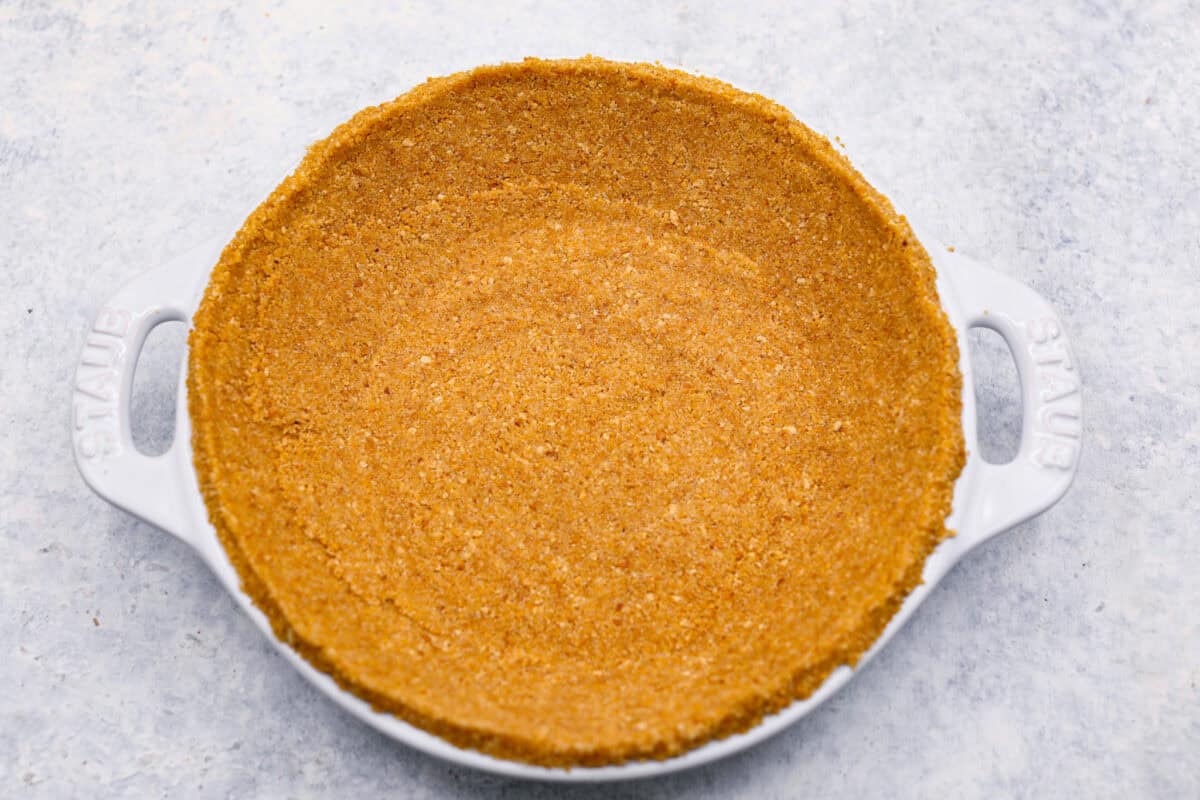
This recipe only takes about 10 minutes to make! Then, you can chill the crust for 30 minutes or bake it for 12 minutes before adding your filling.
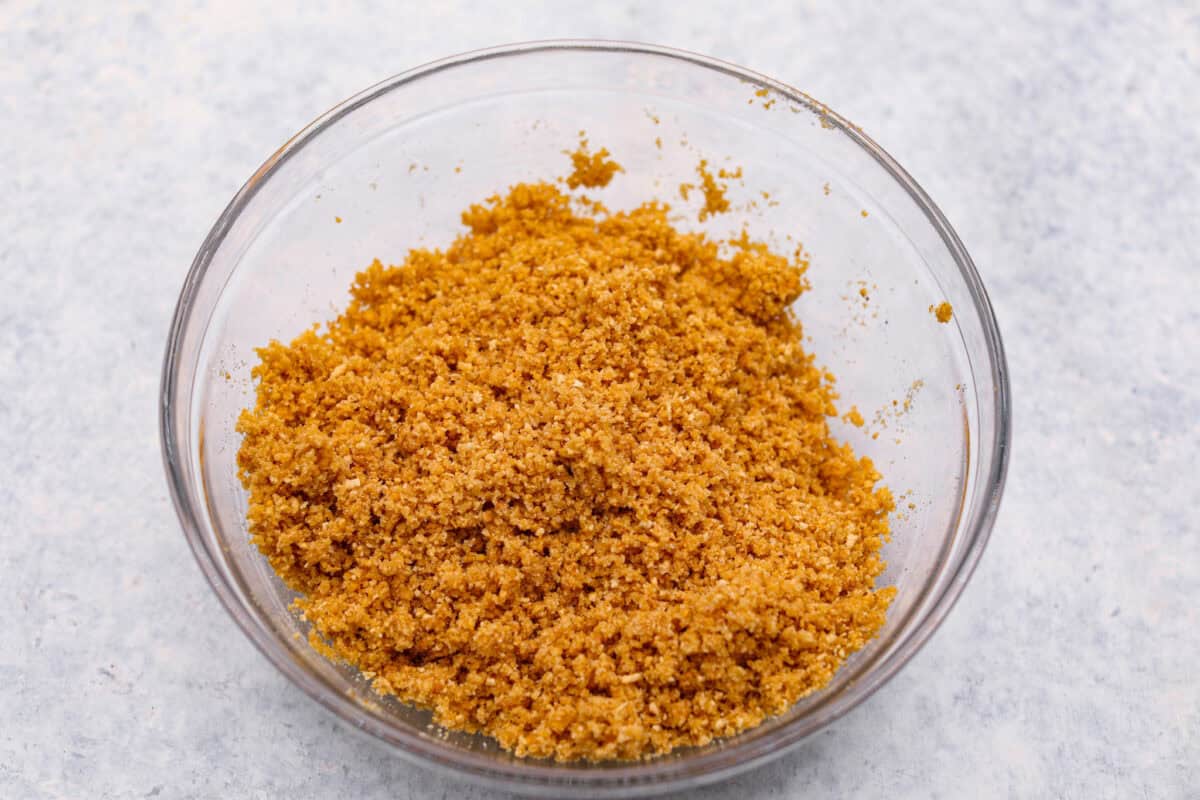
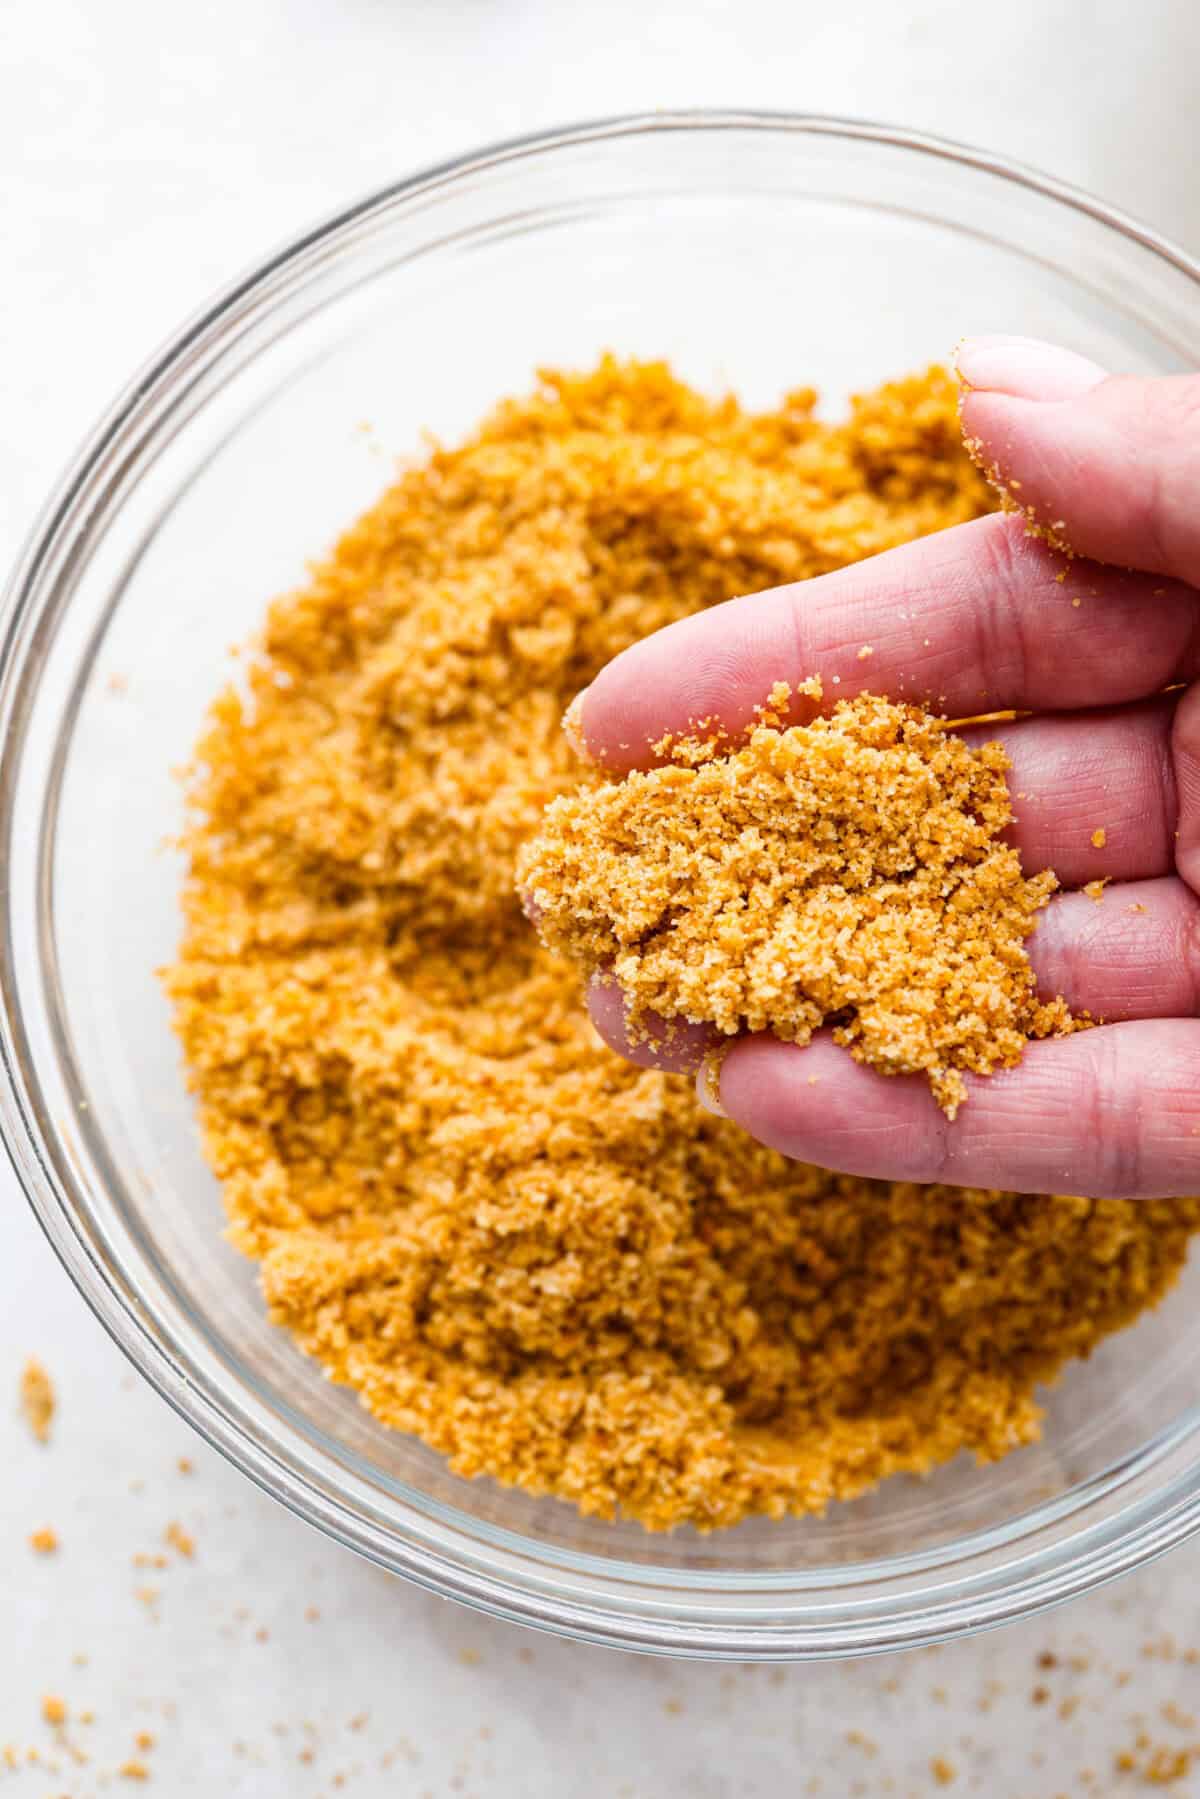
- Mix Ingredients: Add the graham cracker crumbs and sugar to a medium bowl and mix. Add the melted butter and mix evenly until the crumbs resemble wet sand.
- Press into the Pie Dish: Pour the crumb mixture into a 9-inch pie dish and use your hands or a flat-bottomed measuring cup or glass to press the crumbs evenly into the sides and bottom of the pan. Set it in the refrigerator to chill while you prepare your chosen filling, or at least 30 minutes before adding the filling.


Tips for Making Graham Cracker Crust
This delicious graham cracker crust really is so easy to make! Here are some tips and variations to make it just the way you like it.
- Baking the Crumb Crust: Should you use a no-bake or baked graham cracker crust? It comes down to preference. No-bake crusts have more butter, making them softer and richer in flavor. Baked crusts are crisper and have a nuttier taste, and they use less butter since the oven helps bind the crust. Both types work for recipes that don’t require baking the filling.
- Baked Crust instructions: If you want to prepare your own crust, mix 1 ½ cups graham cracker crumbs, ⅓ cup granulated sugar, and five tablespoons of melted salted butter. Press it into a 9-inch pie pan and bake at 325 degrees Fahrenheit for 12 minutes. Let it cool completely before adding your filling of choice.
- Making Graham Cracker Crumbs: If you want to make your own graham cracker crumbs, mix 1 ½ cups graham cracker crumbs, ⅓ cup granulated sugar, and five tablespoons of melted salted butter. Press it into a 9-inch pie pan and bake at 325 degrees Fahrenheit for 12 minutes. Let it cool completely before adding your filling of choice.
- Use Different Flavors: You can substitute the traditional honey graham cracker crumbs for another flavor of graham cracker, like, cinnamon or chocolate, you can swap them out for the same amount!
- Unsalted Butter: If you use unsalted butter instead of salted butter, add 1-2 dashes of salt to the graham cracker mixture.

Make Ahead
To make this graham cracker pie crust super convenient, you can make it ahead of time, and then all you will have to do is fill it and serve it!
- Freezer: If you want to bake it ahead and use it much later, you can! Once you have baked it and let it cool, wrap it in plastic wrap and cover it with aluminum foil. It will last 1-2 months in your freezer! When you are ready to use it, put it in your fridge to thaw.
- Refrigerate: If you’d like to use the crust within a day or two, then after you have baked it and it has cooled, cover it with aluminum foil and store it in your fridge for 1-2 days. You can also store it the same way without baking it.

Ways to Use a Graham Cracker Crust
Graham cracker crust can be used to make so many fabulous pies! It’s definitely a favorite of mine, and it’s way easier than a regular pastry pie crust. Here are some delicious pie recipes to use your perfect graham cracker crust!
Pin this now to find it later
-
Add the graham cracker crumbs, and sugar to a medium bowl and mix. Add the melted butter and mix evenly until the crumbs resemble wet sand.
-
Pour the crumb mixture into a 9-inch pie dish and use your hands or a flat-bottomed measuring cup or glass to press the crumbs evenly into the bottom and up the sides of the dish. Set it in the refrigerator to chill while you prepare your chosen filling, or at least 30 minutes before adding the filling.
Mix 1 ½ cups graham cracker crumbs, ⅓ cup granulated sugar, and 5 tablespoons of melted salted butter. Press it into a 9-inch pie pan and bake at 325 degrees Fahrenheit for 12 minutes. Let it cool completely before adding your filling of choice.
Calories: 1605kcalCarbohydrates: 162gProtein: 10gFat: 105gSaturated Fat: 60gPolyunsaturated Fat: 4gMonounsaturated Fat: 28gTrans Fat: 4gCholesterol: 244mgSodium: 1561mgPotassium: 252mgFiber: 4gSugar: 96gVitamin A: 2836IUCalcium: 127mgIron: 5mg
Nutrition information is automatically calculated, so should only be used as an approximation.
