This website may contain affiliate links and advertising so that we can provide recipes to you. Read my privacy policy.
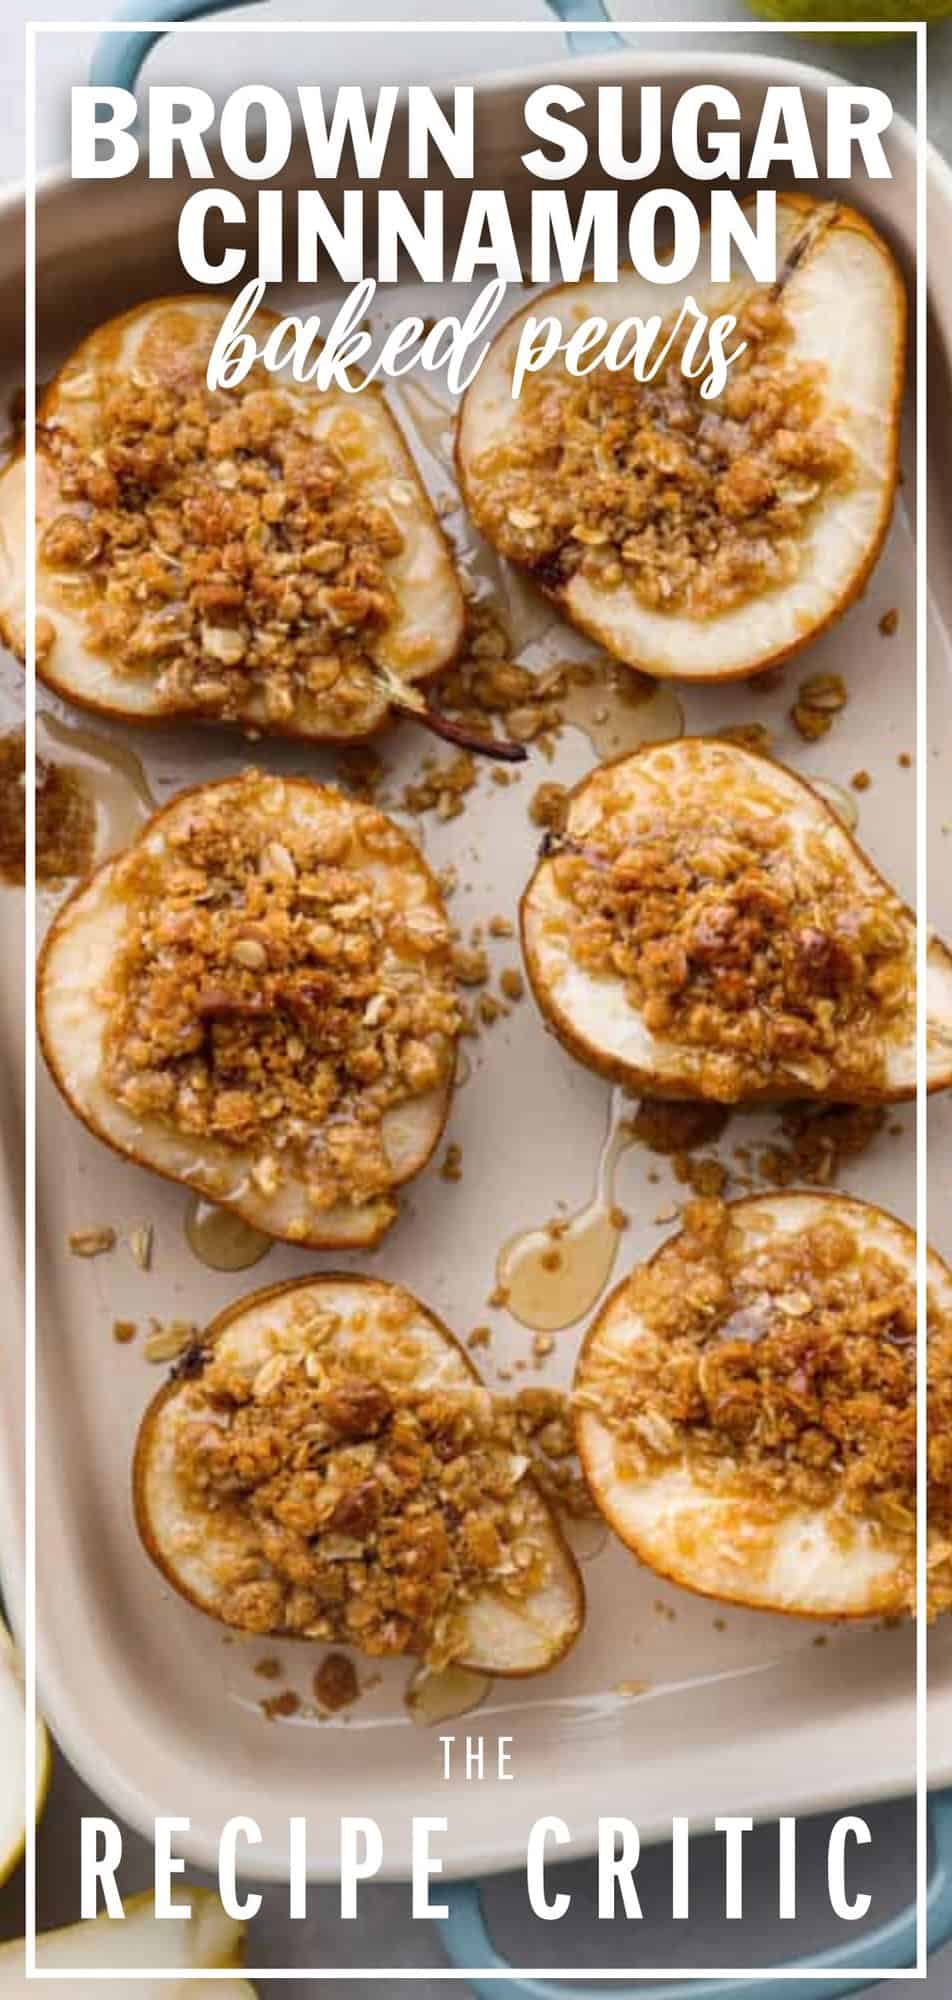
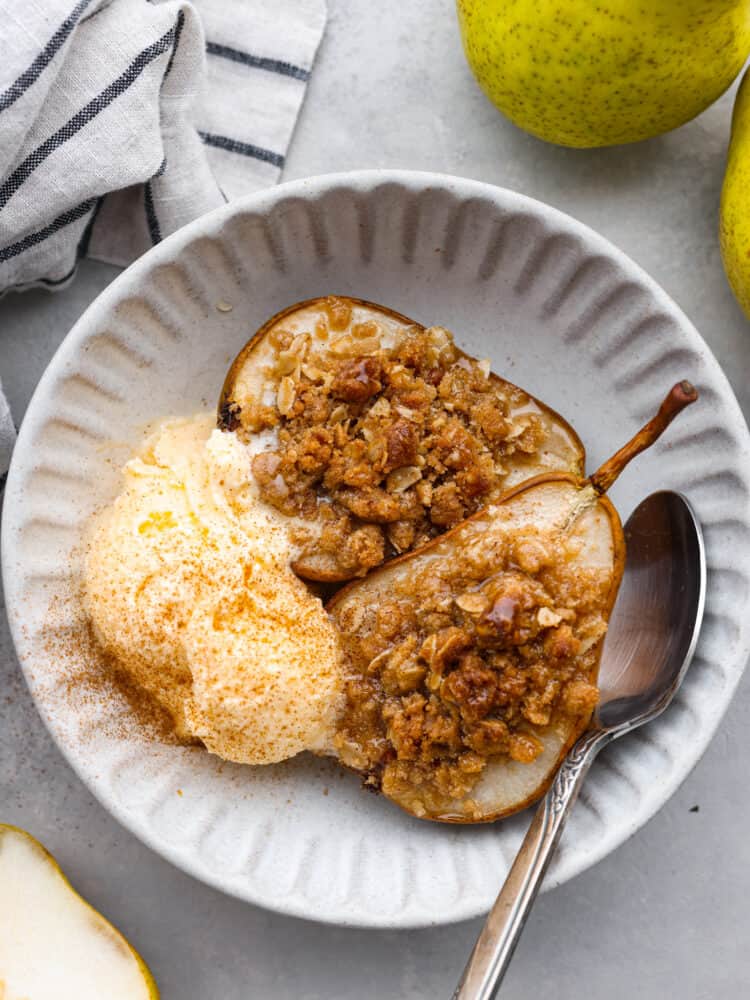
Topped with oats, brown sugar, and cinnamon, these baked pears make the perfect low-calorie cobbler-like treat! Serve them with a side of ice cream for a delicious dessert, or eat them in the morning with some yogurt for a perfectly sweet start to your day.
Fall is one of my favorite seasons for baking! The house has finally cooled off enough to enjoy turning on the oven, and there are so many fresh fruits that taste even better baked. This baked pear dessert is similar to a cobbler, which just happens to be one of my fall favorites! If you want a really great fall cobbler recipe, try this Old Fashioned Apple Cobbler, or these delicious Mini Peach Cobblers. I can’t forget a new favorite of mine, this Strawberry Cobbler!
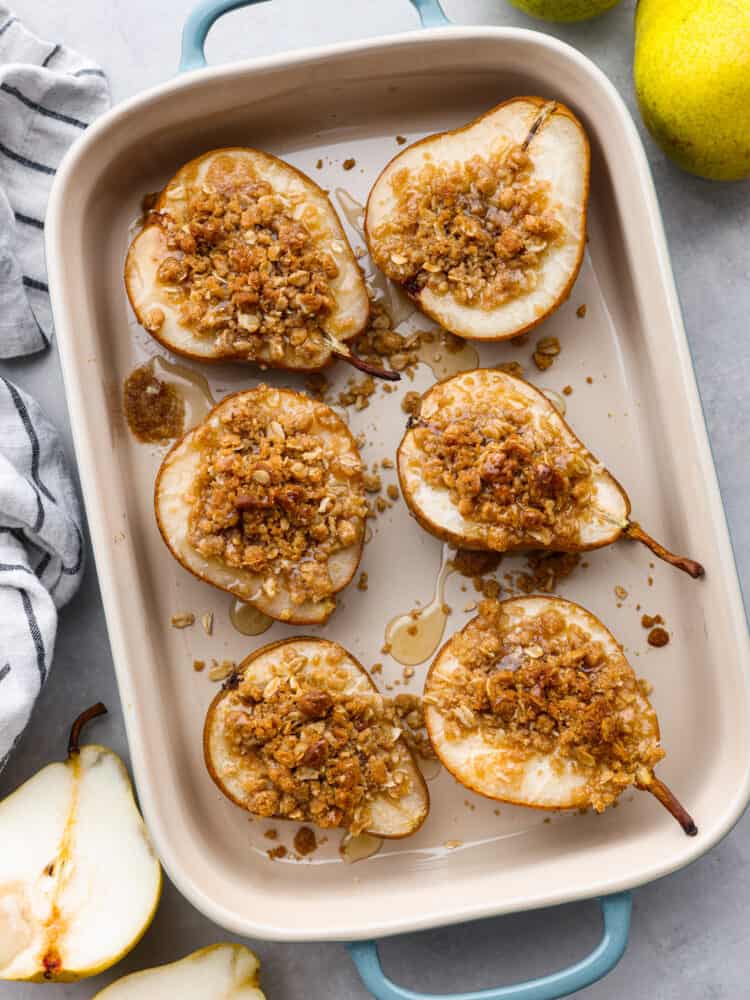
Baked Pears Recipe
I’ve had so many baked apples in my lifetime, I can’t believe it took me until now to try a baked pear. If you are a fan of simple and quick fruity desserts, this is the recipe for you! This baked pear packs all the flavors of a cobbler with half the work. I love how easy these were to whip up and how they absolutely blew away my guests. This recipe calls for 3 pears, which will make enough for 6 servings, but you can easily double this recipe to feed a crowd!
One of my favorite ways to enjoy ripe fruit in the fall is to bake them! Baking pears brings out all of their natural sweetness and goes so well with fall spices, like this Homemade Pumpkin Pie Spice. These pears are great warm or cold, so they make an amazing holiday breakfast snack. I love how versatile the ingredients are, and had a wonderful time serving these to my guests. I will definitely be making them again soon!
Baked Pear Ingredients
This recipe has 6 simple ingredients, but they really are all you need to create a wonderful fall dessert! Switch up the ingredients to create all kinds of wonderful flavor profiles that your family will love.
- Pears: I used D’Anjou pears for this recipe, but your favorite pear will work great! Just make sure they aren’t overripe, or they will get mushy when you bake them.
- Brown Sugar: This adds that perfect sweetness to the crumble on top, you don’t want to skip this ingredient!
- Flour: I used all-purpose for this recipe. It helps to keep the topping together after it’s baked.
- Rolled Oats: You can use old-fashioned or instant since they will soften in the oven either way.
- Cinnamon: This adds the perfect warm fall flavor to the dish!
- Salt: Just a little salt brings out the flavors in all of the ingredients!
- Butter: Because you are already adding salt, use unsalted butter. If you only have salted butter on hand, cut back on the salt in this recipe.
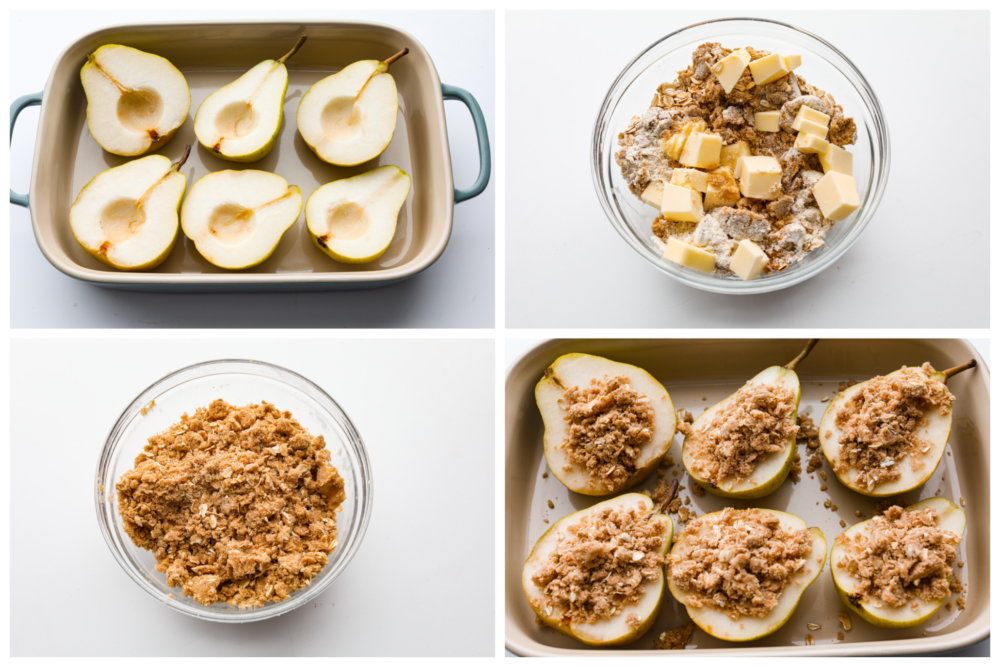
Baked Pear Instructions
These baked pears take about 10 minutes to prep and are so beautiful when baked, you’ll come back to this recipe time and time again! I personally loved having one for breakfast the next day.
- Prep: Preheat the oven to 375° Fahrenheit, and spray a 13×9 baking dish with non-stick cooking spray.
- Slice: Wash and dry the pears, then slice vertically down the center of each pear.
- Hollow: Use a melon baller or a spoon to spoon out the seeds and create a small section to fill with the topping. I also like to cut off a small section in the back of each pear to help them lay flat in the baking dish.
- Set in Dish: Place the pears in the prepared baking dish.
- Whisk: In a medium bowl, whisk together the brown sugar, flour, oats, cinnamon, and salt.
- Cut Butter: Toss the pieces of butter in with the ingredients and use a pastry blender, two knives, your fingers, or anything else to cut the butter in until the mixture is crumbly.
- Top Pears: Sprinkle the topping evenly over the pears in the prepared baking dish.
- Bake: Bake in preheated oven for 35-40 minutes until pears are fork tender.
- Serve: Serve with ice cream on top and/or a drizzle of honey for extra sweetness!
Other Topping Ideas
The best thing about this recipe is it is so easy to switch it up and make it your own! Here are a few ideas of other yummy toppings you could use to take this baked pear to the next level.
- Nuts: Walnuts, pecans, or slivered almonds add extra flavor and nutrients!
- Honey: Instead of brown sugar, use honey! This natural sugar is sweet, and you can use less of it to get the same great flavor.
- Vanilla Frozen Yogurt: If you are looking to keep this recipe lower calorie but don’t want to miss out on a creamy side, vanilla frozen yogurt is the perfect pair (see what I did there?).
- Maple Syrup: Another substitution for brown sugar, maple syrup goes perfectly with the flavor of the pear and cinnamon!
- Apple Pie Spice: If you keep this spice blend on hand as I do, use it! The cinnamon, nutmeg, cardamom and ginger take this baked pear recipe to the next level!
What Kinds Of Pears To Use:
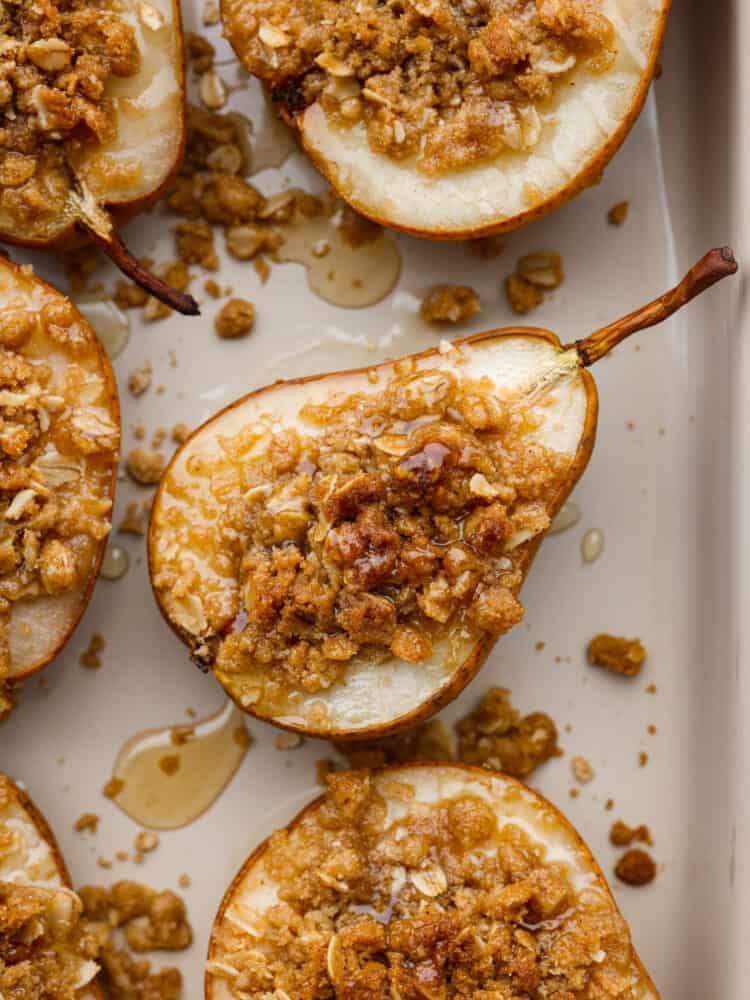
Feel free to use any type of pear for this recipe, your favorite pear is the best pear! I LOVE to use D’Anjou pears, but any pear works great. I always use Asian pears around the holidays when I want to impress my guests with a fancier presentation. It helps for the pears to be ripe but still slightly firm. If the pears are over-ripe they will get too soft when you bake them. If the pears are under-ripe they will take longer to bake, so be sure to adjust the time according to the ripeness of your pears.
How to Store your Leftovers
These baked pears make perfect leftovers because they can be enjoyed warm or cold!
- In the Fridge: Store in an airtight container for 3-5 days in the fridge, but I doubt they will last that long before being eaten!
- To Reheat: These are easily reheated in the microwave or in the oven, and taste just as good! They can also be eaten cold with yogurt for a nice breakfast.
-
Preheat the oven to 375° Fahrenheit, and spray a 13×9 baking dish with non-stick cooking spray.
-
Wash and dry the pears, then slice vertically down the center of each pear.
-
Use a melon baller or a spoon to spoon out the seeds and create a small section to fill with the topping. I also like to cut off a small section in the back of each pear to help them lay flat in the baking dish.
-
Place the pears in the prepared baking dish.
-
In a medium bowl, whisk together the brown sugar, flour, oats, cinnamon, and salt.
-
Toss the pieces of butter in with the ingredients and use a pastry blender, two knives, your fingers, or anything else to cut the butter in until the mixture is crumbly.
-
Sprinkle the topping evenly over the pears in the prepared baking dish.
-
Bake in preheated oven for 35-40 minutes until pears are fork tender.
-
Serve with ice cream on top and/or a drizzle of honey for extra sweetness!
Serves: 6
Calories186kcal (9%)Carbohydrates29g (10%)Protein1g (2%)Fat8g (12%)Saturated Fat5g (25%)Polyunsaturated Fat0.5gMonounsaturated Fat2gTrans Fat0.3gCholesterol20mg (7%)Sodium65mg (3%)Potassium137mg (4%)Fiber3g (12%)Sugar18g (20%)Vitamin A260IU (5%)Vitamin C4mg (5%)Calcium24mg (2%)Iron1mg (6%)
All nutritional information is based on third party calculations and is only an estimate. Each recipe and nutritional value will vary depending on the brands you use, measuring methods and portion sizes per household.
