This website may contain affiliate links and advertising so that we can provide recipes to you. Read my privacy policy.
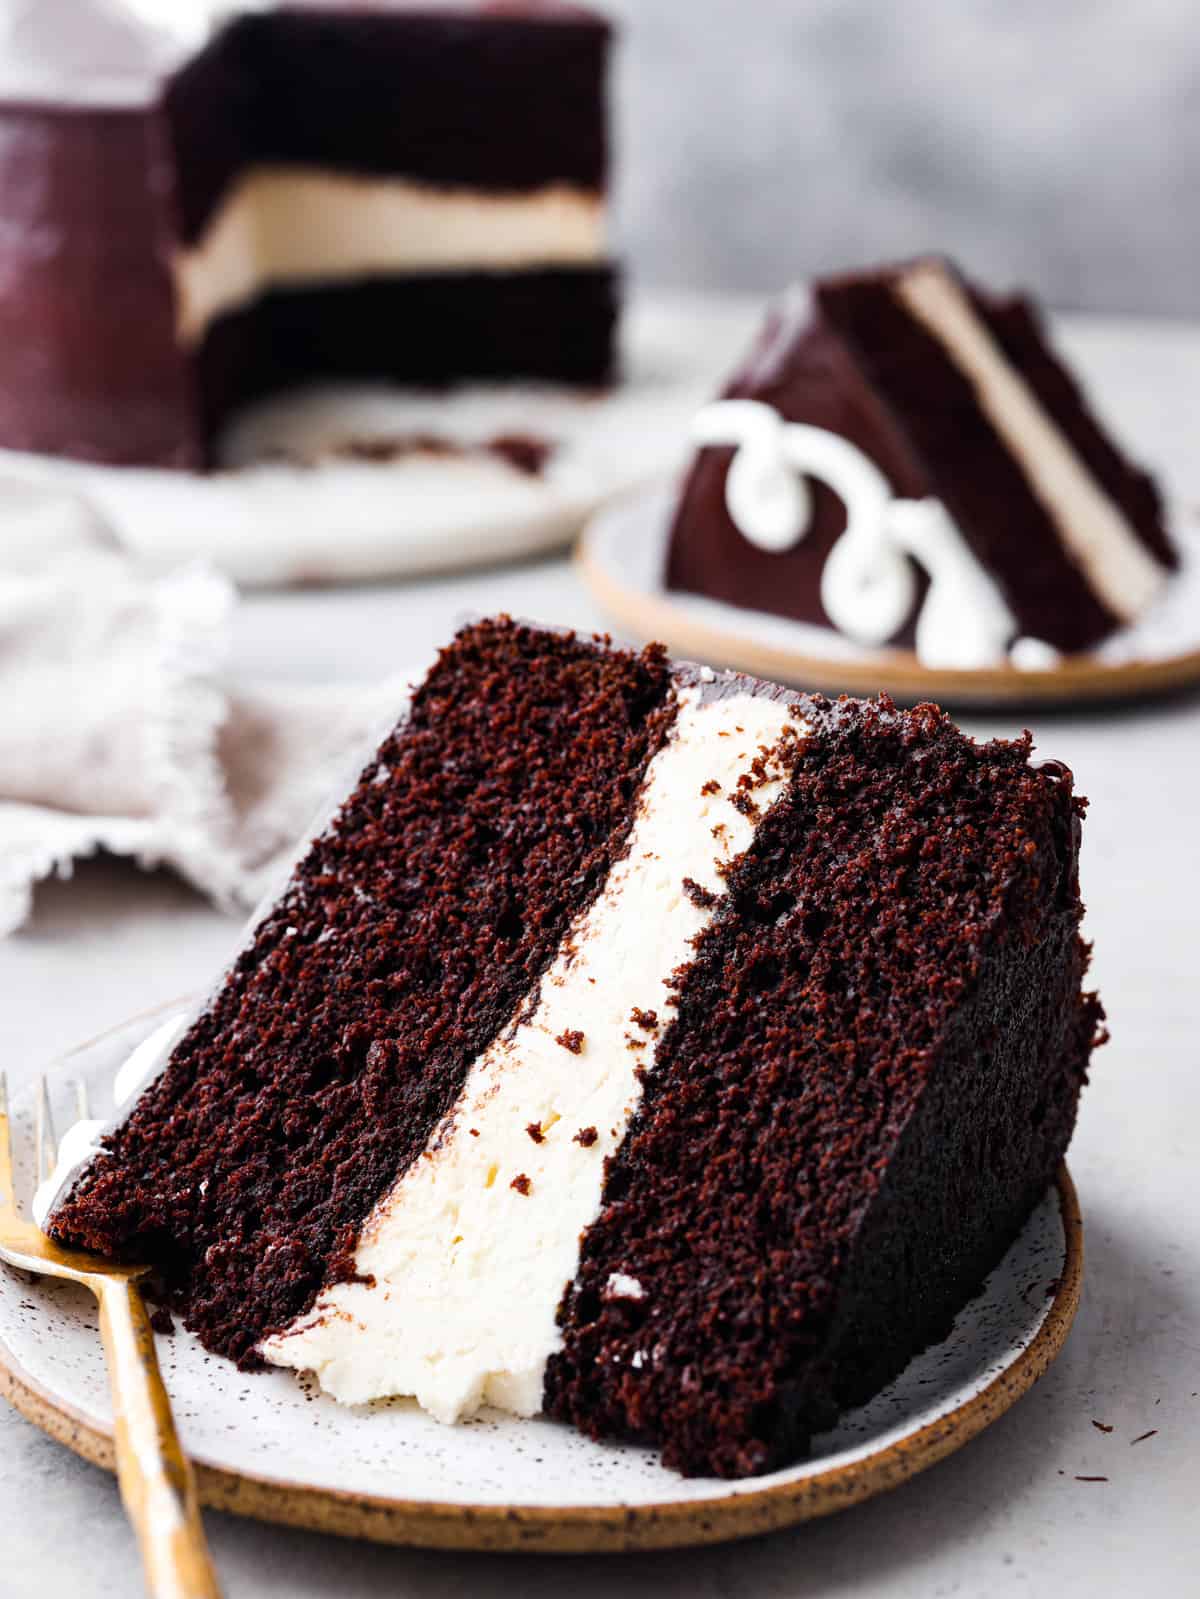
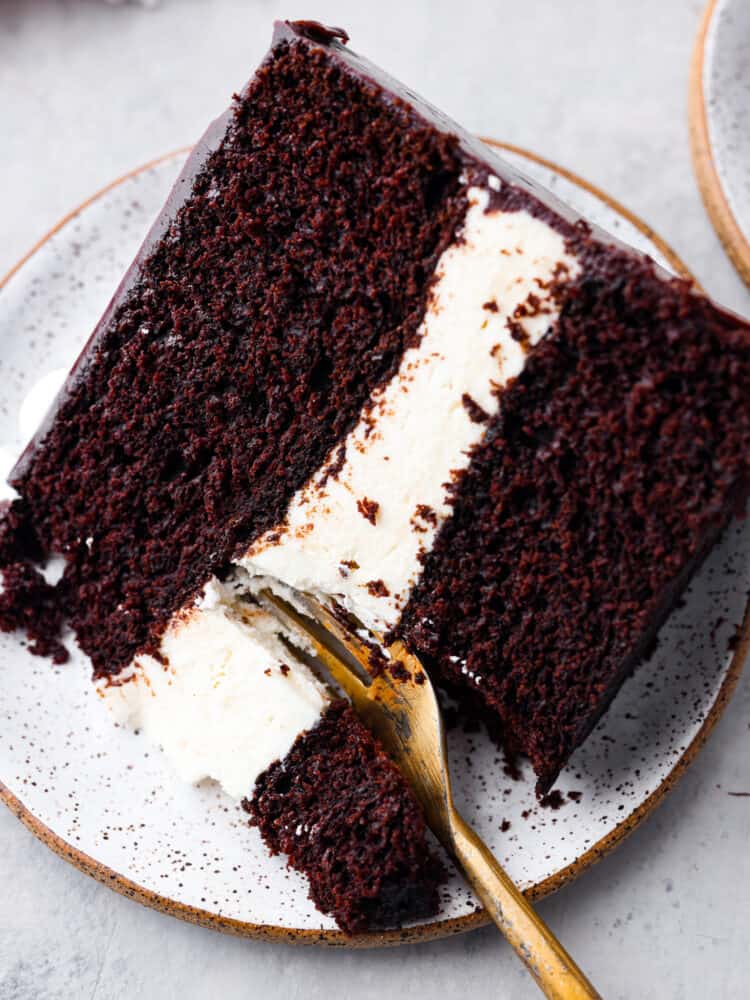
Ding Dong cake is the upgraded version of your favorite snack cakes, featuring a moist chocolate cake with a creamy ermine filling and a mouthwatering chocolate ganache on top! It’s a seriously tasty dessert you won’t be able to resist!
If you love chocolate cake, then this post is for you! A few more desserts to add to the lineup are: classic chocolate cake, chocolate icebox cake, and Coca Cola cake!
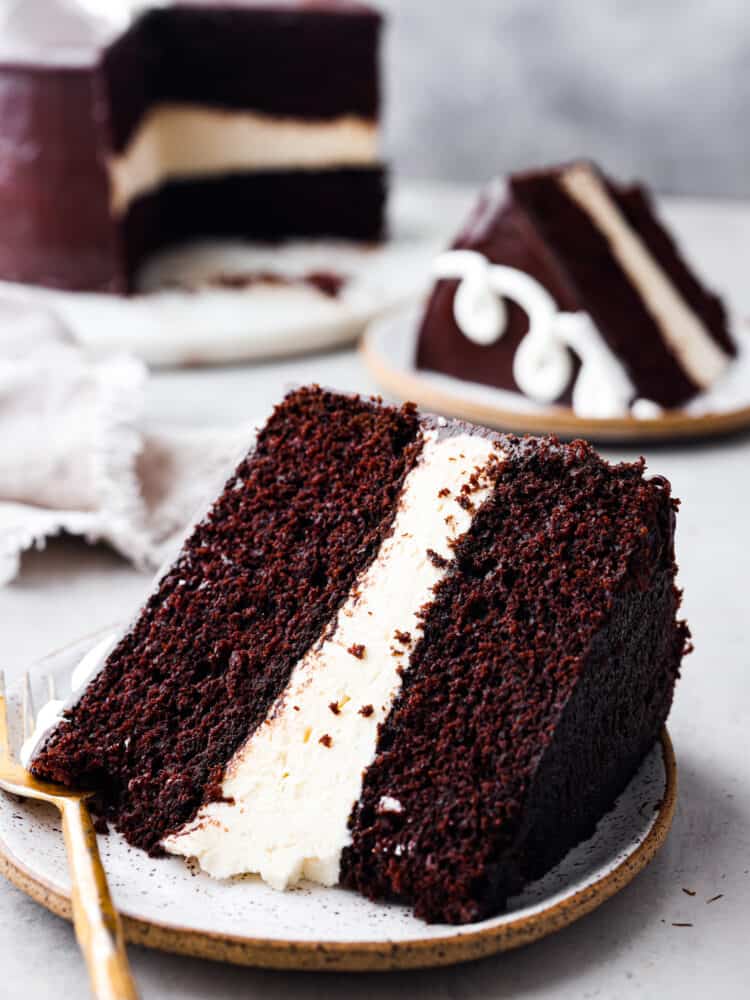
Ding Dong Cake Recipe
Calling all chocoholics! If you haven’t tried Ding Dong cake yet, you’re seriously missing out on a slice of heaven. It’s a luscious, moist chocolate cake that practically melts in your mouth, generously filled with a creamy, dreamy ermine frosting. Even better than a Hostess Ding Dong! As if that’s not delicious enough, it’s got a layer of chocolate ganache on the outside to seal in all of that goodness. Trust me, once you’ve had a taste, you won’t want to stop. It’s just so good!
So what is ermine frosting? Ermine frosting, also known as boiled milk frosting, is a creamy and light frosting made by cooking sugar, flour, and milk together, then mixing it with butter. It’s not too sweet and has a lovely hint of vanilla. This fantastic frosting pairs perfectly with Ding Dong cake, boosting its rich chocolate flavor and adding a fluffy and delightful touch to every bite. It’s a match made in dessert heaven!
Cake and Frosting Ingredients
Here is everything you will need so you too can create a Ding Dong cake! Thankfully, it uses a lot of basic pantry staples, so you can whip it up without spending a fortune. Note: exact measurements are in the recipe card below.
Ding Dong Cake
- Vegetable Oil: Keeps the cake super moist and tender, no dry bites here!
- Warm Coffee: Gives the chocolate a serious flavor boost, making it extra rich and irresistible.
- Large Eggs: Holds everything together and keeps the cake nice and fluffy.
- Vanilla Extract: Adds that yummy aroma and makes the cake even more tasty.
- All-Purpose Flour: Acts as the base of the cake.
- Granulated Sugar: Sweetness to the max, making each bite a treat.
- Unsweetened Cocoa Powder (not Dutch process): The star ingredient, delivering intense chocolate goodness.
- Baking Powder and Soda: So the cake has a perfect rise.
- Salt: A pinch of flavor enhancer, balancing the sweetness.
Ermine Frosting
- Granulated Sugar: The sweet stuff that makes ermine frosting taste just right, not too sugary but perfectly delicious.
- Flour: The secret ingredient that, when mixed with milk, creates the smooth and creamy base of ermine frosting.
- Milk: The liquid magic that combines with flour to give ermine frosting its velvety texture.
- Unsalted Butter: Adds richness and creaminess to the frosting.
- Vanilla Extract: A splash of flavor that makes ermine frosting extra yummy and aromatic.
- Salt: Just a pinch to balance the sweetness and bring out all the tasty flavors.
Ganache
- Semi-Sweet Chocolate: For that deep chocolatey flavor. Either semi-sweet chocolate chips or a baking bar will work. You can also use dark chocolate if you prefer!
- Heavy Cream: Adjusts the consistency of the ganache and makes it nice and smooth. Trust me, it’s the best addition to Ding Dong cake.
Let’s Make Ding Dong Cake!
Now that your ingredients are ready to go, here’s how to turn them into a tasty chocolate cake. I’ve separated the instructions into a few different groups so you can prepare your Ding Dong cake like a pro!
Cake
- Preheat Oven, Prepare Pan: Preheat the oven to 350 degrees Fahrenheit. Spray two 8-inch round cake pans with cooking spray. Add parchment rounds to the bottom of the pans and spray the parchment with cooking spray. Then set aside.
- Wet Ingredients: In a large bowl whisk together the vegetable oil, warm coffee, eggs, and vanilla until combined.
- Combine With Dry Ingredients: In a medium bowl sift together the flour, sugar, unsweetened cocoa powder, baking soda, baking powder, and salt. Add the dry ingredients to the wet ingredients and gently whisk together until fully combined.
- Bake: Fill the two pans evenly and bake for 30-35 minutes, until the center of the cake springs back lightly when pressed on, or a toothpick comes out clean. Allow the Ding Dong cake to cool for 10 minutes in the pan before inverting the pan on a cooling rack to finish cooling.
Cream Filling
- Milk Mixture: Add the flour, sugar, and milk to a pan. Cool over medium heat while whisking constantly until thick and pudding-like, about 10 minutes.
- Chill: Remove from the heat and add to a heat-proof bowl or quarter sheet pan. Cover with plastic wrap so the plastic touches the top of the mixture and prevents a film from forming. Chill in the fridge for 40 minutes
- Whip: Add the room-temperature butter to a stand mixer and whip with the whisk attachment for about 8 minutes, until the butter is light and fluffy.
- Add in Flour: Add the flour mixture to the butter one scoop at a time until it is all incorporated
- Add in Vanilla: Scrape down the sides and bottom of the bowl and switch to the paddle attachment. Add the vanilla and salt and beat on medium-high for 10-13 minutes, until smooth and fluffy.
Ganache
- Melt and Combine: Place the chocolate in a small bowl. Heat the cream in the microwave until steaming but not boiling, about 1 minute and a half. Pour the hot cream over the chocolate and let it sit for a few minutes. Use a whisk to combine the chocolate and cream until smooth. Set aside to cool while the cake chills.
Assembly
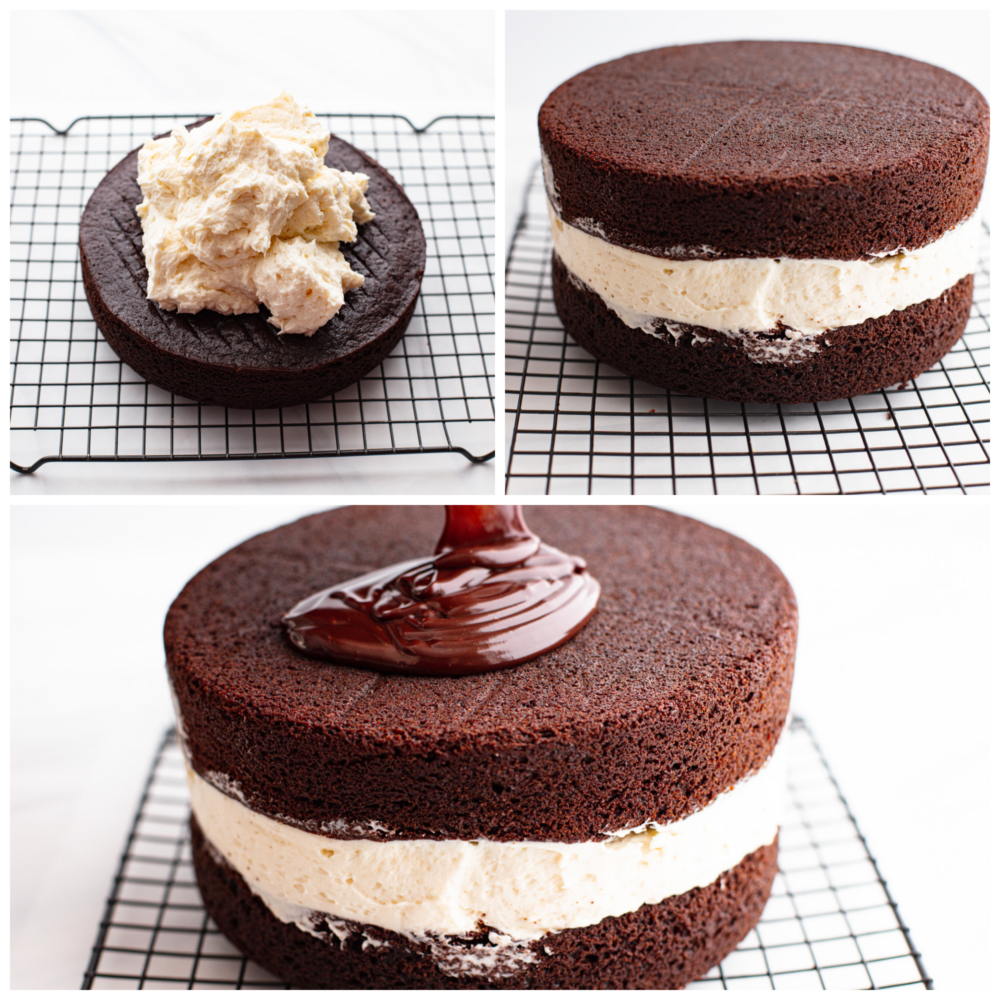
- Layer: Place one layer of cake on an 8’ cake board. Mound the cream on top of the cake and then top with the second layer of cake, preferably upside down so the top of the cake is very flat.
- Chill: Use an offset spatula or a clean bench scrape to smooth the cream between the layers, making sure there are no gaps or holes. Transfer to the fridge and chill for at least 30 minutes.
- Transfer to Cooling Rack: Once the Ding Dong cake has chilled, remove it from the fridge and place it on a cooling rack with parchment underneath to catch any drips.
- Pour on Ganache: Carefully pour the cooled ganache on top of the chilled cake and use an offset spatula to spread the ganache so it spills down the sides of the cake. Carefully use the spatula to spread the ganache evenly over the whole cake, letting the excess drip onto the parchment.
- Allow to Set: Let the Ding Dong cake chill in the fridge for an hour or so before serving.
Tips and Variations
Here are a few simple tips to ensure your Ding Dong cake turns out perfectly! This has quickly become one of my favorite chocolate desserts and I know you’ll love it just as much!
- Cake Mix for Easy Prep: You may use chocolate cake mix instead for a quicker, easier recipe. Regular chocolate cake or Devil’s Food cake both work great!
- Keep the Oven Closed: Try to avoid opening the oven early to check the cakes. This can cause a drop in temperature, which in turn can cause the center of the cakes to sink.
- Level Cake: If the cakes come out domed, it is best to use a serrated knife to level it before assembling.
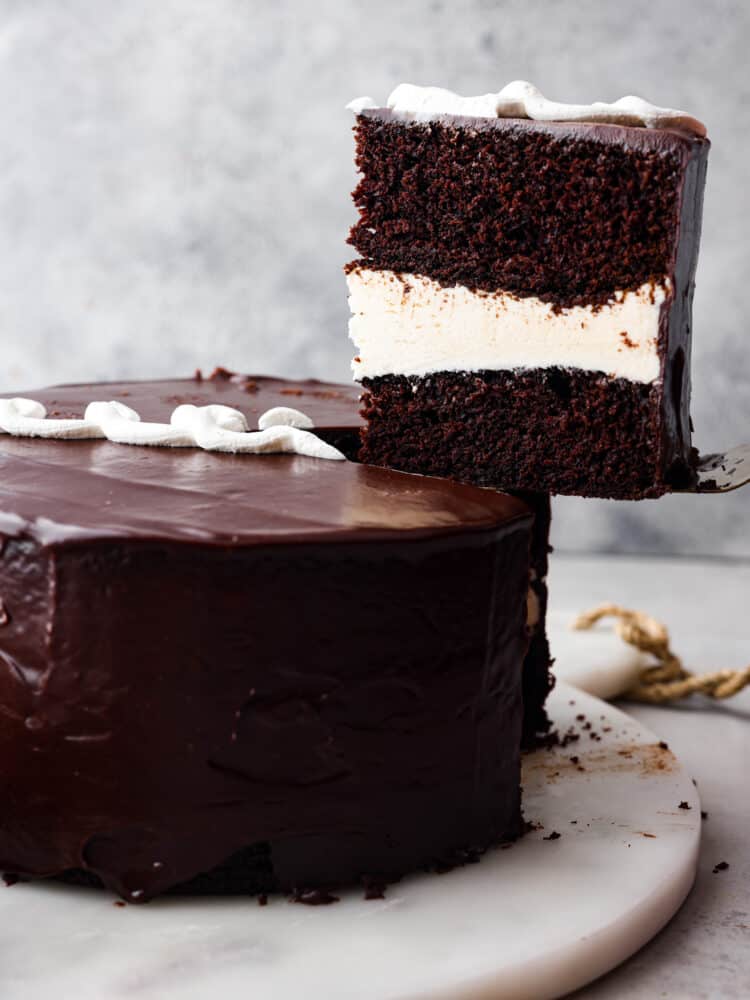
- Slice When Chilled: Slice this cake while it is still well chilled. Once it has thawed a bit the cream will start to run out if you try to slice it.
- Coffee Substitute: The coffee enhances the chocolate flavor of the cake, but if you don’t want to use coffee go ahead and replace it with buttermilk.
Storing Leftover Ding Dong Cake
If you have leftover Ding Dong cake, trust me, it won’t last long! My kids and I are always fighting over who gets the last piece.
- In the Refrigerator: This cake is best stored in the fridge for up to 3 days. Store in an airtight cake container or wrapped in plastic wrap.
- In the Freezer: Individual Ding Dong cake slices can be wrapped in plastic wrap and then placed in a ziplock bag and frozen for up to 3 months. Let the slices thaw overnight in the fridge before unwrapping them.
Cream Filling (Ermine Frosting)
Cake
-
Preheat the oven to 350 degrees Fahrenheit. Spray two 8-inch round cake pans with cooking spray. Add parchment rounds to the bottom of the pans and spray the parchment with cooking spray. Set aside.
-
In a large bowl whisk together the vegetable oil, warm coffee, eggs, and vanilla until combined.
-
In a medium bowl sift together the flour, sugar, unsweetened cocoa powder, baking soda, baking powder, and salt. Add the dry ingredients to the wet ingredients and gently whisk together until fully combined.
-
Fill the two pans evenly and bake for 30-35 minutes, until the center of the cake springs back lightly when pressed on, or a toothpick comes out clean. Allow the cake to cool for 10 minutes in the pan before inverting the pan on a cooling rack to finish cooling.
Cream Filling
-
Add the flour, sugar, and milk to a pan. Cool over medium heat while whisking constantly until thick and pudding-like, about 10 minutes.
-
Remove from the heat and add to a heat-proof bowl or quarter sheet pan. Cover with plastic wrap so the plastic touches the top of the mixture and prevents a film from forming. Chill in the fridge for 40 minutes
-
Add the room-temperature butter to a stand mixer and whip with the whisk attachment for about 8 minutes, until the butter is light and fluffy.
-
Add the flour mixture to the butter one scoop at a time until it is all incorporated
-
Scrape down the sides and bottom of the bowl and switch to the paddle attachment. Add the vanilla and salt and beat on medium-high for 10-13 minutes, until smooth and fluffy.
Ganache
-
Place the chocolate in a small bowl. Heat the cream in the microwave until steaming but not boiling, about 1 minute and a half. Pour the hot cream over the chocolate and let it sit for a few minutes. Use a whisk to combine the chocolate and cream until smooth. Set aside to cool while the cake chills.
Assembly
-
Place one layer of cake on an 8’ cake board. Mound the cream on top of the cake and then top with the second layer of cake, preferably upside down so the top of the cake is very flat.
-
Use an offset spatula or a clean bench scrape to smooth the cream between the layers, making sure there are no gaps or holes. Transfer to the fridge and chill for at least 30 minutes.
-
Once the cake has chilled, remove it from the fridge and place it on a cooling rack with parchment underneath to catch any drips.
-
Carefully pour the cooled ganache on top of the chilled cake and use an offset spatula to spread the ganache so it spills down the sides of the cake. Carefully use the spatula to spread the ganache evenly over the whole cake, letting the excess drip onto the parchment.
-
Let the cake chill in the fridge for an hour or so before serving.
Serves: 10
Serving1servingCalories669kcal (33%)Carbohydrates84g (28%)Protein8g (16%)Fat36g (55%)Saturated Fat22g (110%)Polyunsaturated Fat2gMonounsaturated Fat10gTrans Fat1gCholesterol104mg (35%)Sodium376mg (16%)Potassium365mg (10%)Fiber5g (20%)Sugar55g (61%)Vitamin A899IU (18%)Vitamin C0.1mgCalcium87mg (9%)Iron4mg (22%)
All nutritional information is based on third party calculations and is only an estimate. Each recipe and nutritional value will vary depending on the brands you use, measuring methods and portion sizes per household.
