Disclosure: This post may contain affiliate links. This means, we may receive a small commission if you choose to purchase something from a link we post (including links to amazon.com because we are a participant in the Amazon Services LLC Associates Program.) Don’t worry, it won’t cost you anything.
I think this post is a ‘deja vu’ of the chore chart for multiple kids post.
Hello L…O…N…G……post.
BUT I promise to give you an intermission.
It will be worth the ticket price!
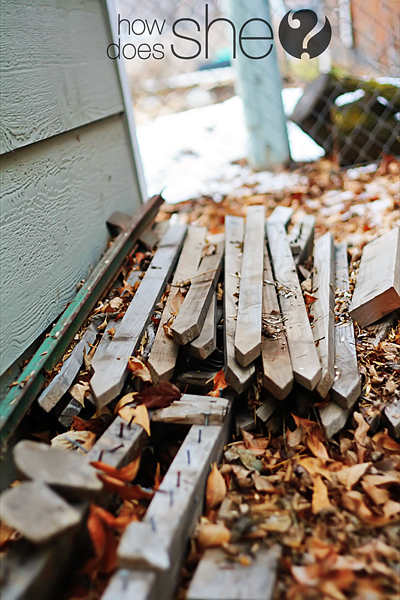
I think only a handful of people would get excited about seeing a pile of old wood behind their shed. Ummm… one of them would be me.
I will only pick up the wood in the winter when all the spiders are dead or long gone. I haTe spiderS! {{Serious Drama}}
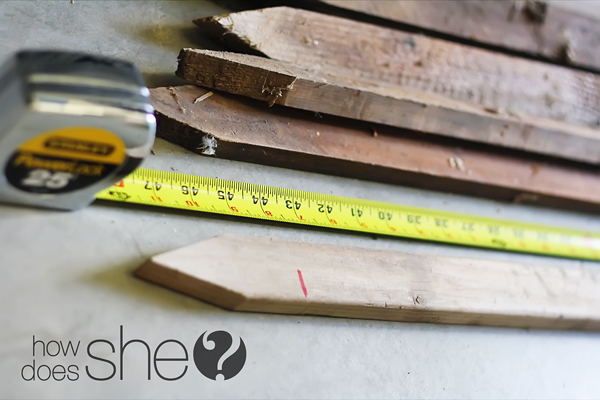
These spike’y’ wood plank ‘treasures’ measured over 44 inches. A total of 7 planks were used.
How to use a miter saw
If you need a post on how to use a miter saw…you’ve come to the right show. Here is the link to take you there!
Chop the tips off and chop the planks in half… leaving 14 planks.
They were all about 22 inches long.
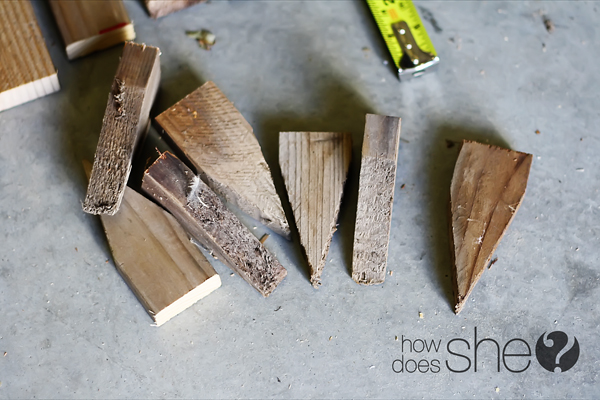
They are looking a bit better after the chopping. They still have a bit of ‘stuff’ on them though.
The ends shown here…I see trash although if I sent them over to Beckie at Infarrantly Creative…she’d make something completely awesome with them!
Oh, remove all nails and staples{{this would be a reminder to me}}. They don’t do well on the sander {{hello…sparks}}!
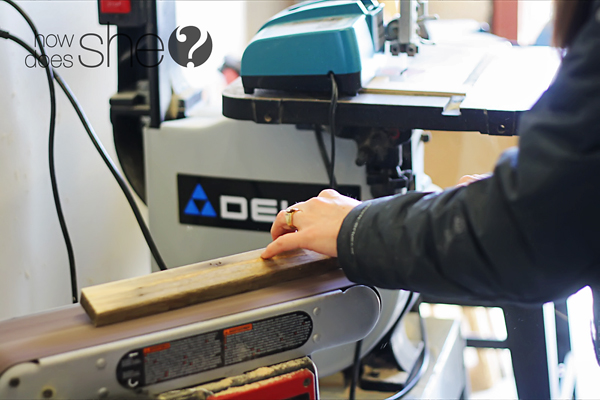 Enter in: Beautiful power sander.
I love you! {{Imagine angelic music in the background}}
You make my life so much easier and help me get my projects done a LOT quicker! 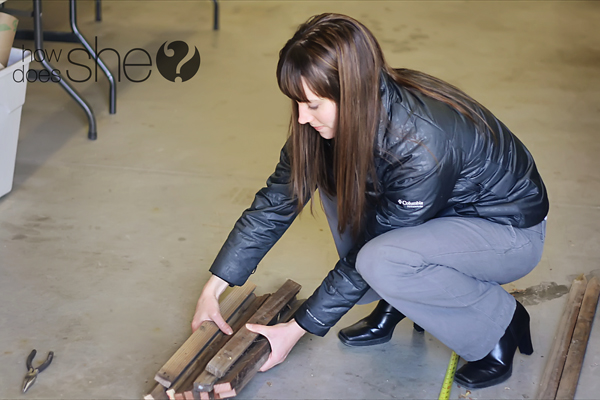 I know I am in heels picking up wood, cutting and sanding wood.
You’ll also notice that my pants are way too short for these heels. Just ignore that part. {{Major floods}}
It’s to point out that this project is really super easy and you won’t get all yuck.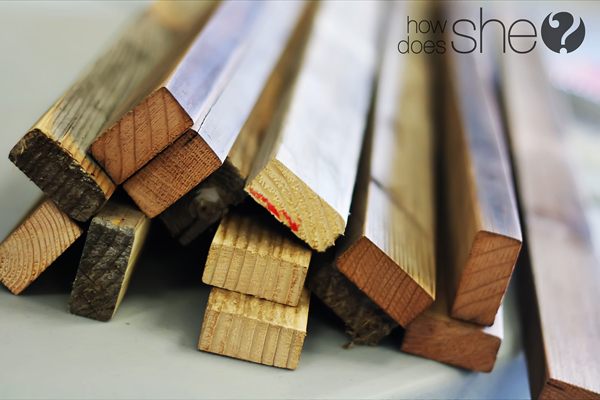 If you happen to find old planks you will need to sand off the goobers, spider webs (yuck), and the slivers.
You can pick up new planks at the hardware store if you can’t find the gold mine like mine {{ha!}}
If you want to stain these, now would be the time.
We are getting closer to our plank door mat! Take your planks and stand them on the sides. Side by side. Take a quarter inch drill bit and run 3 holes per plank. I did one hole in the center and the other two holes about 3 inches from the ends.
I forgot to take a picture of all the holes drilled so you’d know what it looked like. So I drew one for you. I know the picture is wonderful. The evenly spaced lines, the same sized holes, and the elegance of a photoshop picture.
…I really need to take a photoshop class. Do you see the random hole?
Or how about the 2 holes in the same place. I couldn’t get the erase tool to work. Anyway, I hope it helps you picture what I am talking about:)
Intermission time:
Halloween you ask?
Nope, we are headed to Costco in March!
They told me I could only call them Buzz and Woody. I was not mom either…I was Jessie.
Hummm…I guess you pick your battles as parents.
I was okay with Jessie {{at least it was not Zurg!}}
Back to the show…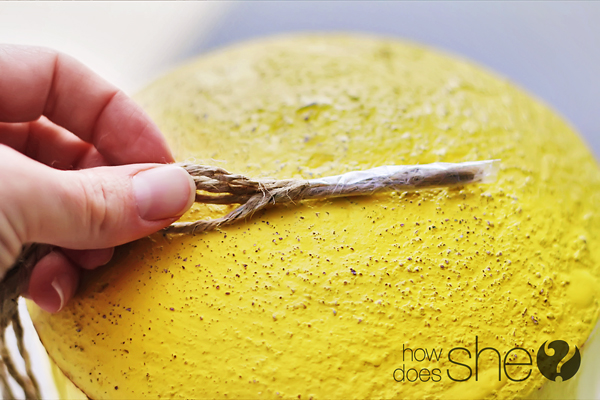 I used twine to bind these planks together.
Cut three to four long strips of twine and tape the ends. It makes them easier to thread through.
 Tie a knot with the other end.
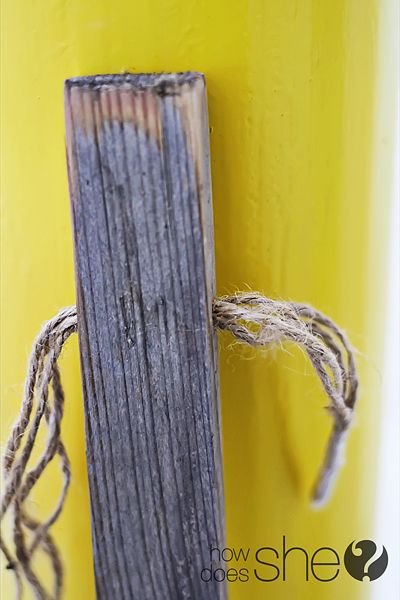 Push the first twine bunch through the top hole. Then do the second and third hole.
If you thread one plank {{with all three threads}} it will make it easier. We are almost at wood plant door mat heaven!
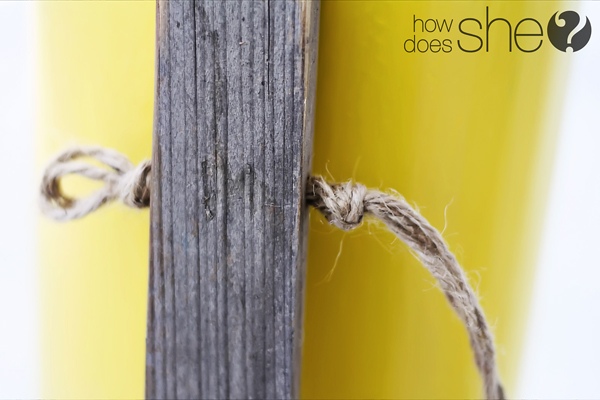 Pull it all the way through and then tie a knot.
This allows for a little space for all the water drips to go through.
Keep going with all 14 planks.
When you are done tie off the ends with at double knot.
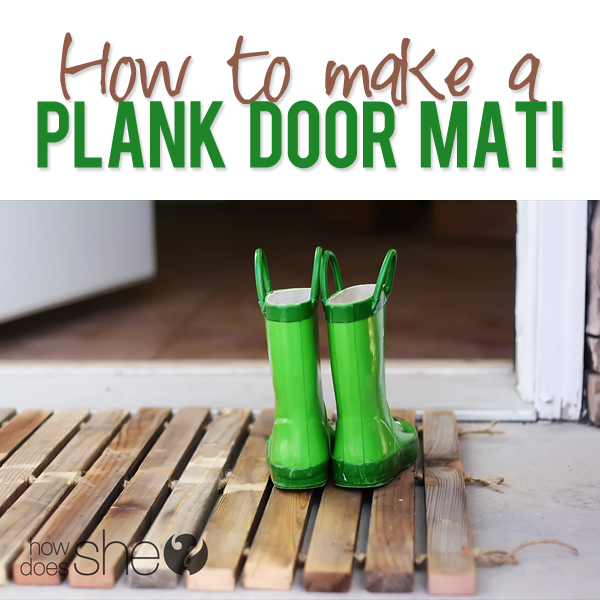
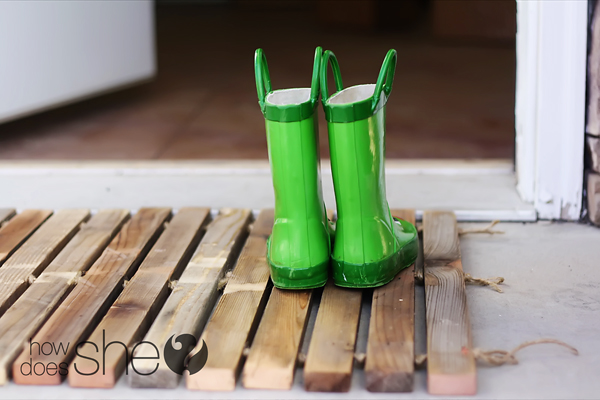 Done! A wood plank door mat that will help dry off the boots!
Is it the boots that make this picture so darn cute?
Now my ‘Buzz’ will have dry boots after he stomps in all the puddles he can find.
We’re linking up to THESE parties!
