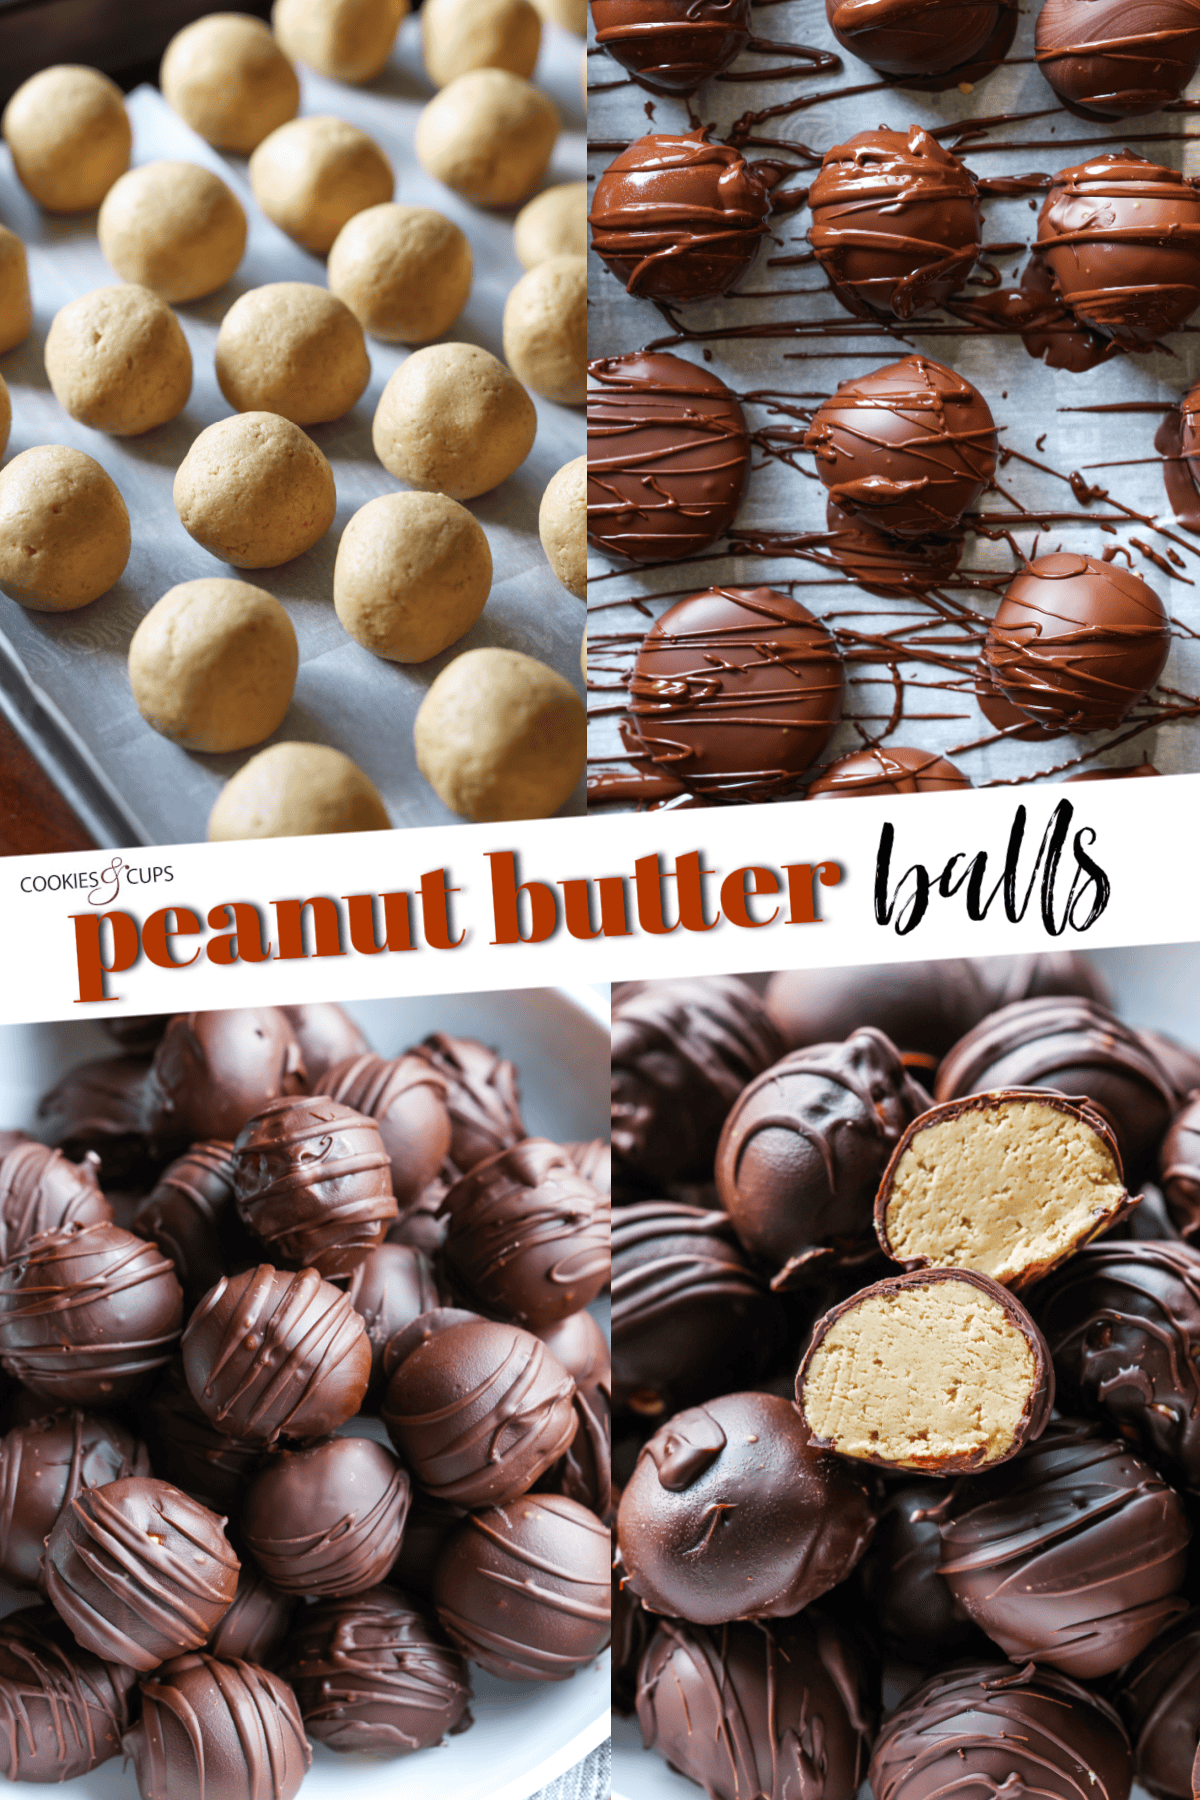
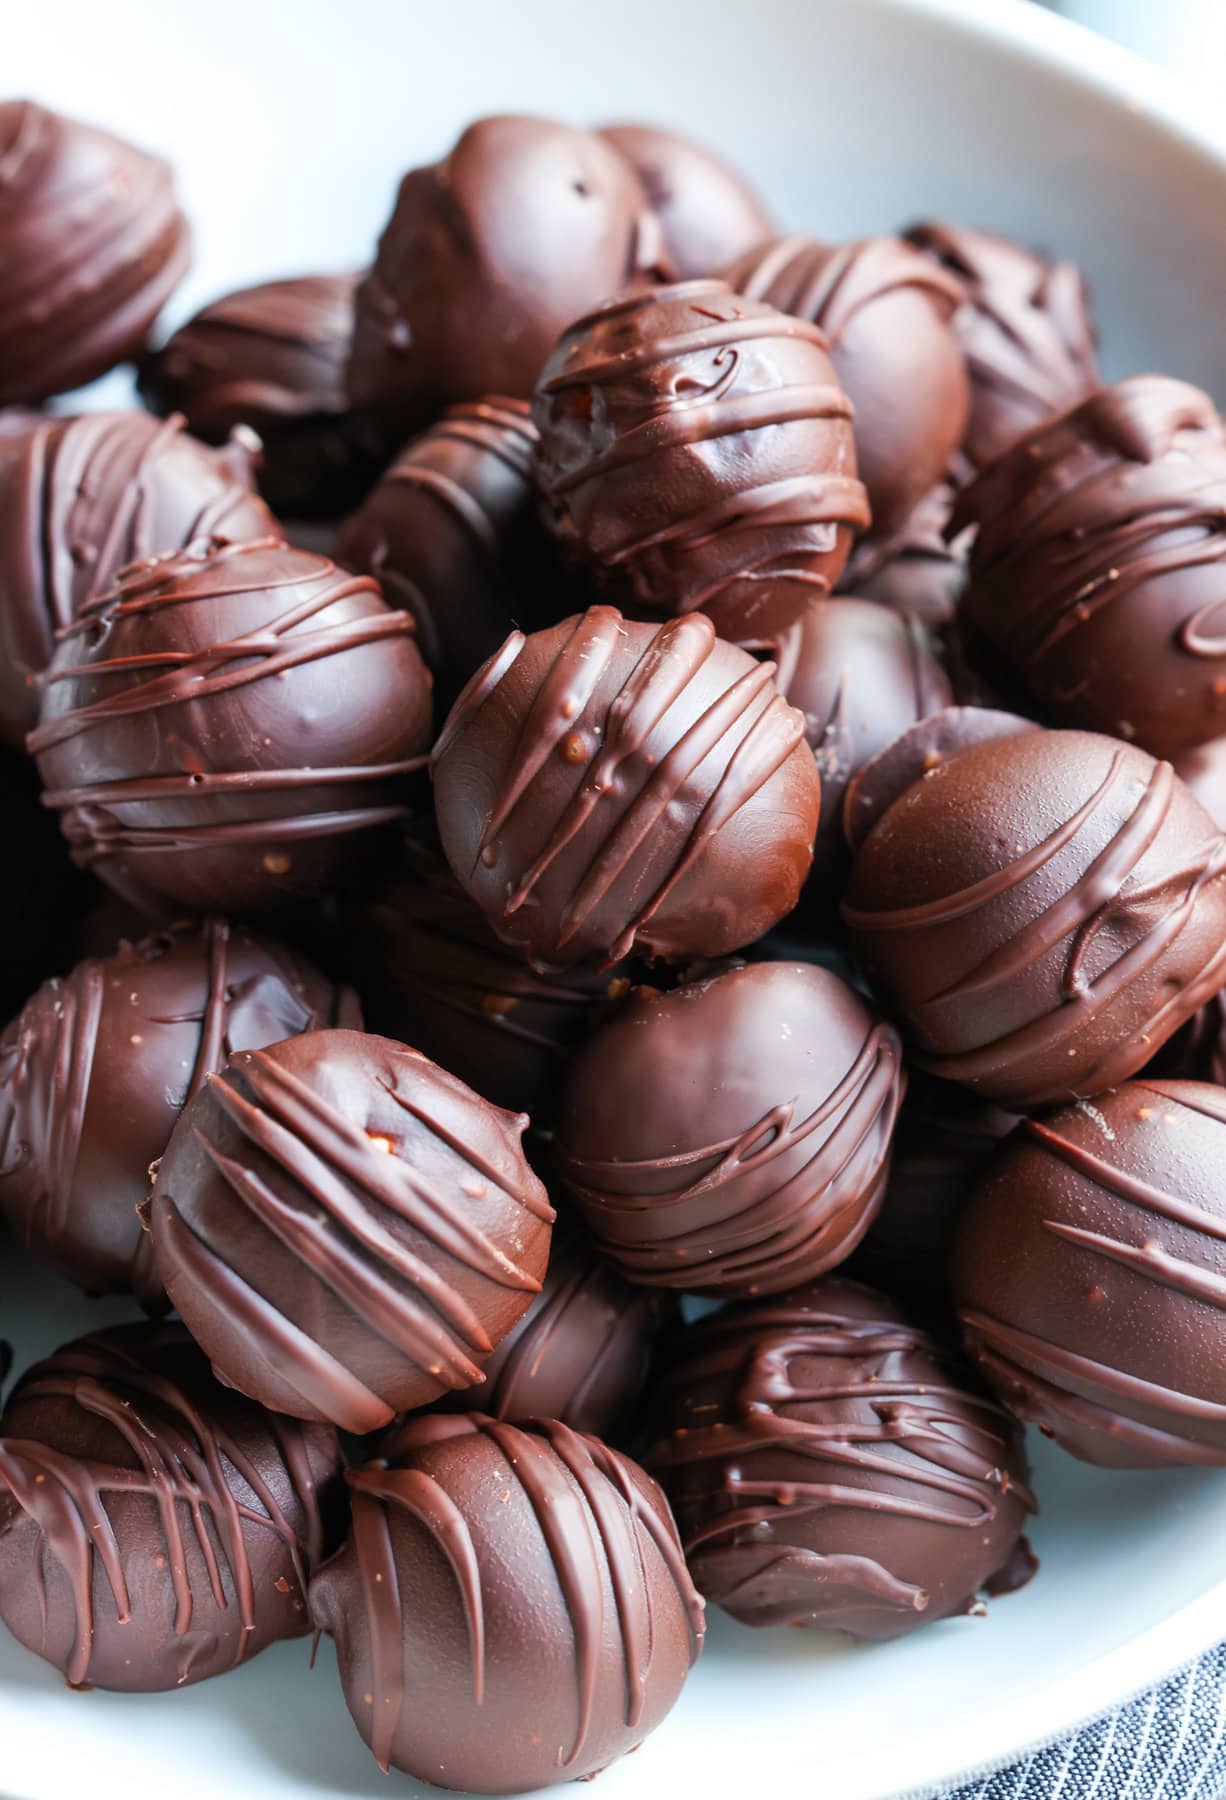
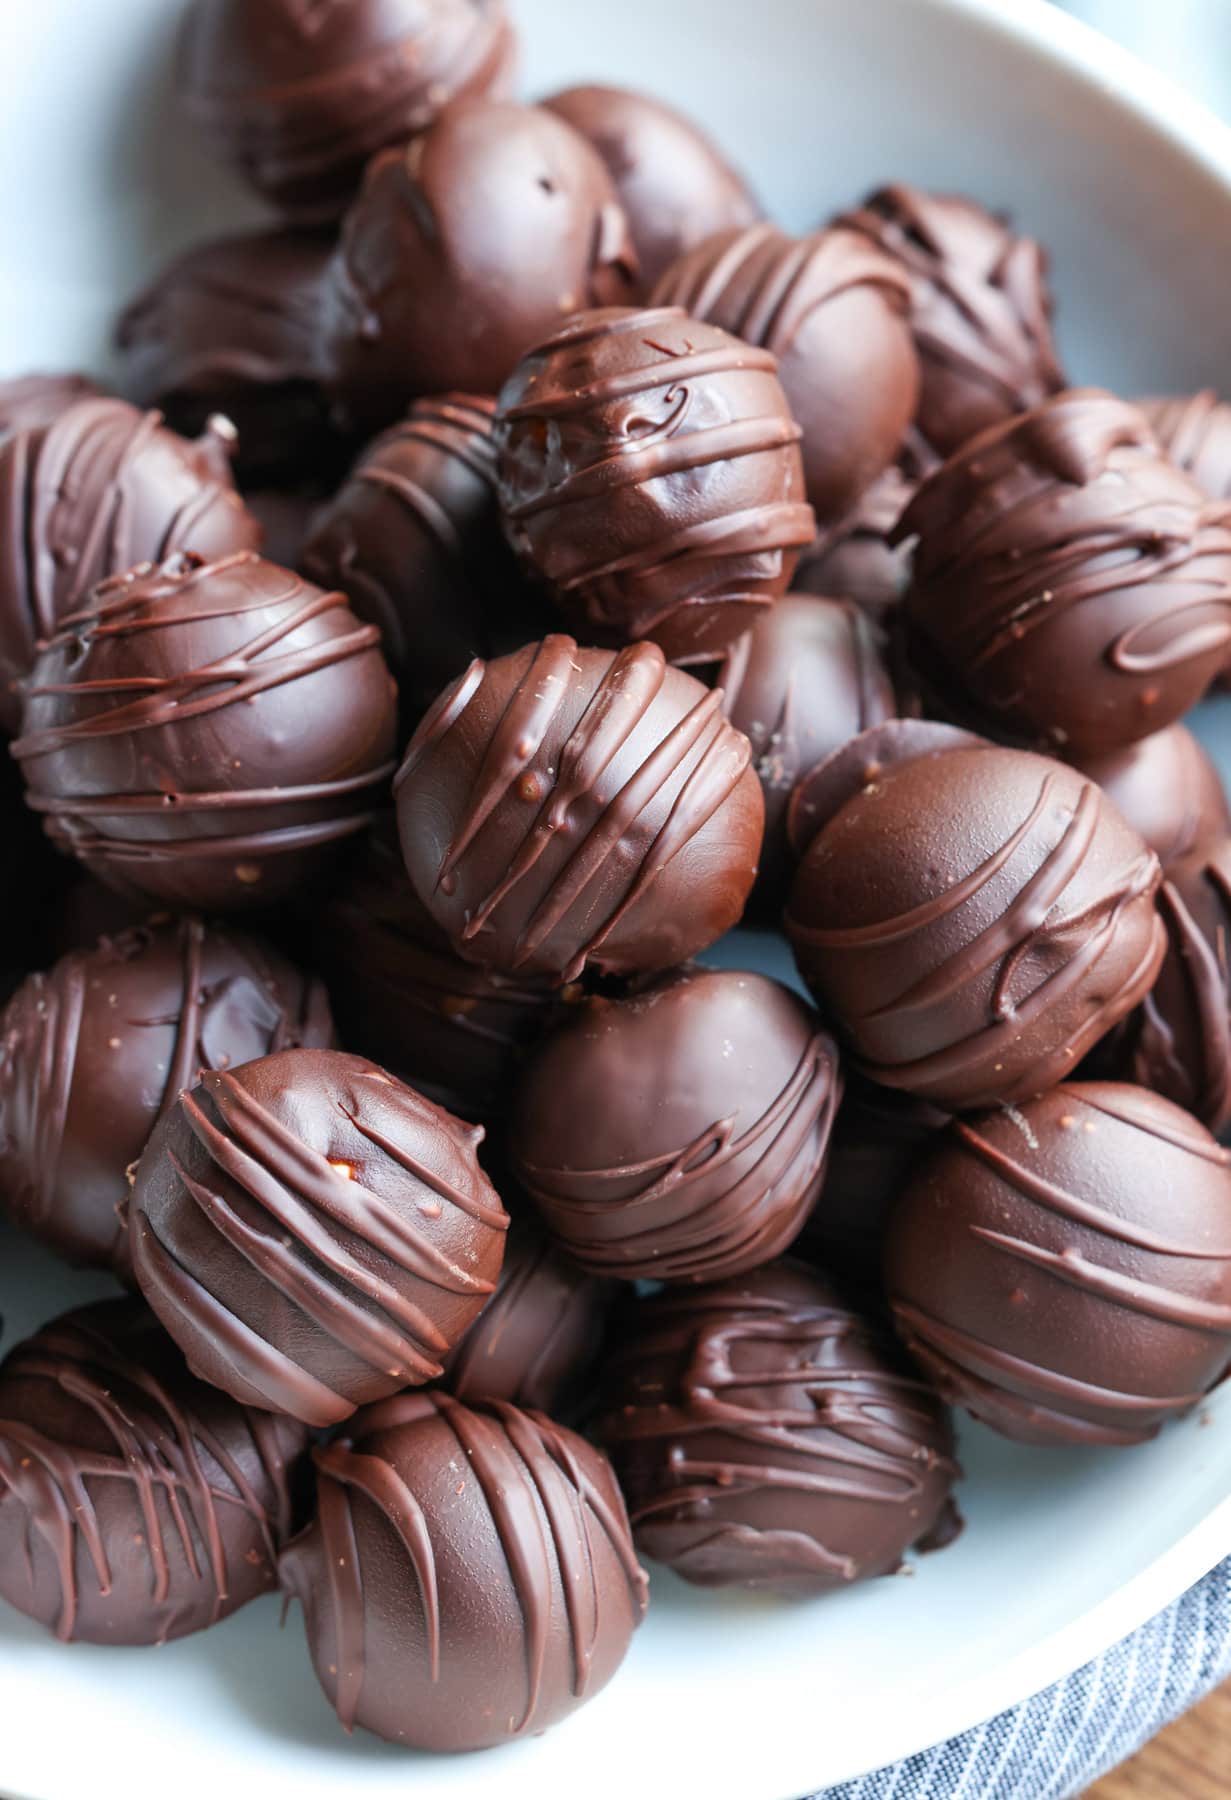
Made with just 5 ingredients, these Peanut Butter Balls are a quick, easy no bake dessert. I add a secret ingredient to my recipe that makes the flavor and texture a pretty spot on dupe for Reese’s peanut butter cups! These are perfect for snacking, gifting, or on any holiday cookie platter!
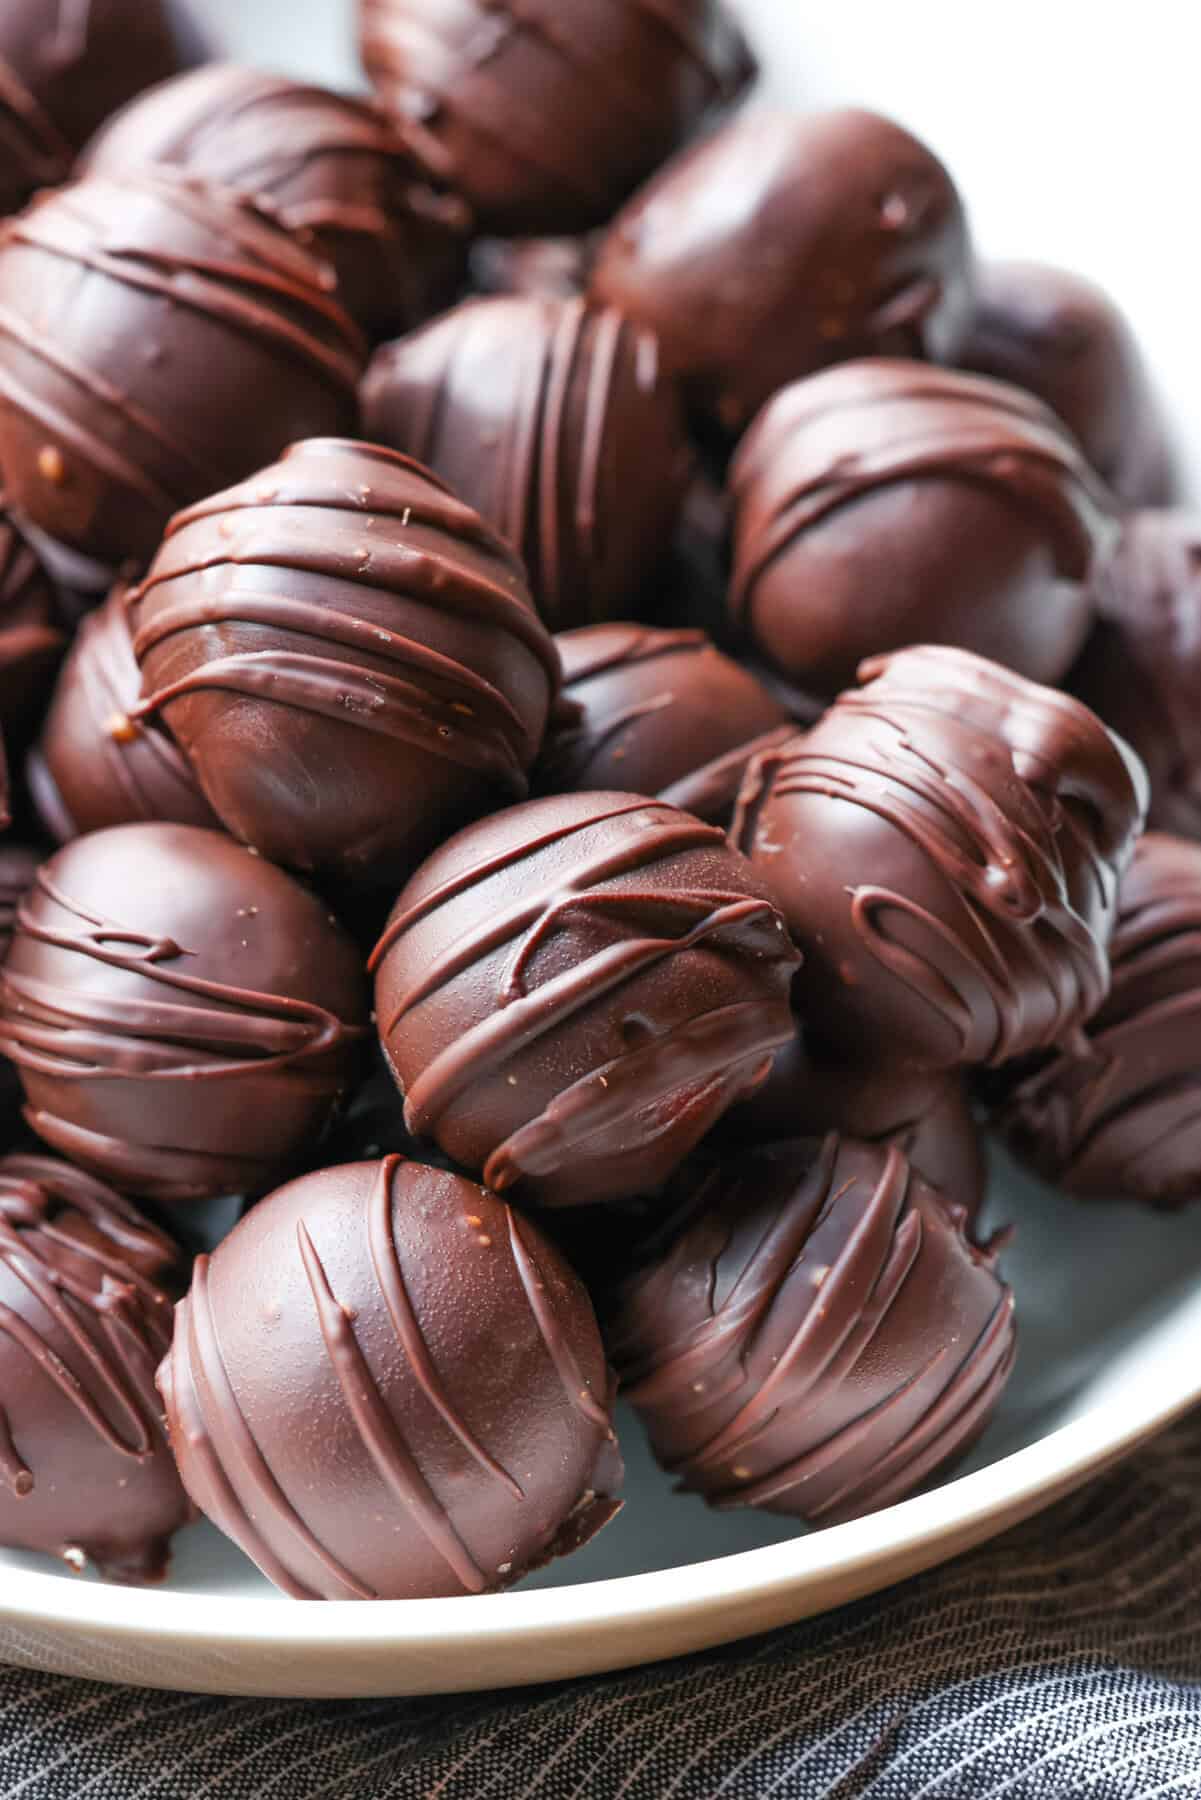
Easy Peanut Butter Balls
While peanut butter balls are a staple on my holiday dessert tray every year, the combo of chocolate and peanut butter is pretty hard to resist any time of the year!
Not to mention, this is one of my favorite treats to make because there’s absolutely no baking required. All you need is a mixer and a microwave.
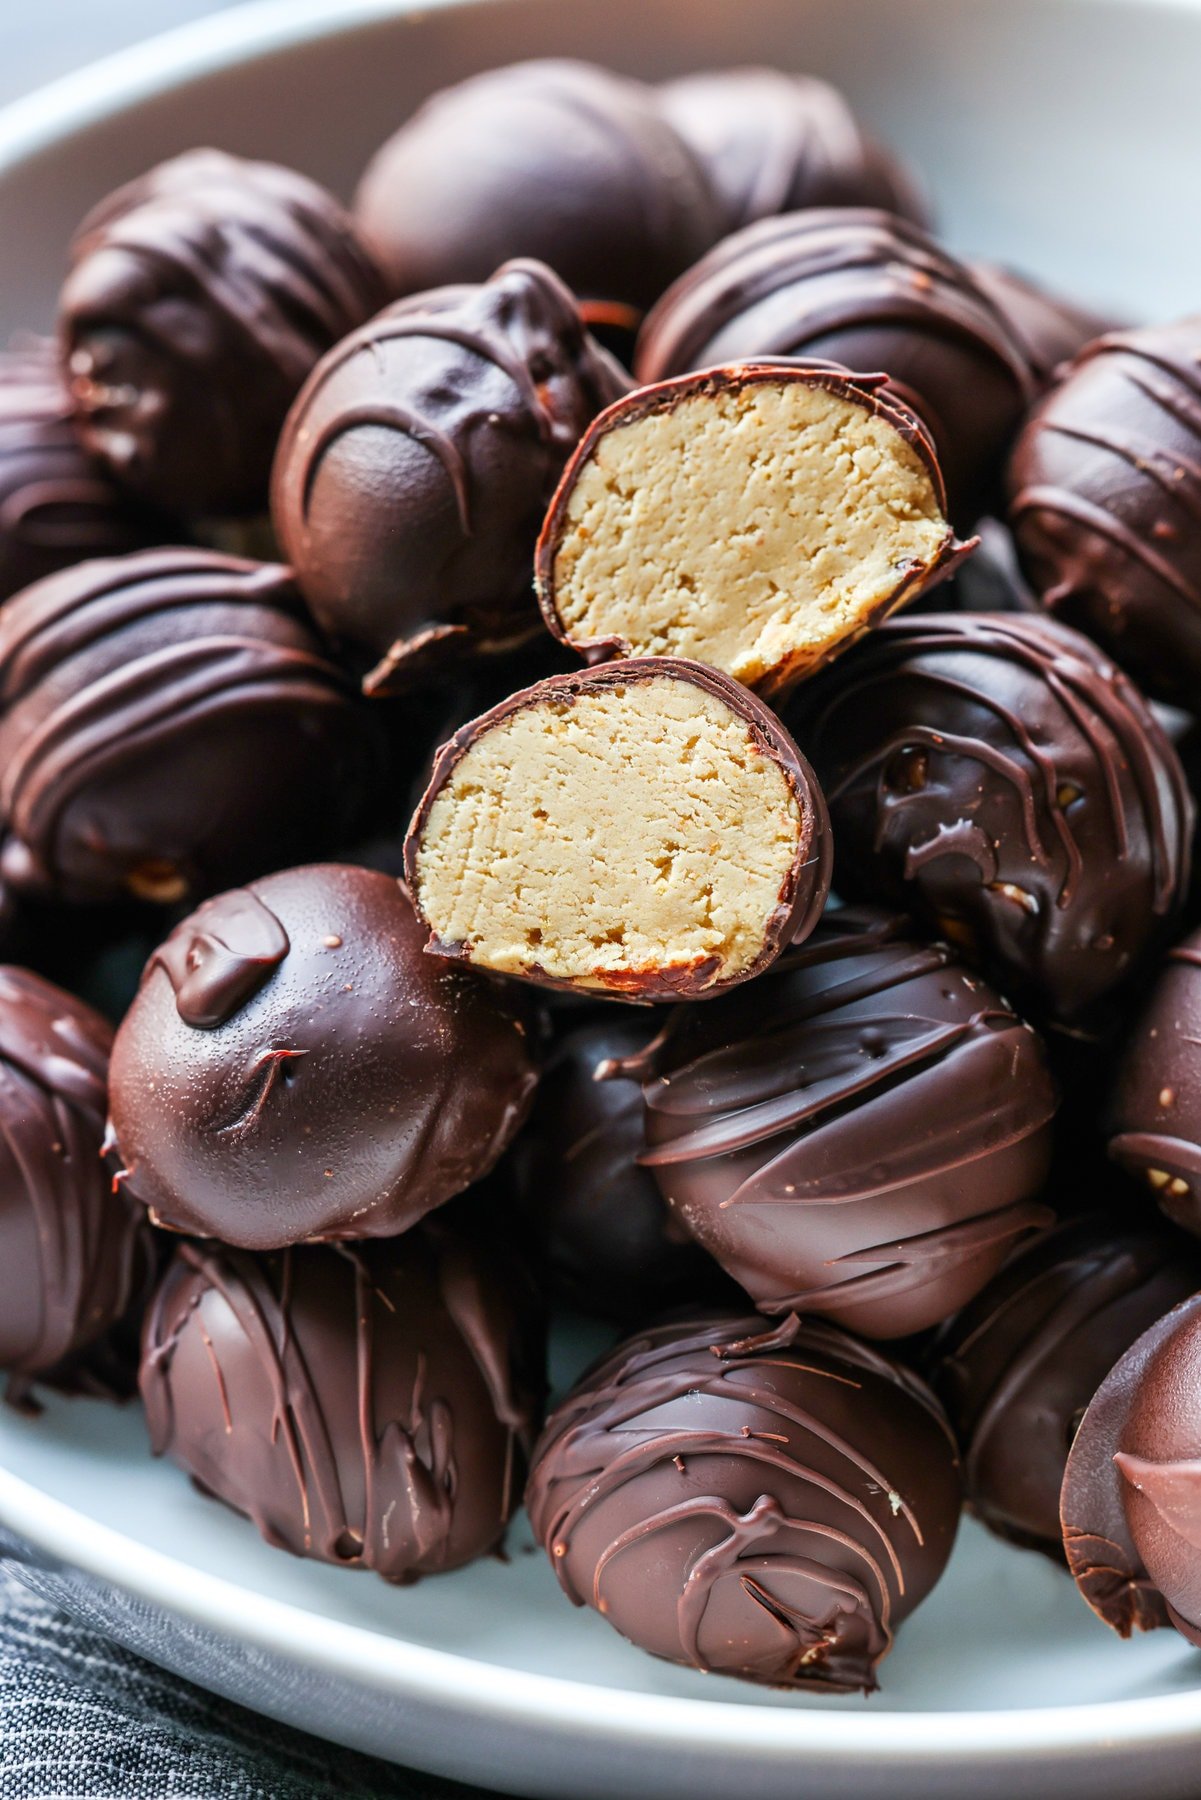
Oh and you’ll just need 5 ingredients – including my secret ingredient, graham cracker crumbs. Why graham cracker crumbs? They add a subtle sweetness and flavor as well as giving them the PERFECT texture…a lot like a Reese’s cup. It may seem a bit odd but trust me, it’s a game changer!
These will make the perfect addition to your next dessert tray with other treats like peanut butter fudge, chocolate covered strawberries, divinity candy, and rum balls. Just don’t be shocked when they disappear quickly.
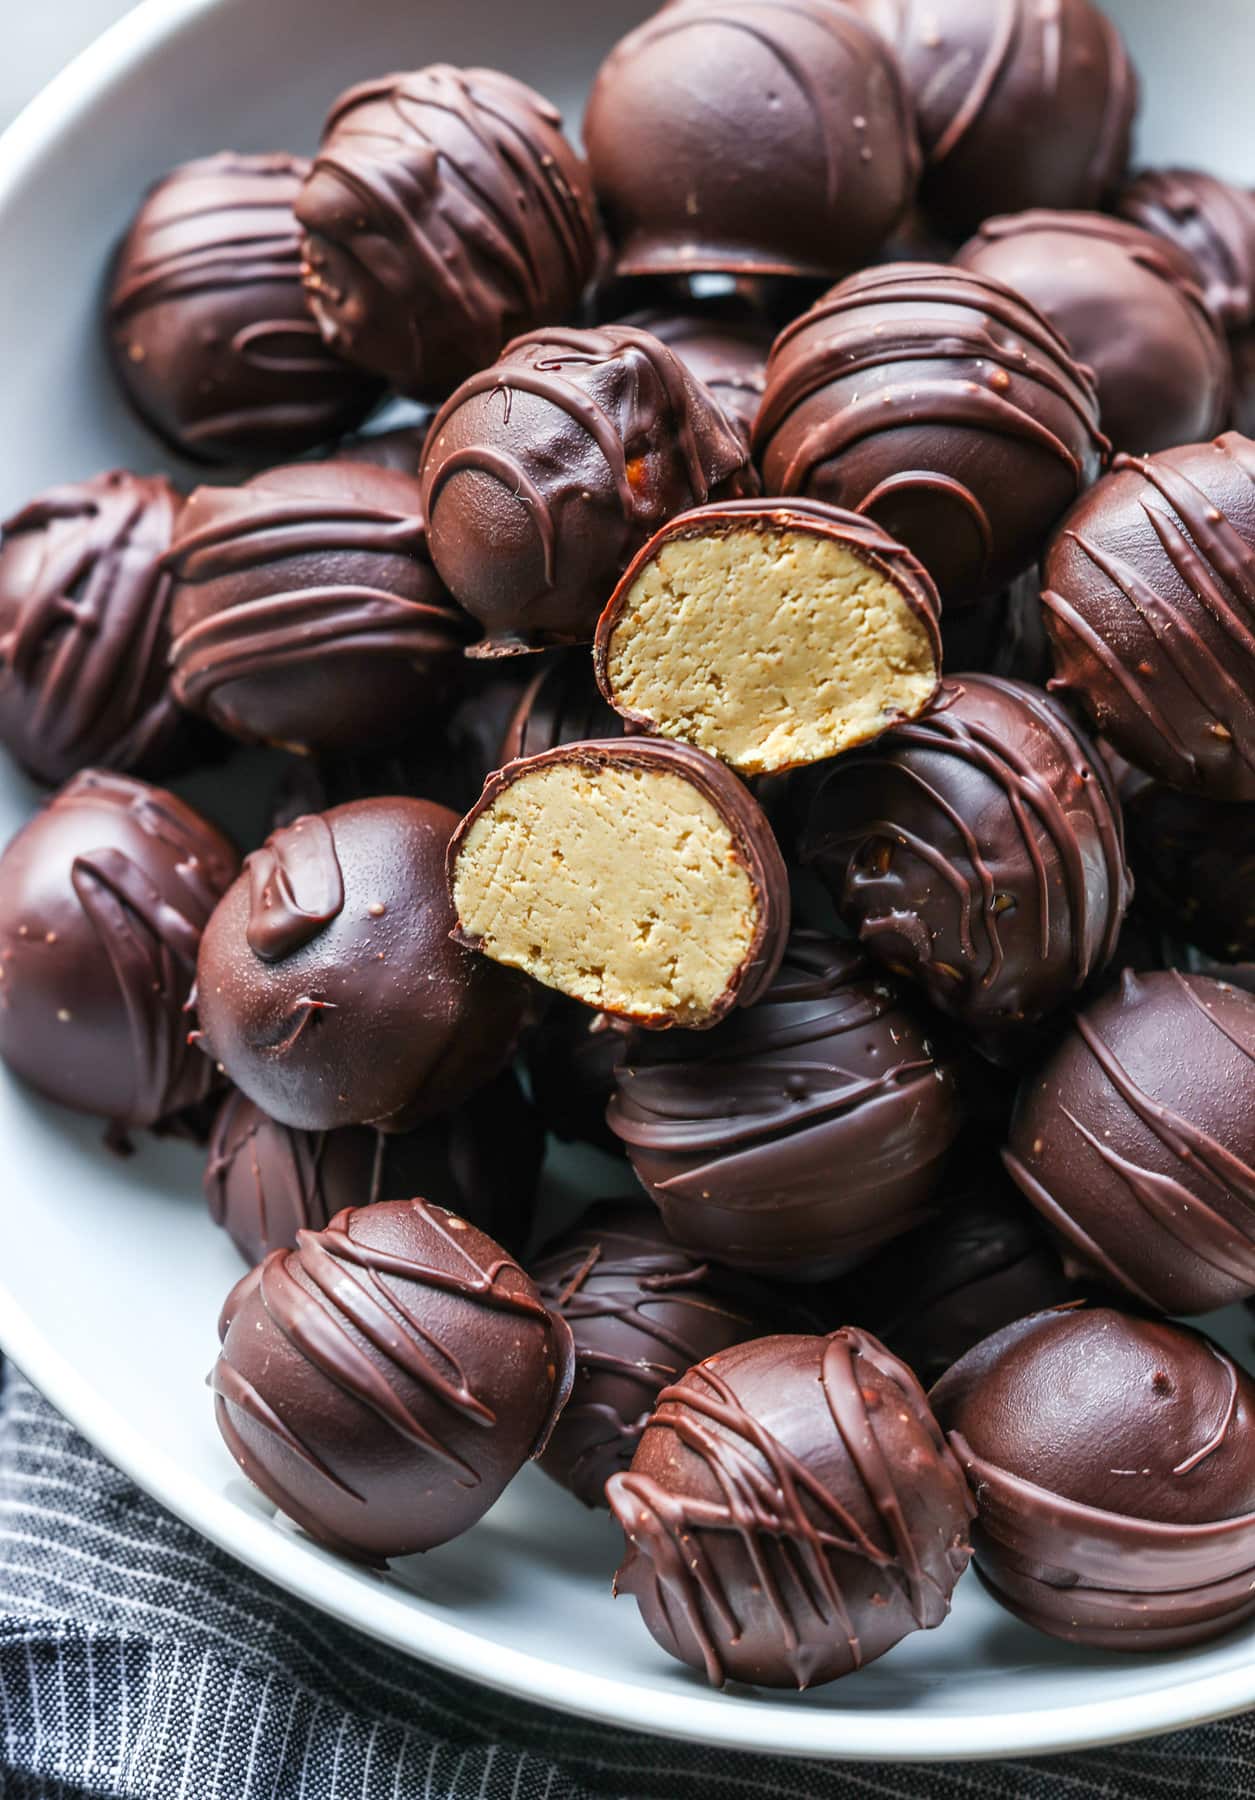
Why You’ll Love This Peanut Butter Balls Recipe
Here are a few reasons to love this chocolate peanut butter dessert.
- No baking required. This is an easy no bake recipe that the kids can help with too. All you’ll need is a microwave to melt the chocolate!
- Perfect for gifting. Everyone loves these chocolate peanut butter balls, so why not gift them around the holidays? They’re a great addition to any dessert platter too!
- Just 5 ingredients. These are made with simple ingredients like peanut butter, semi-sweet chocolate, and powdered sugar.
Are Peanut Butter Balls The Same As Buckeyes?
Sort of! While the ingredients are the same, buckeyes are only partially dipped in chocolate, leaving the peanut butter showing on the top, to resemble the nuts from the buckeye tree.
These balls, on the other hand, are completely covered in chocolate. That said, if you want the buckeye appearance, just don’t dip them completely in chocolate!
What You’ll Need
This easy peanut butter balls recipe is made with just 5 ingredients. See the recipe card below for measurements.
- Peanut butter – I like to use creamy peanut butter, such as Jif or Skippy.
- Butter – I use salted butter for added flavor but unsalted works too.
- Powdered sugar – Sweetens the peanut butter filling.
- Graham crackers – My secret ingredient! Graham crackers add a bit of sweetness and texture.
- Chocolate – I like to use Ghirardelli Melting Wafers for dipping. They melt SO smooth and taste delicious. You don’t need to add an extra tablespoon of butter or shortening to the chocolate to thin it out…it’s just the perfect consistency!
Easy Variations
Here are a few fun ways to customize your chocolate peanut butter balls.
- Shape them into eggs or patties. For a special Easter theme, you can shape your peanut butter balls into the shape of an egg and make these Peanut Butter Eggs for Easter. They are so much better than Reese’s Eggs…if that’s possible! OR if you just prefer a flatter patty-style, more like a peanut butter cup (without the trouble of molds).
- Dip them into white chocolate or milk chocolate. Semi-sweet or dark chocolate is my go-to, as it cuts the sweetness, but you can absolutely switch it up!
- Try it with crunchy peanut butter. If you prefer crunchy peanut butter, go ahead and try it in these buckeye balls.
- Add some mix-ins. If you really want to get creative go ahead and mix in some mini M&Ms or crushed pretzels! They might not be as perfectly round, but they will be delicious!
How To Make Peanut Butter Balls
This easy peanut butter balls recipe requires just a few steps.
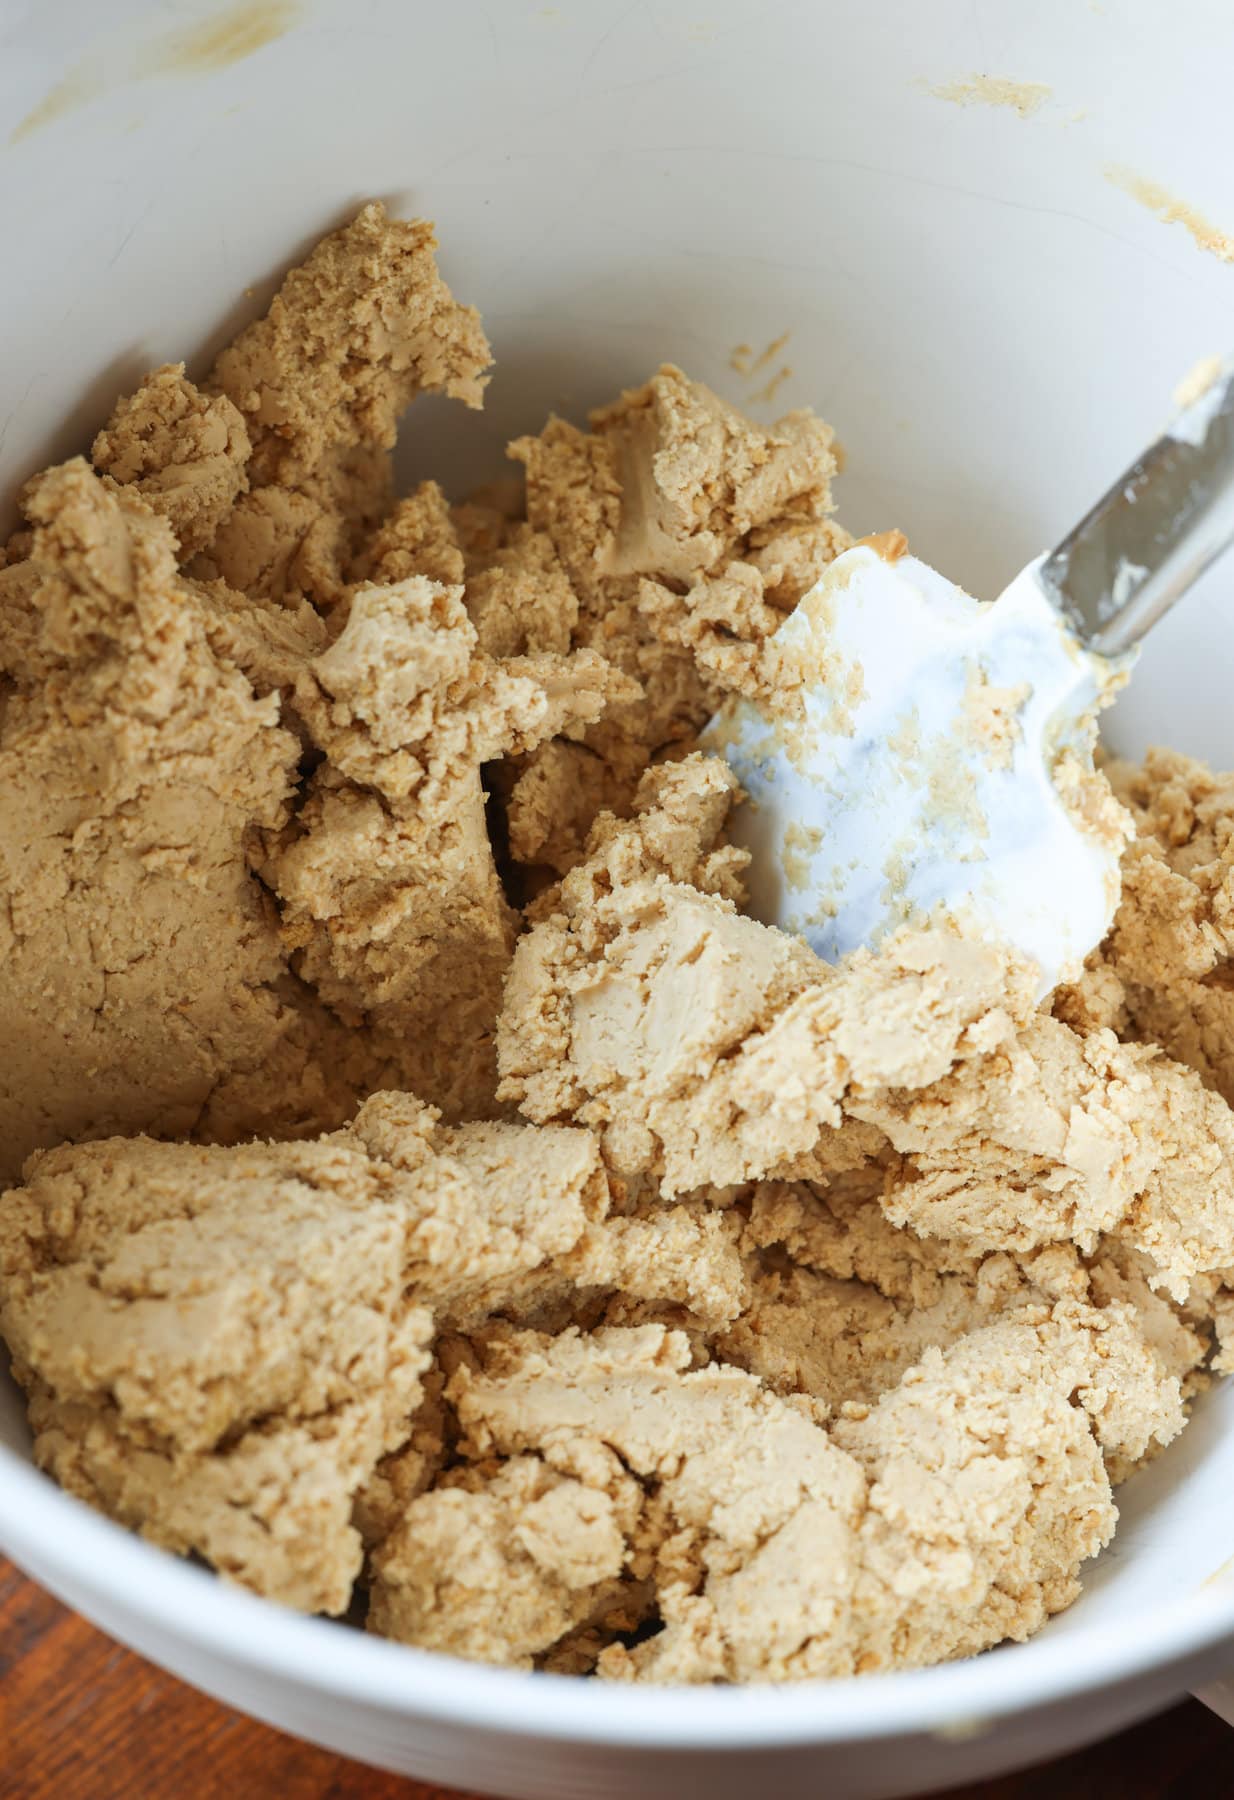
- Make the peanut butter mixture. Use the paddle attachment on your mixer to combine the peanut butter and butter until smooth. Mix in the powdered sugar and graham cracker crumbs until evenly incorporated.
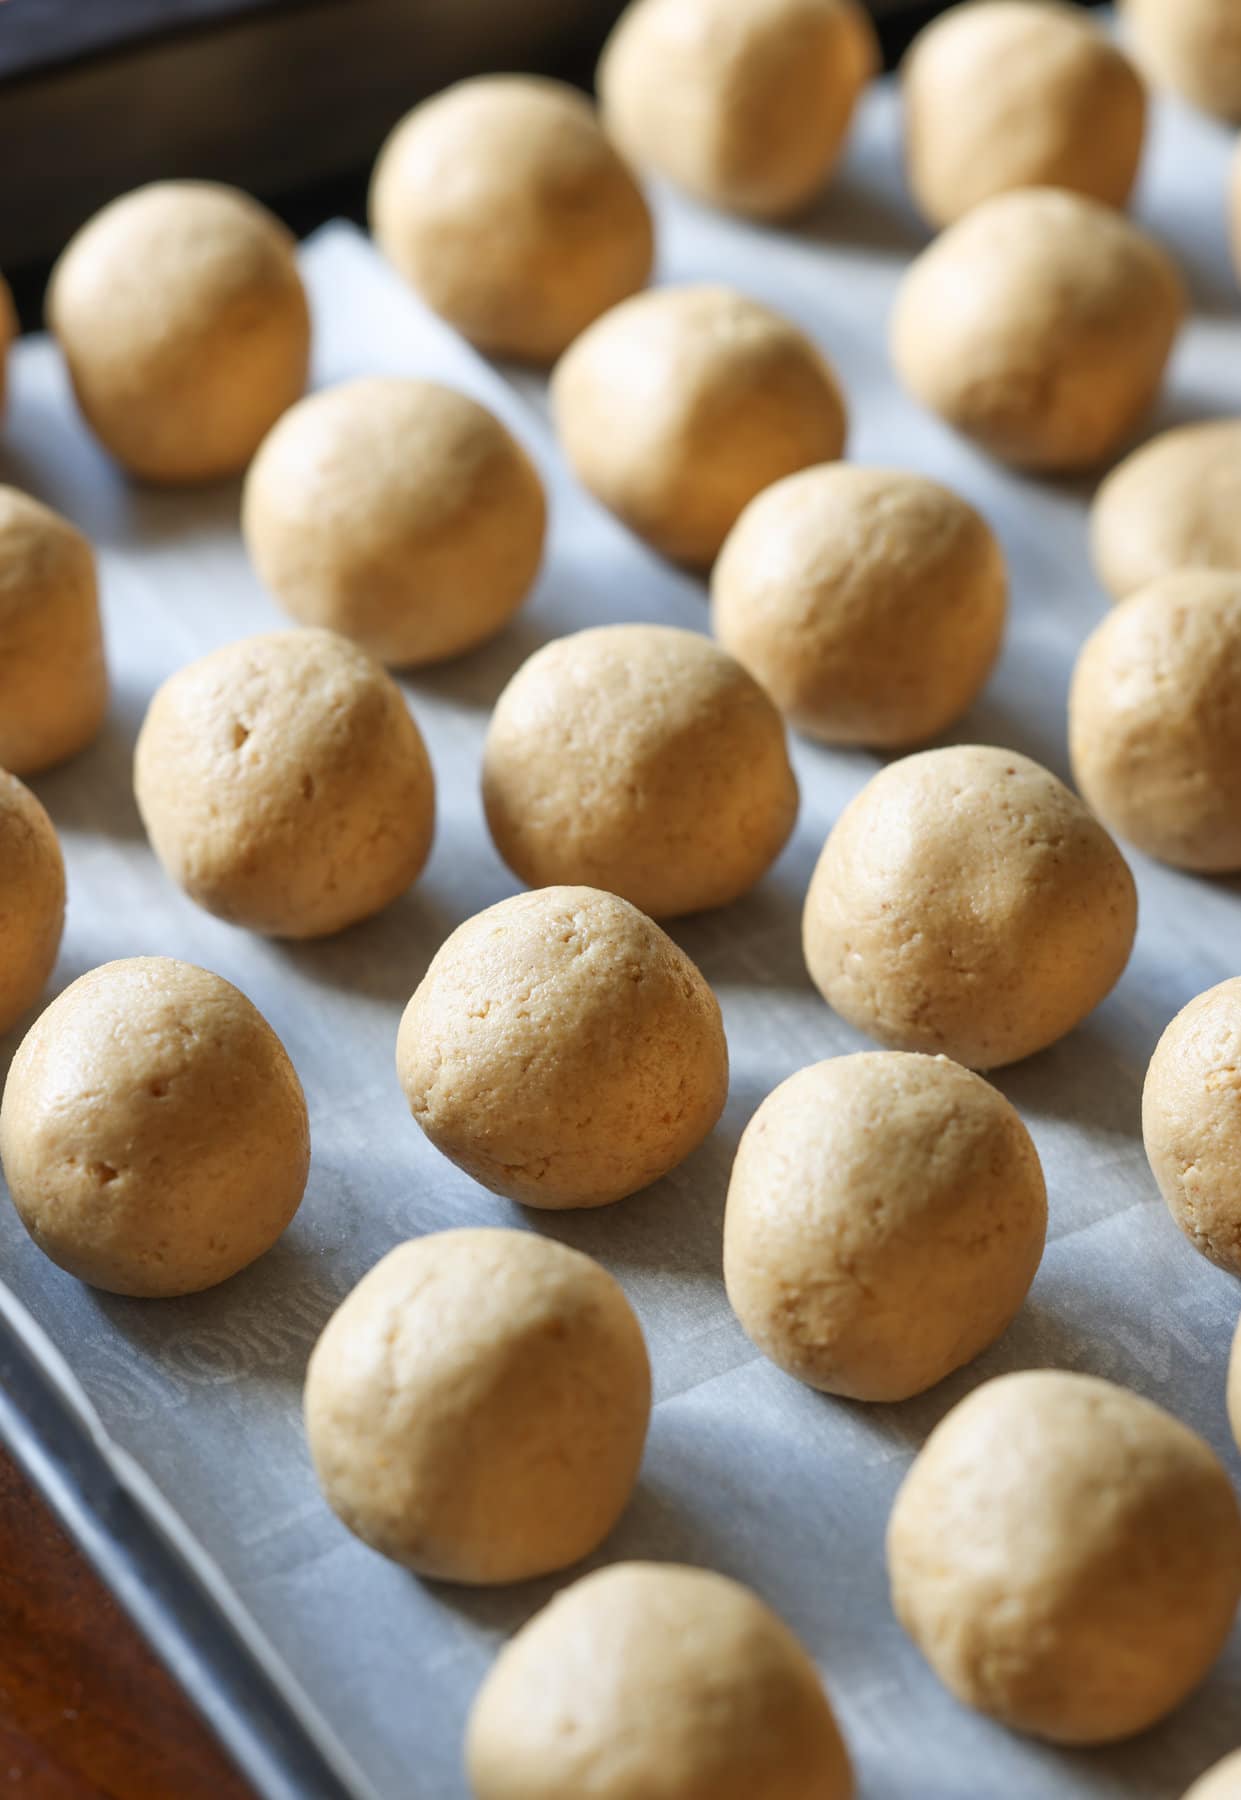
- Form the balls. Use a cookie scoop to portion out the mixture and roll in to balls. Place on a baking sheet lined with parchment paper and chill for at least 30 minutes in the fridge.
- Melt the chocolate. Microwave the chocolate in 25 second increments until melted, stirring frequently.
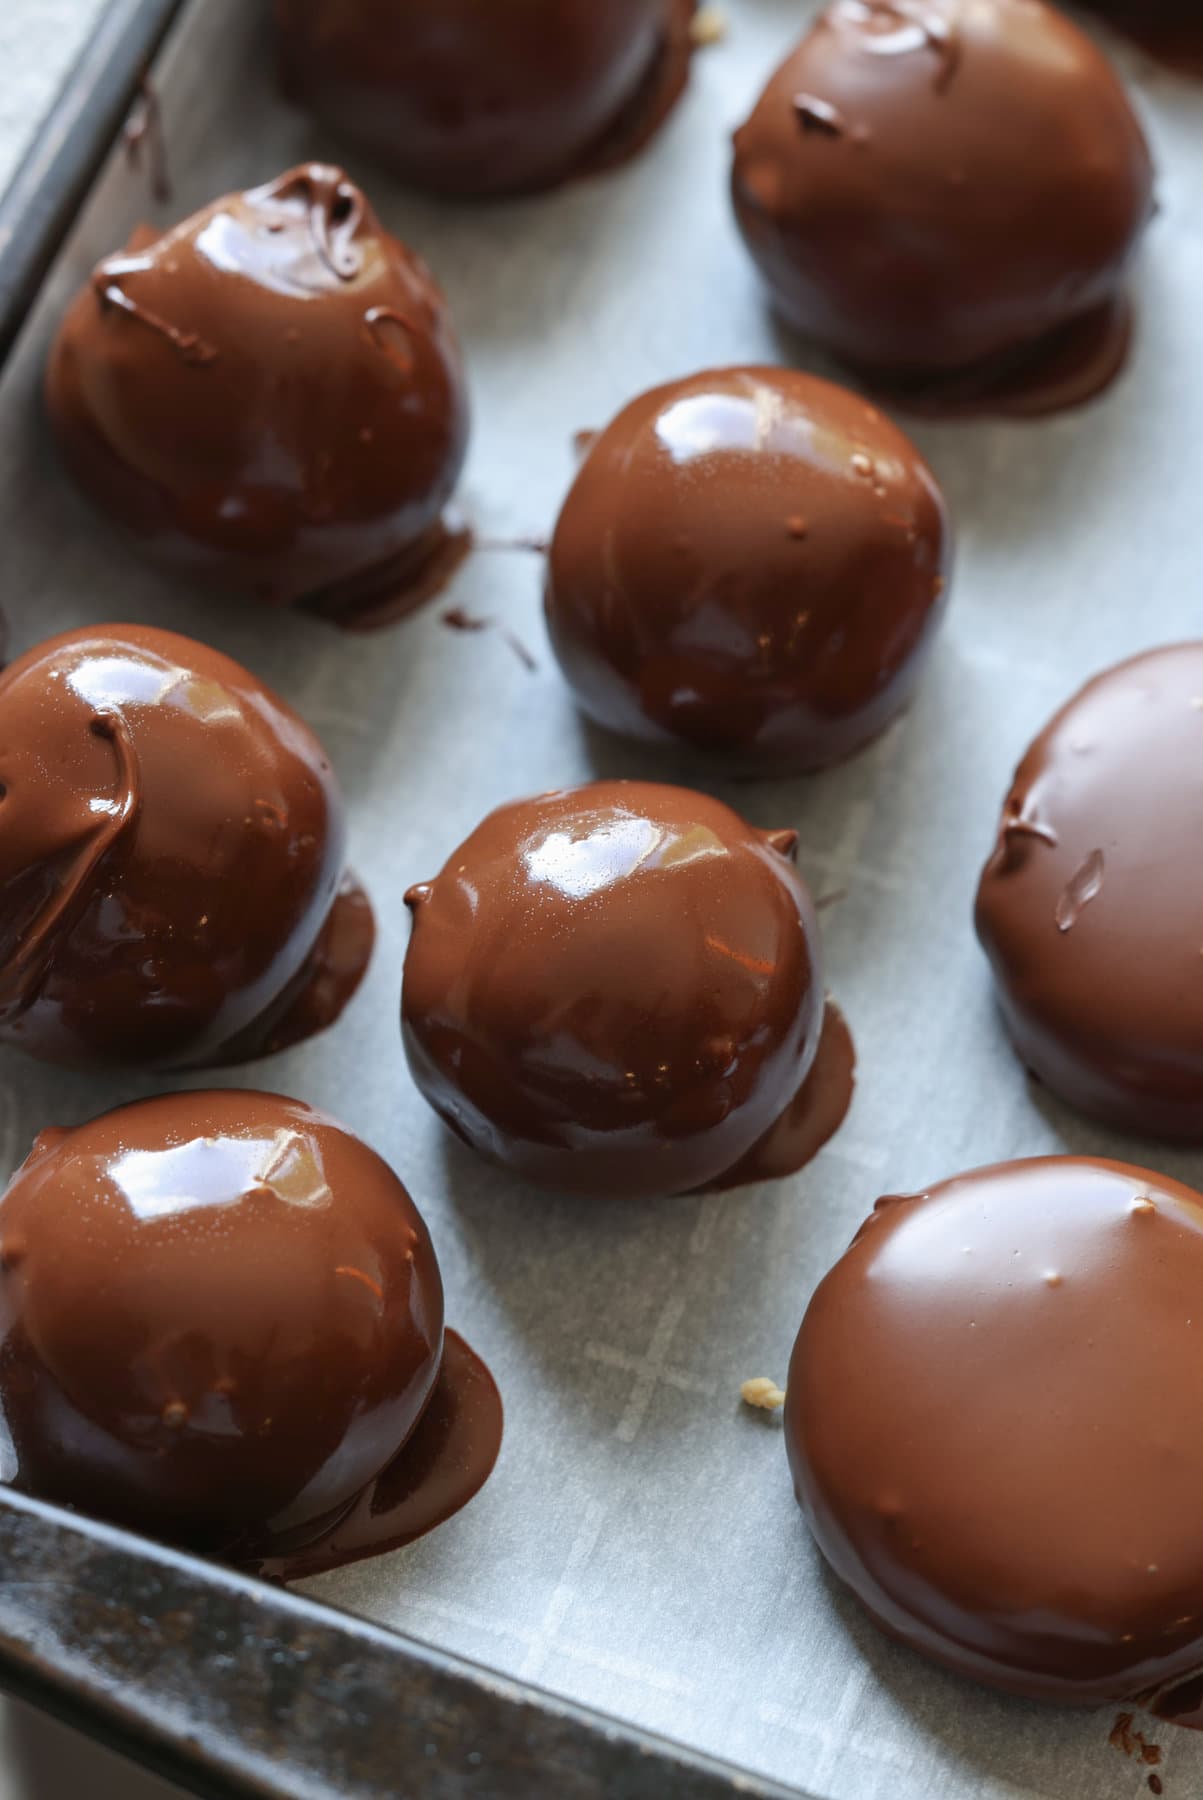
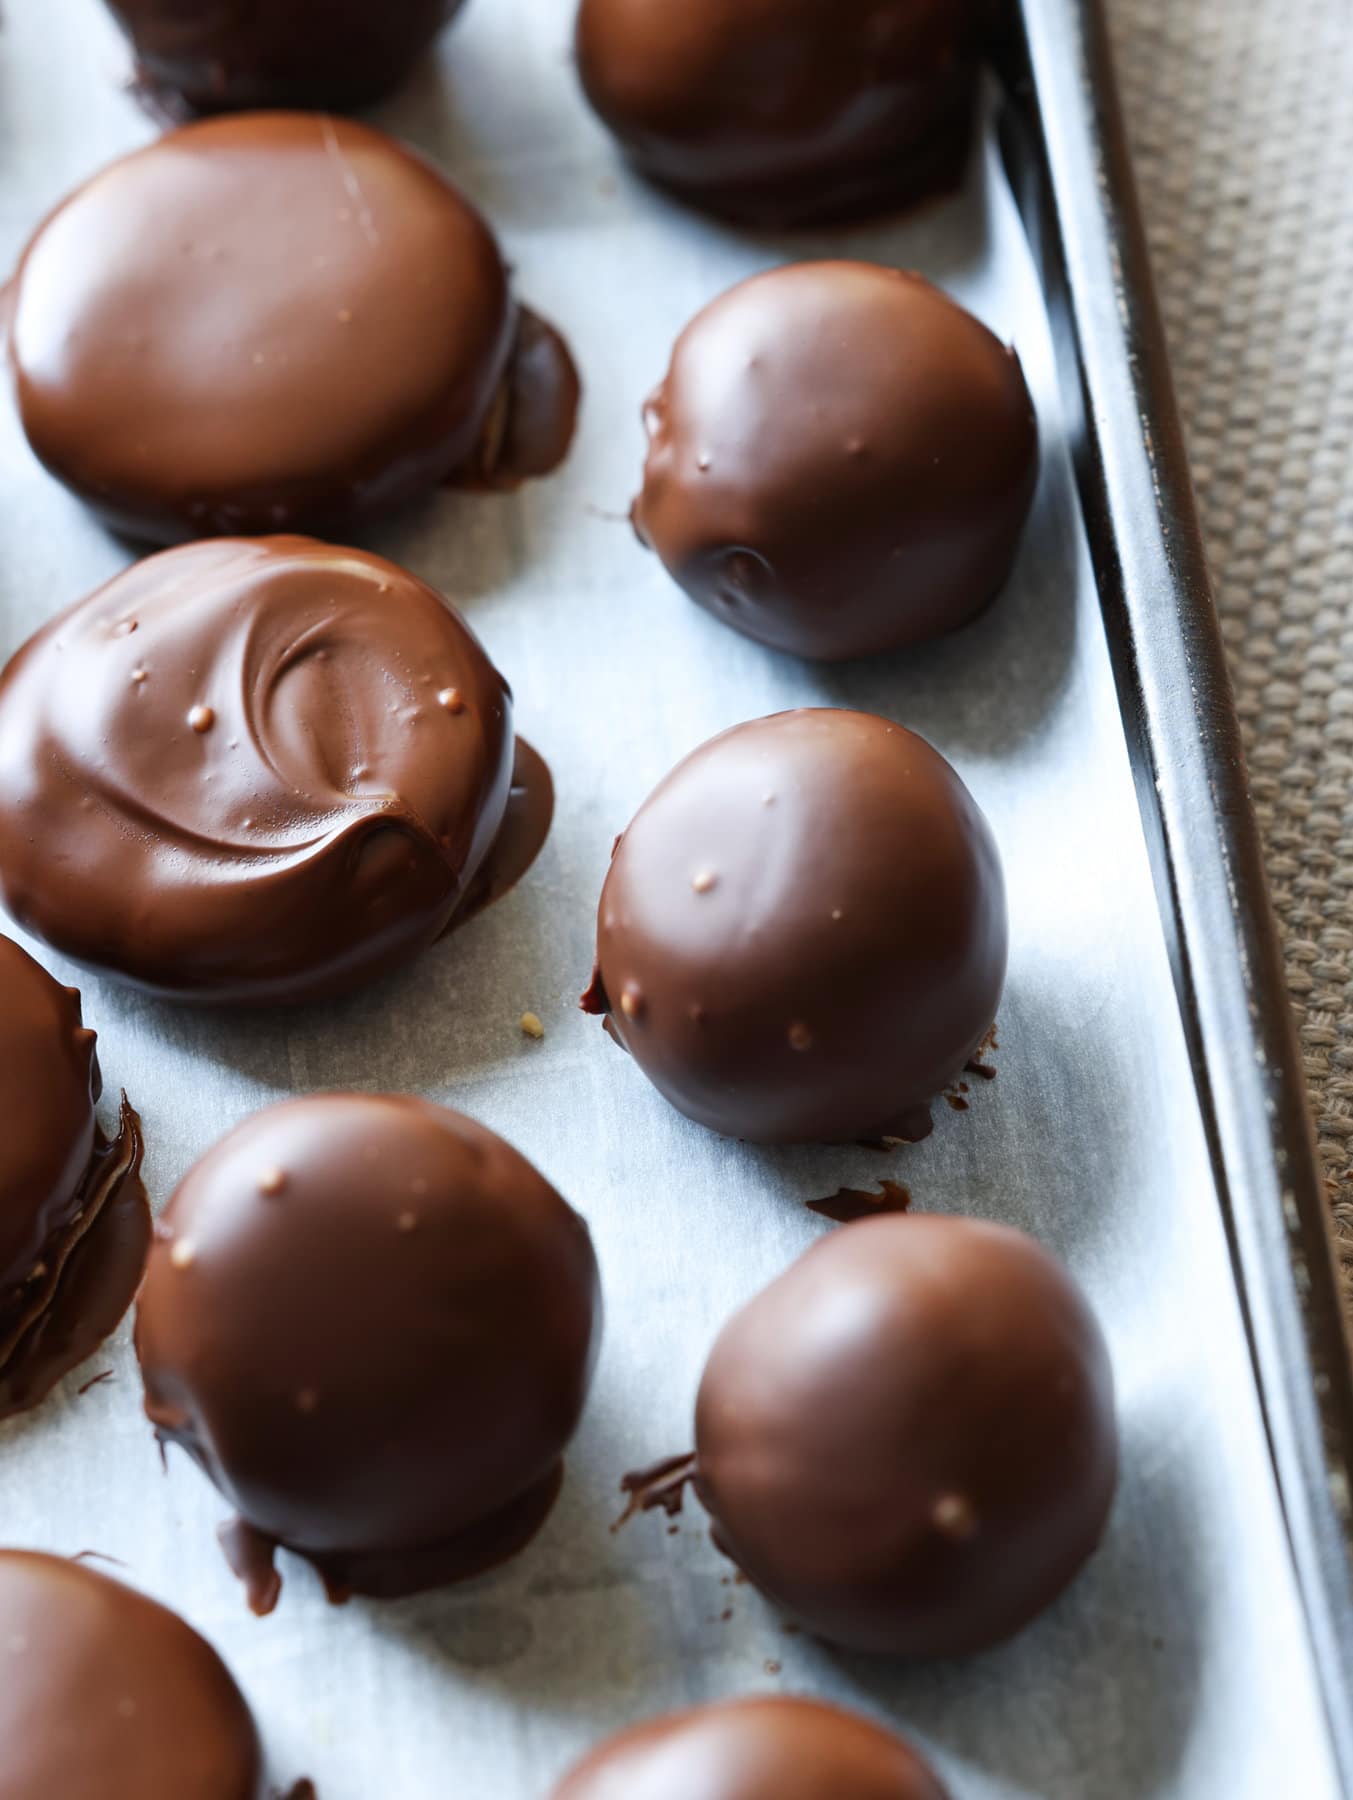
- Dip the balls in chocolate. Use a fork to dip each peanut butter ball into the melted chocolate. Place on the baking sheet and repeat with the remaining balls. Allow the chocolate to set, it will go from glossy to matte. You can do this at room temperature or in the refrigerator.
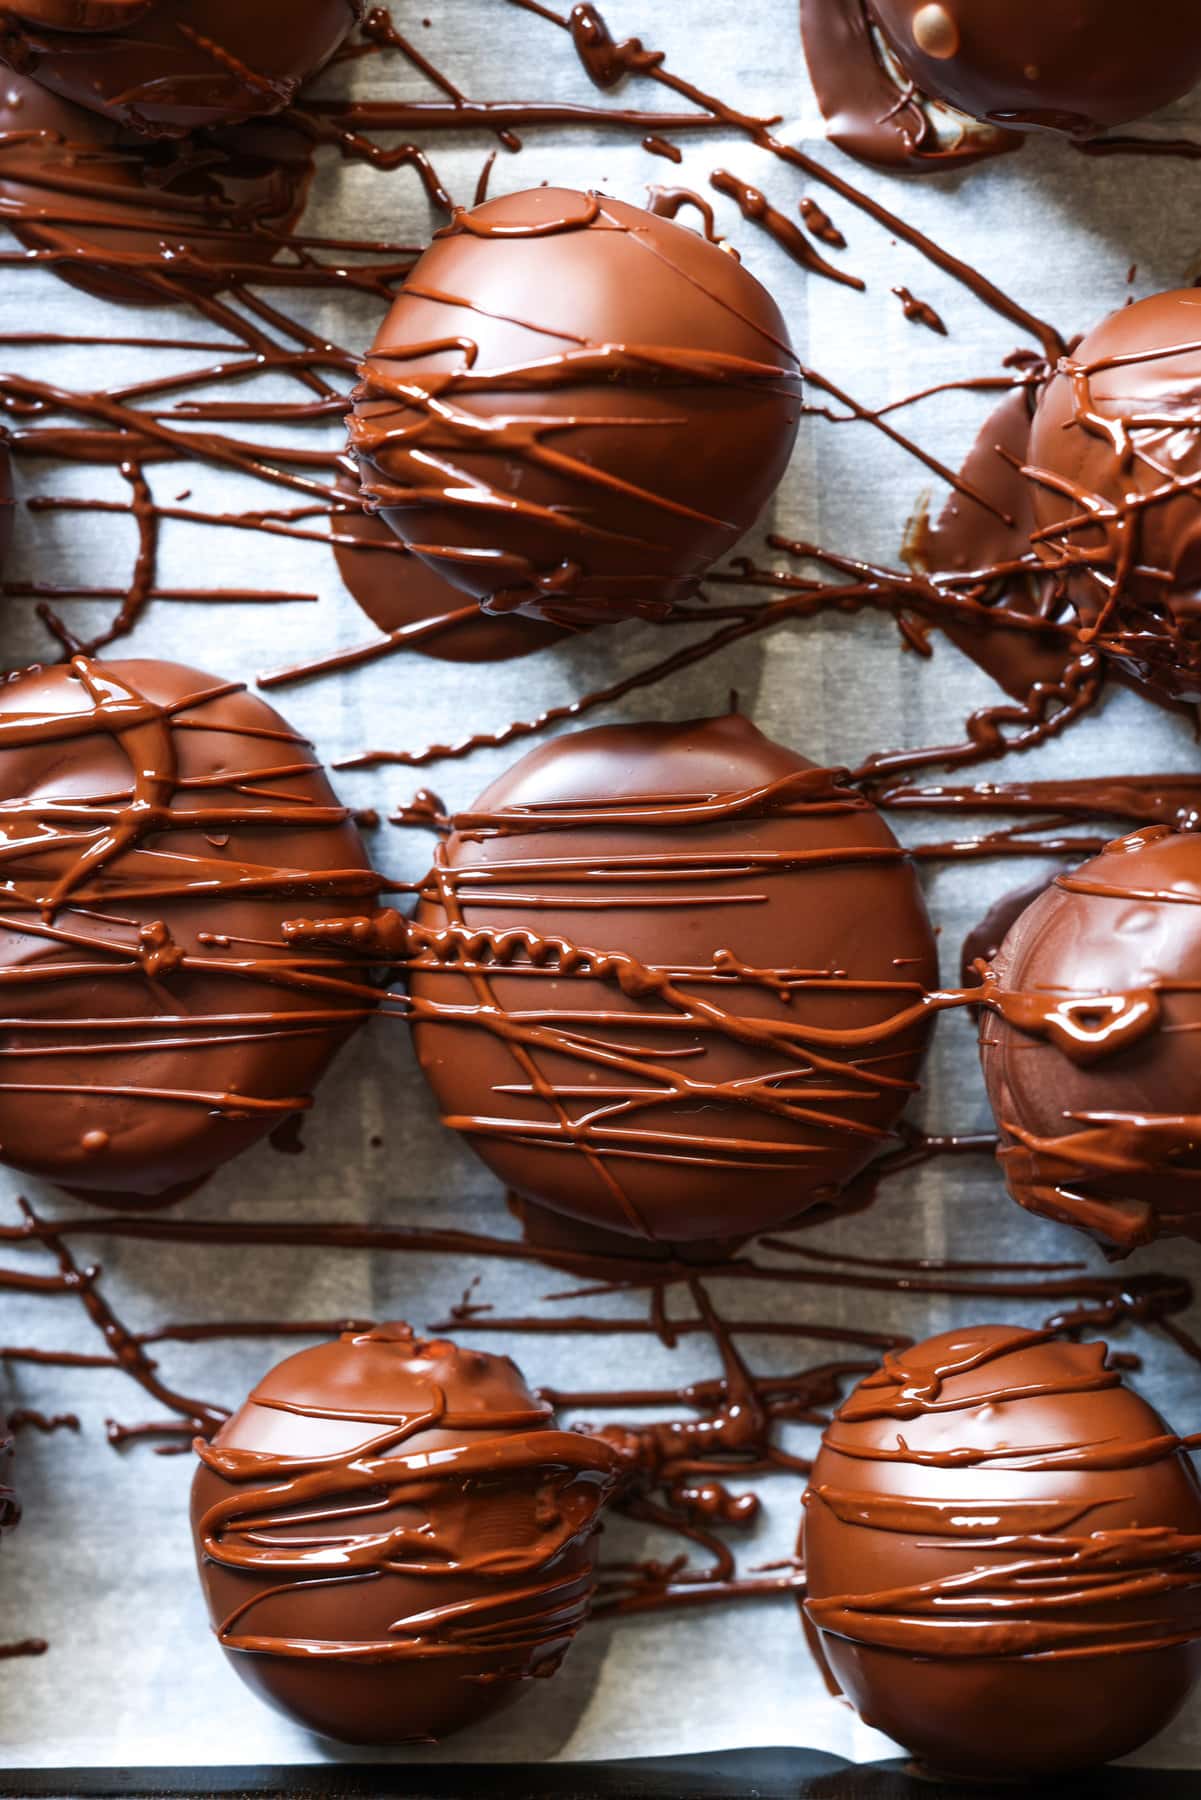
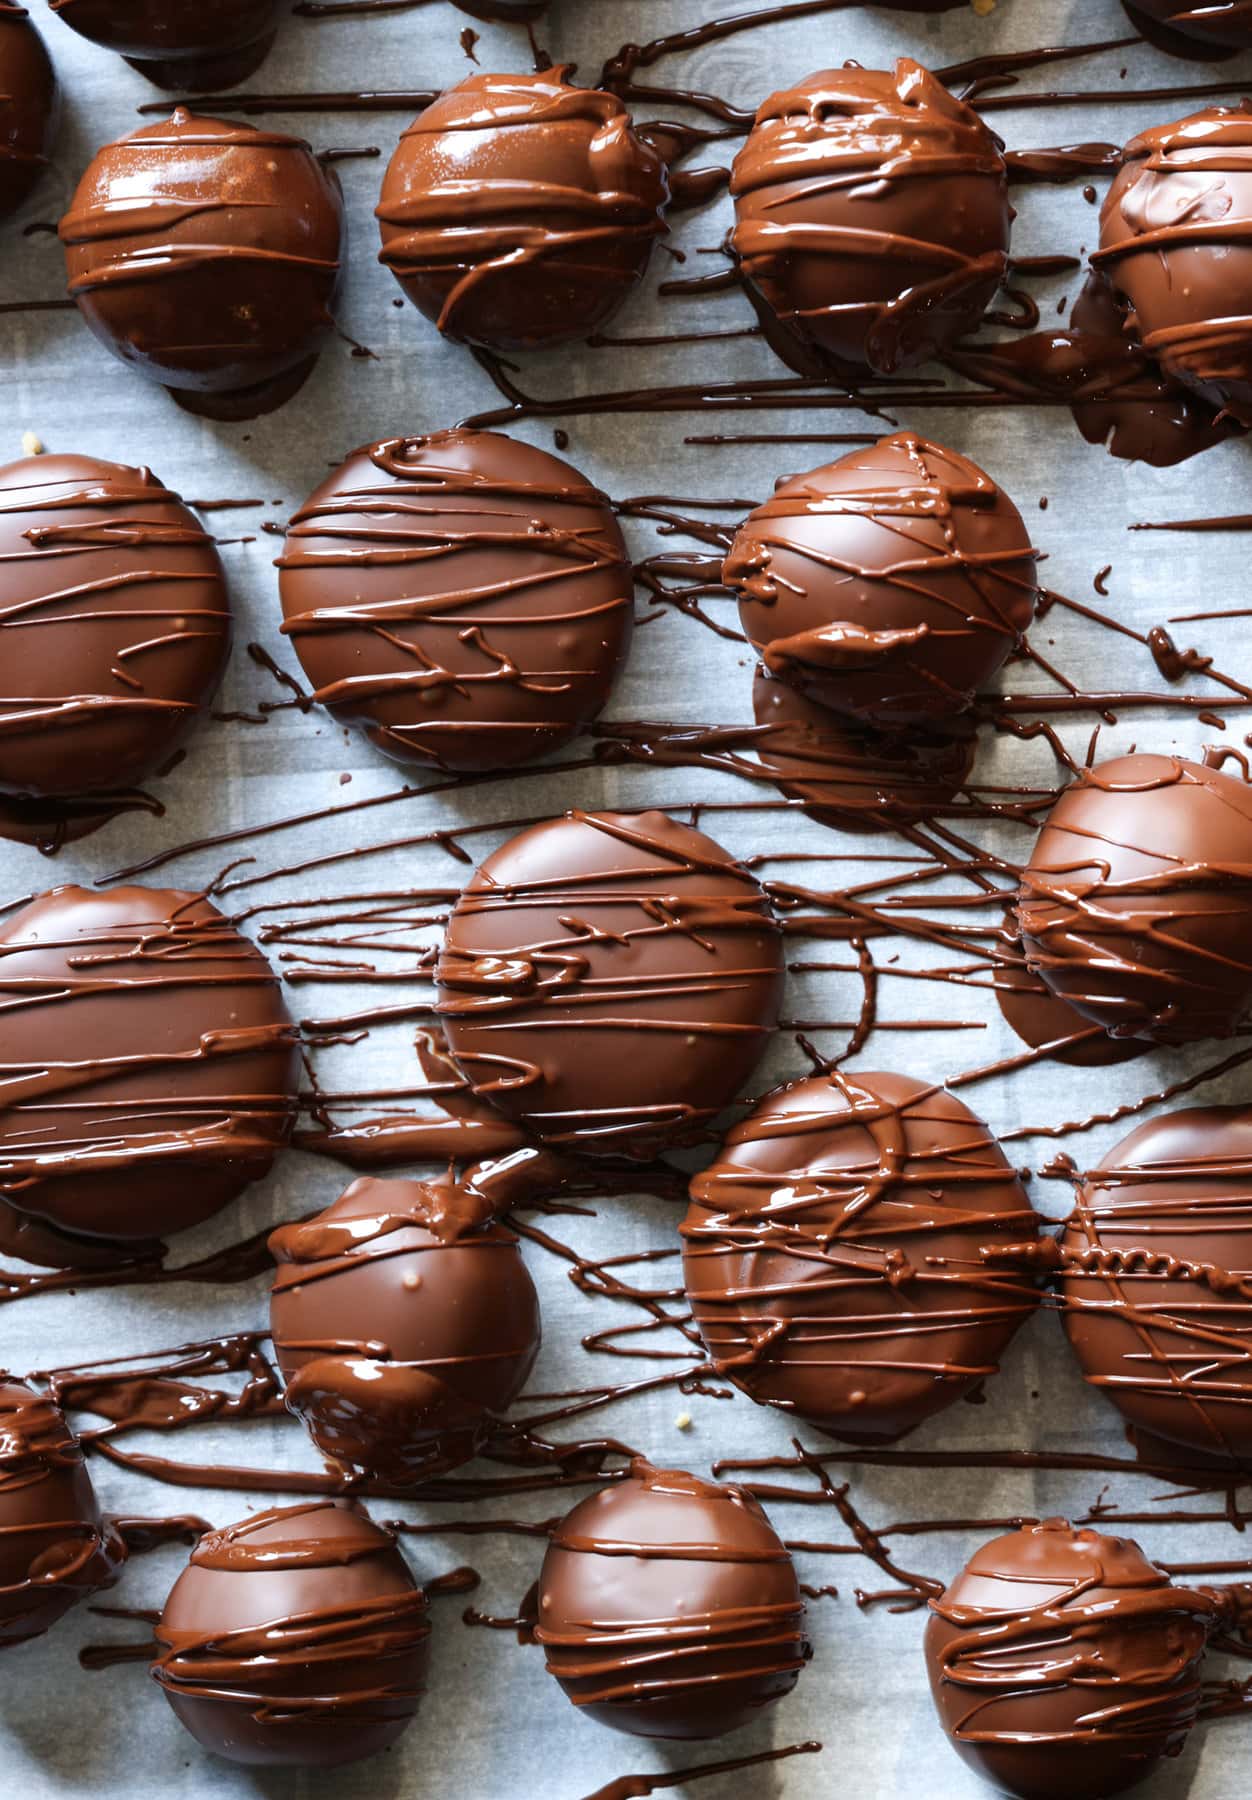
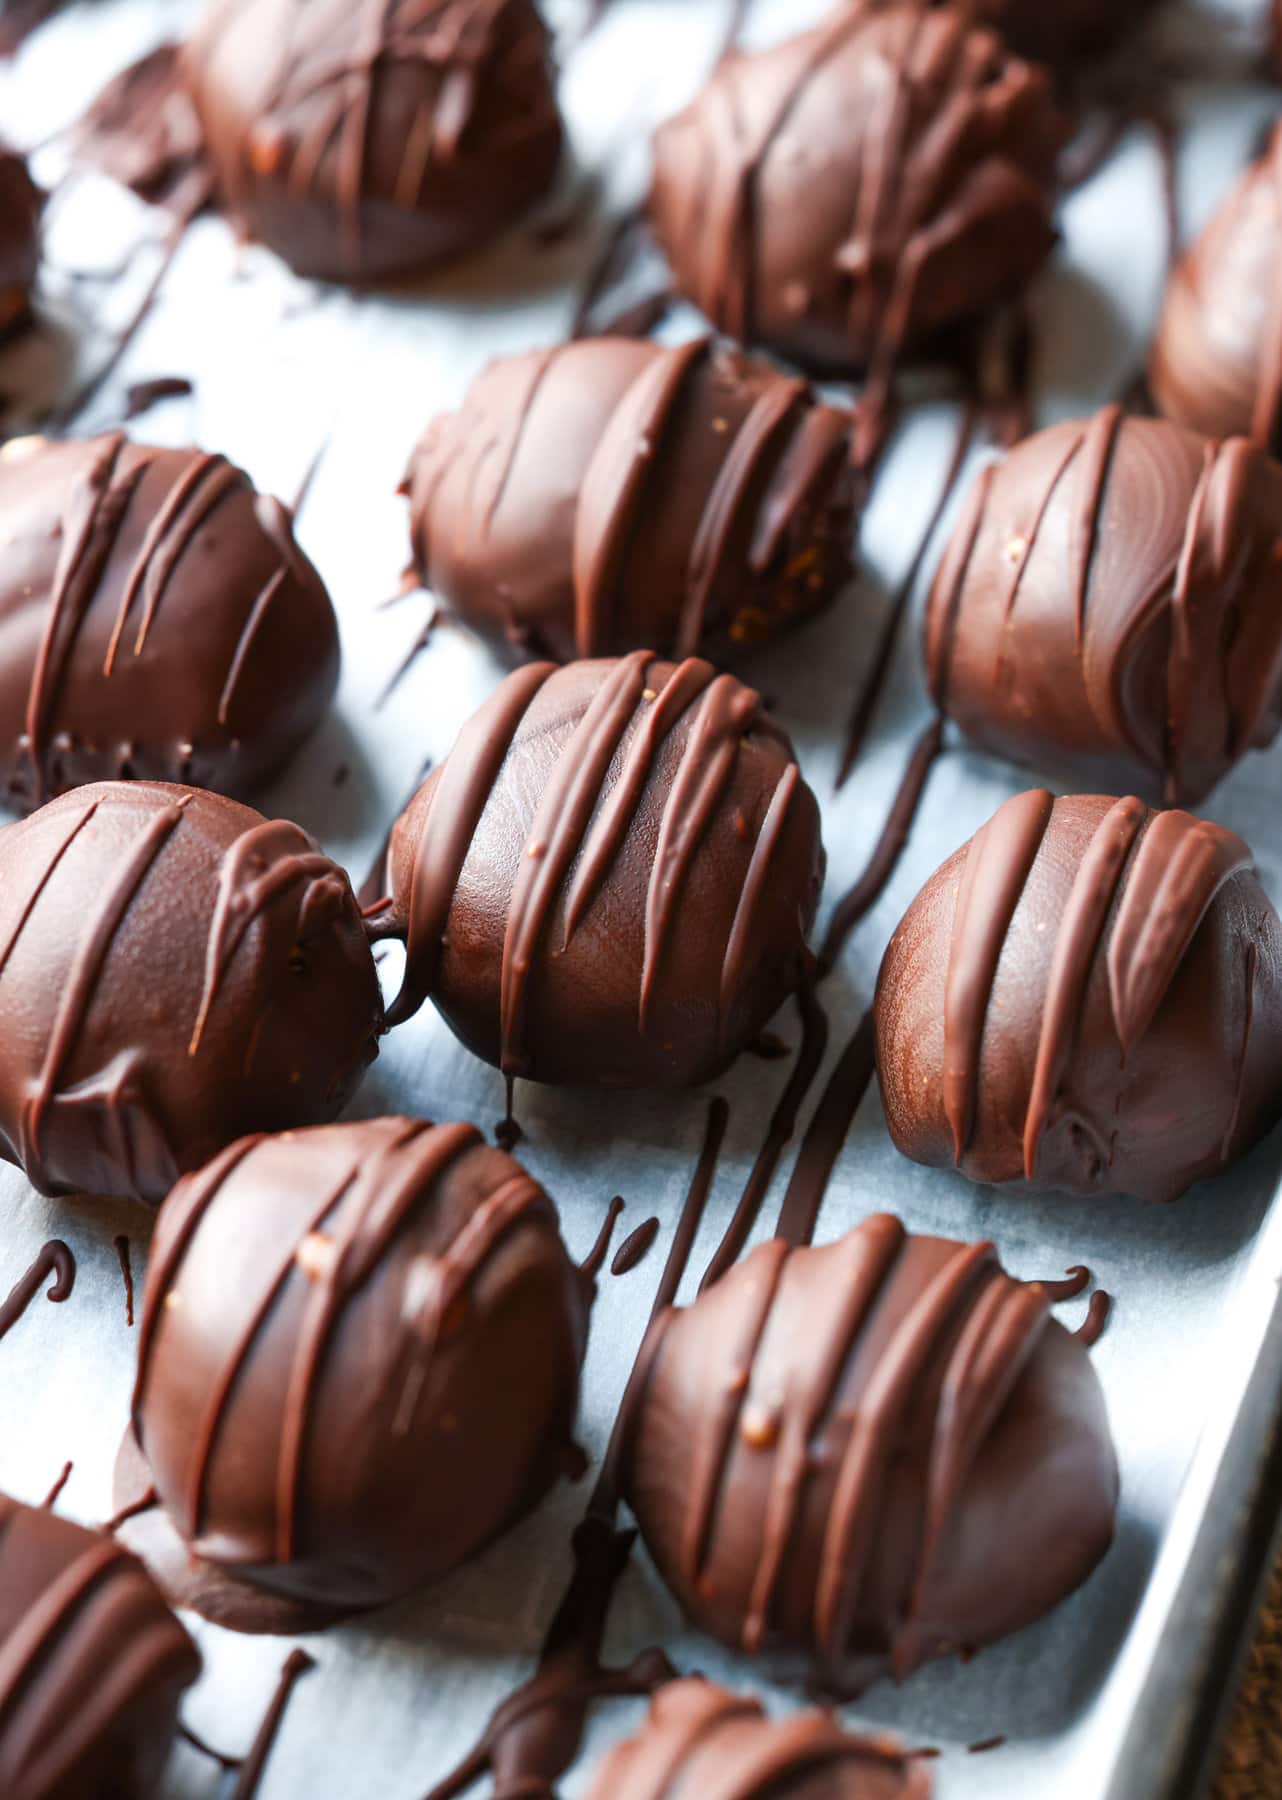
- Drizzle any extra chocolate over the peanut butter balls. Allow the chocolate to set before storing.
Tips for Success
Here are a few tips for making these chocolate covered peanut butter balls even easier!
- Make sure they’re chilled when you dip them. It will make the process MUCH easier! The chocolate will set up more quickly and the peanut butter balls will hold their shape when you dip and tap the excess warm chocolate.
- Add shortening if using chocolate chips. If you can’t find the Ghirardelli wafers, you certainly can use chocolate chips or even almond bark. Since chocolate chips aren’t necessarily made for melting, this is where you can add a tablespoon of shortening or butter into the chocolate to thin it out a little bit, making the dipping process easier.
- Reheat the chocolate if necessary. If the chocolate thickens up too much while you’re dipping, melt it again for a few seconds, until you reach the desired consistency.
- Add some extra decoration. You can decorate these with sprinkles, sea salt, or just drizzle some extra chocolate over top, like I did!
- Remove excess chocolate. When you dip the balls in the chocolate make sure to tap off all the excess chocolate you can! Then when you place the dipped ball onto the parchment lined sheet, use a toothpick and drag it around the base of the ball so it doesn’t pool up at the bottom!
Proper Storage
- Room temperature. You can store these peanut butter balls in an airtight container on the counter for up to 2 days.
- Fridge. You can also keep these in the fridge for up to a week.
Can You Freeze Peanut Butter Balls?
Yes! You can absolutely freeze these. In fact, I recommend doing so, so you always have some on hand!
First, allow the chocolate to set completely. Then transfer them to an airtight container with parchment paper between layers. Freeze for up to a month and thaw in the fridge or on the counter.
More Peanut Butter Desserts To Try
Description
Made with just 5 ingredients, these Peanut Butter Balls are a quick, easy no bake dessert. With a creamy peanut butter filling dipped in chocolate, these are always the first thing to disappear from any cookie platter!
- 1 cup creamy peanut butter
- 1 cup butter, room temperature
- 4 cups powdered sugar
- 1 1/4 cups graham cracker crumbs
- 15 ounces semi-sweet chocolate (for melting)
- In the bowl of your stand mixer fitted with the paddle attachment combine the peanut butter and butter, mixing on medium speed until smooth.
- Turn mixer to low and add in the powdered sugar and graham cracker crumbs, mixing until evenly incorporated. Mixture will be thick.
- Using a small cookie scoop (about 1 tablespoon), portion out the mixture and roll into balls. Place them on a large parchment lined baking sheet. Place the baking sheet in the refrigerator for at least 30 minutes to chill.
- In a medium bowl melt the chocolate in 25- second increments, stirring after each until smooth.
- Using a fork, dip each peanut butter ball into the melted chocolate, tapping off the excess. Place back on the parchment lined baking sheet. Repeat with all balls.
- Drizzle any extra chocolate on top of the balls.
- Allow the chocolate to set before storing.
Notes
Tip – Drag a toothpick around the melted chocolate when you place the dipped peanut butter ball back onto the baking sheet after dipping. This will prevent the chocolate from pooling up at the bottom as it dries, and just making the balls prettier.
Store at room temperature for up to 2 days, or refrigerated for up to a week.
Nutrition
- Serving Size: 1 ball
- Calories: 135
- Sugar: 11.9 g
- Sodium: 48.8 mg
- Fat: 7.7 g
- Carbohydrates: 16 g
- Protein: 1.9 g
- Cholesterol: 8.1 mg
Keywords: peanut butter balls, peanut butter balls recipe, easy peanut butter balls, chocolate peanut butter balls
Want To Save This Recipe?
Find more recipes like this:
PIN for later:
