This website may contain affiliate links and advertising so that we can provide recipes to you. Read my privacy policy.
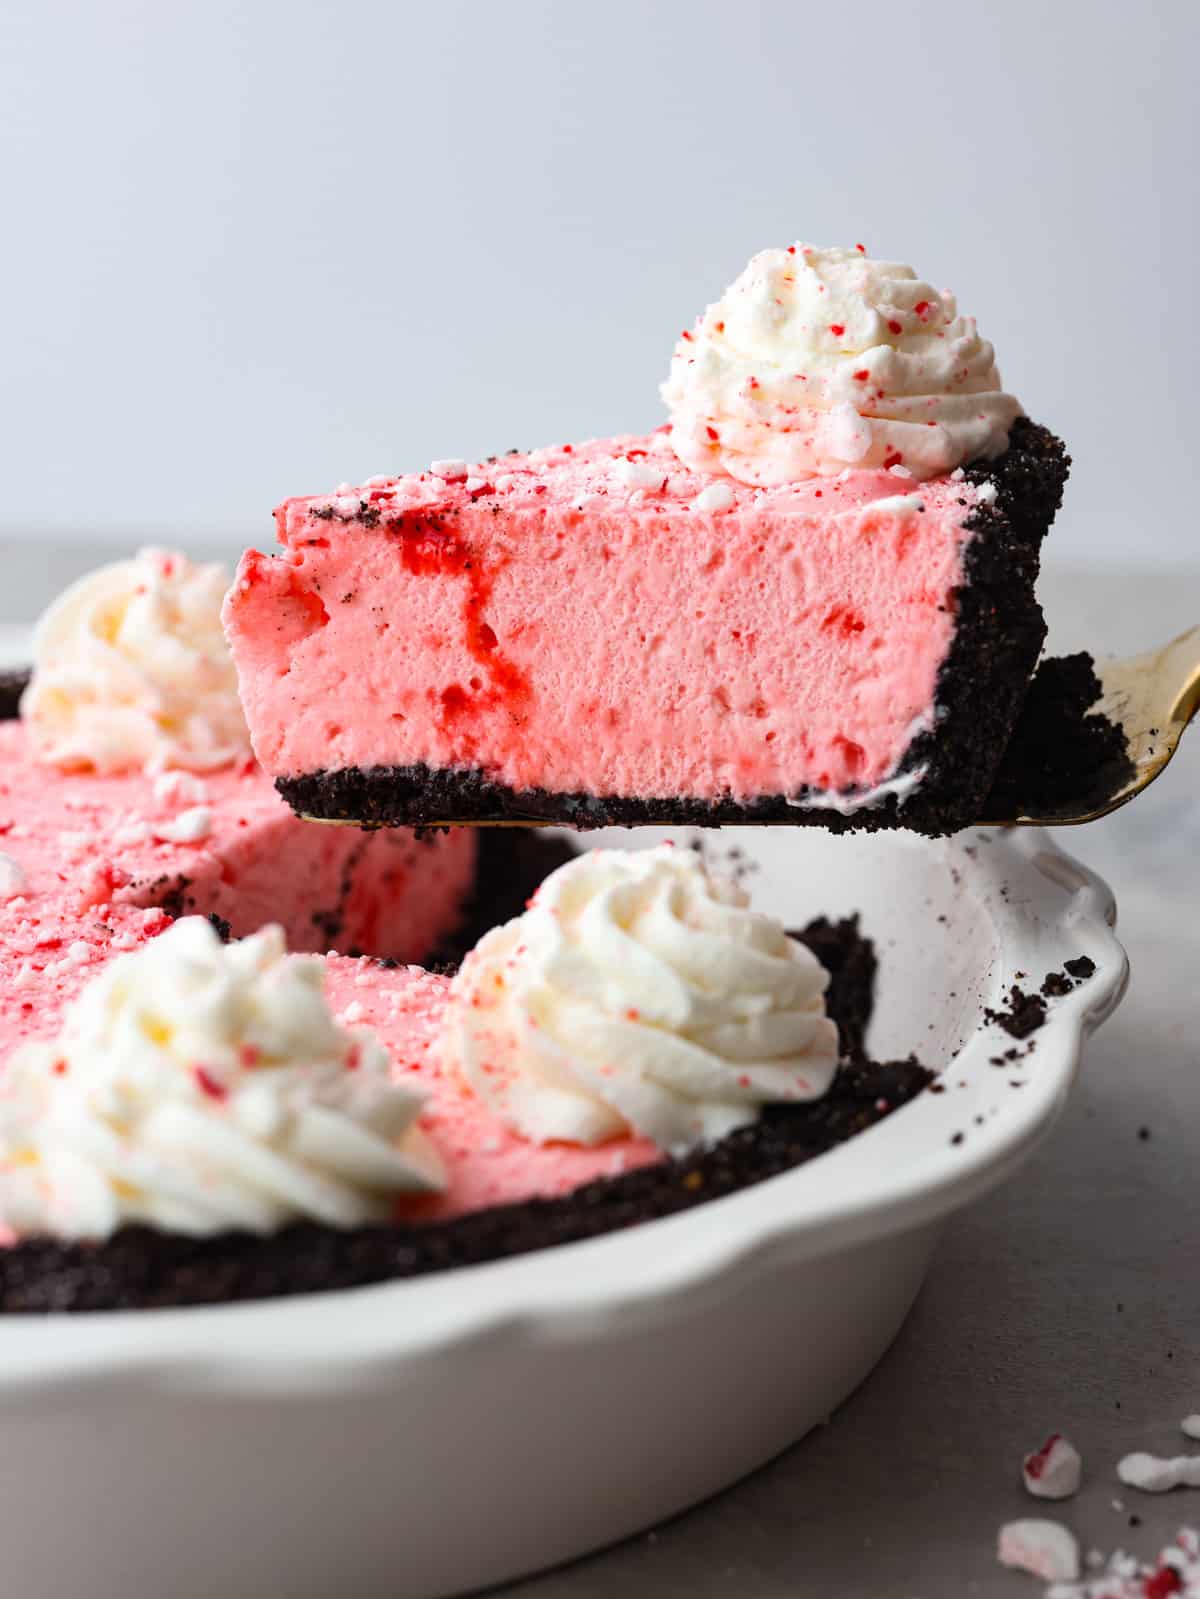
If you are looking for the perfect holiday dessert, then this is it! This peppermint pie with an oreo crust has all of the flavors that you want to serve your guests throughout the season. It’s creamy and delicious, and you won’t be able to stop at one slice!
I LOVE peppermint desserts. If you ask me, it’s the best food that comes out in the month of December! If you love it as much as I do then you have to try this Peppermint Cheesecake, these delicious and easy Triple Chocolate Peppermint Cookies and don’t forget about this Peppermint Bark!

Peppermint Pie Recipe
I love pie season, so Thanksgiving time is a favorite time of year in our household! However, if I can extend that season throughout Christmas as well…. Then I consider that a win! This peppermint pie (also called Candy Cane Pie) bridges that gap! It is insanely delicious. Filled with the creamiest candy cane filling that has just the right amount of peppermint flavor, you will have a new favorite dessert!
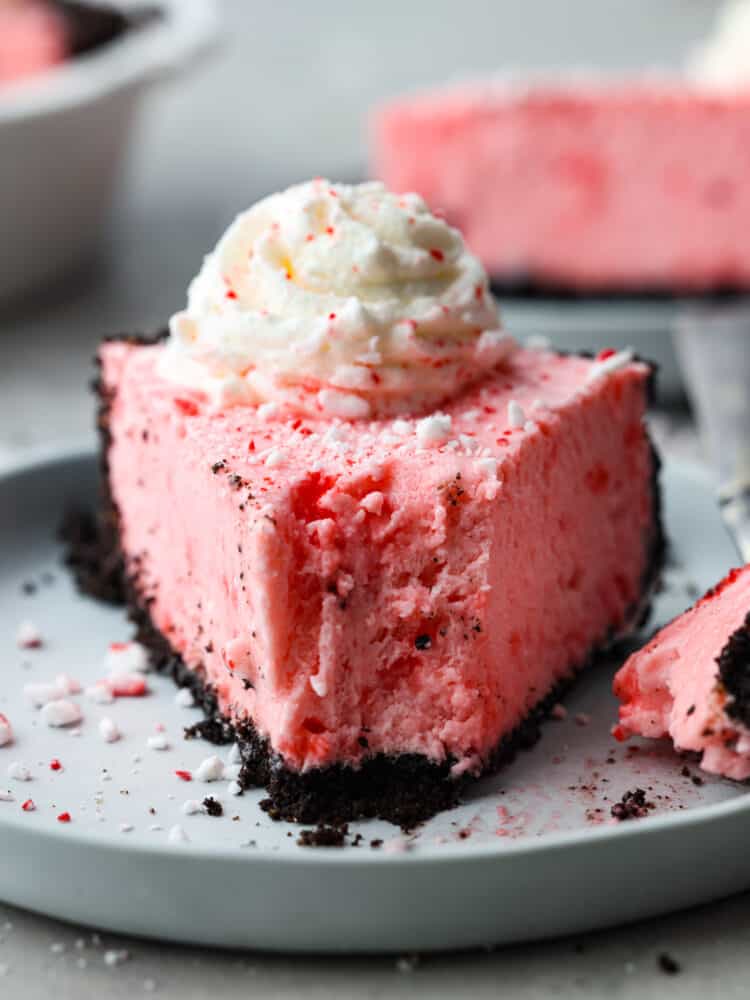
I love peppermint, but sometimes, if you aren’t careful, then the peppermint flavor can be a bit much. But not in this pie! It’s perfection and gives you all of that holiday spirit that you are looking for. The oreo crust balances it out and complements the flavor perfectly. This pie is great for any occasion during the holiday and it looks like a million bucks on your table. The color even fits the decor!
Ingredients in Peppermint Pie
This oreo crust peppermint pie has a lot of ingredients but doesn’t let that scare you! Once you see how easy it is to put this together, you will make this over and over again! Check out the recipe card at the bottom of the post for exact measurements.
Oreo Crust
- Oreo Cookies: Take the frosting out of the cookies, you on;y need the cookies for this recipe.
- Butter: I used salted butter to make this crust.
- Brown Sugar: This adds in a deep sweet flavor that goes well with the oreo cookies.
Candy Cane Filling
- Plain Gelatin: This helps the filling to set so that when you slice the cake, it doesn’t spill over.
- Water: You mix this in with the gelatin.
- Peppermint Extract: Use more or less of this depending on how strong you want your peppermint flavor to be.
- Vanilla Extract: I love adding a splash of vanilla flavor to this pie!
- Heavy Whipping Cream: This will give your pie filling that delicious and creamy texture.
- Crushed Peppermint Candy: You will use this in the filling and also in the topping.
Peppermint Pie Topping
- Heavy Whipping Cream: This is the base of the topping.
- Powdered Sugar: This sweetens up the whipping cream.
- Vanilla Extract: This adds some slight flavor to the topping.
- Crushed Peppermint: Adding crushed peppermint on the top really adds to this pie.
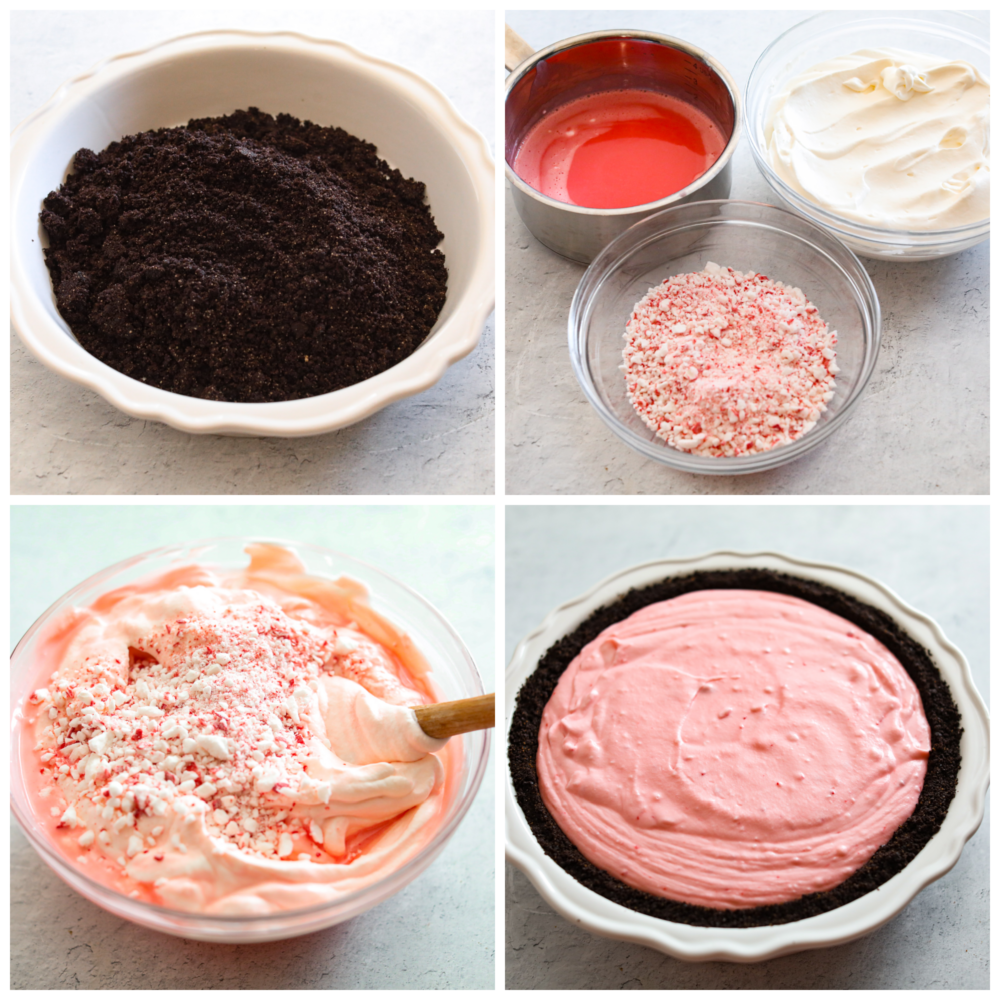
How Do You Make an Oreo Crust Peppermint Pie?
If you are new to making pies, then this one will be great for you! It has a no-fail oreo crust recipe and the filling is super simple to make! Follow my step by step instructions and you will soon be enjoying the best peppermint pie of the holiday season!
Oreo Crust
- Pulse: In a food processor fitted with the blade, pulse de-frosted Oreos until completely crumbled.
- Add Brown Sugar and Butter: Add in butter and brown sugar, pulse until everything is well mixed.
- Pour: Pour mixture into a 9” pie pan and press firmly around the bottom and sides until your mixture is well packed evenly around the pan.
- Bake: Bake at 350 degrees Fahrenheit for 10 minutes.
- Cool: Let cool completely before filling. You can chill it in the fridge to speed up the process.
Filling
- Soften Gelatin: Soften your gelatin by pouring it in a bowl with your cold water, let sit.
- Mix Peppermint with Cream: In a small saucepan, heat ½ cup of your heavy whipping cream and 1 cup of your crushed peppermint candy on medium low heat until the candy dissolves, stirring every few minutes. Remove from heat.
- Combine: Add your gelatin water, vanilla, and peppermint extract to the hot mixture and whisk to combine, set aside at room temperature to cool, but do not allow it to cool and set completely yet.
- Whip: Whip the remaining 1 ½ cups of heavy whipping cream until stiff peaks form
- Fold: Gently fold the peppermint mixture, and remaining ½ cup crushed peppermint candy into the whipped cream.
- Pour: Pour filling into your oreo crust and spread evenly.
- Chill: Allow to set completely for about 2 hours in the fridge before garnishing and serving.
Topping
- Beat: Beat your heavy whipping cream, powdered sugar, and vanilla together until stiff peaks form
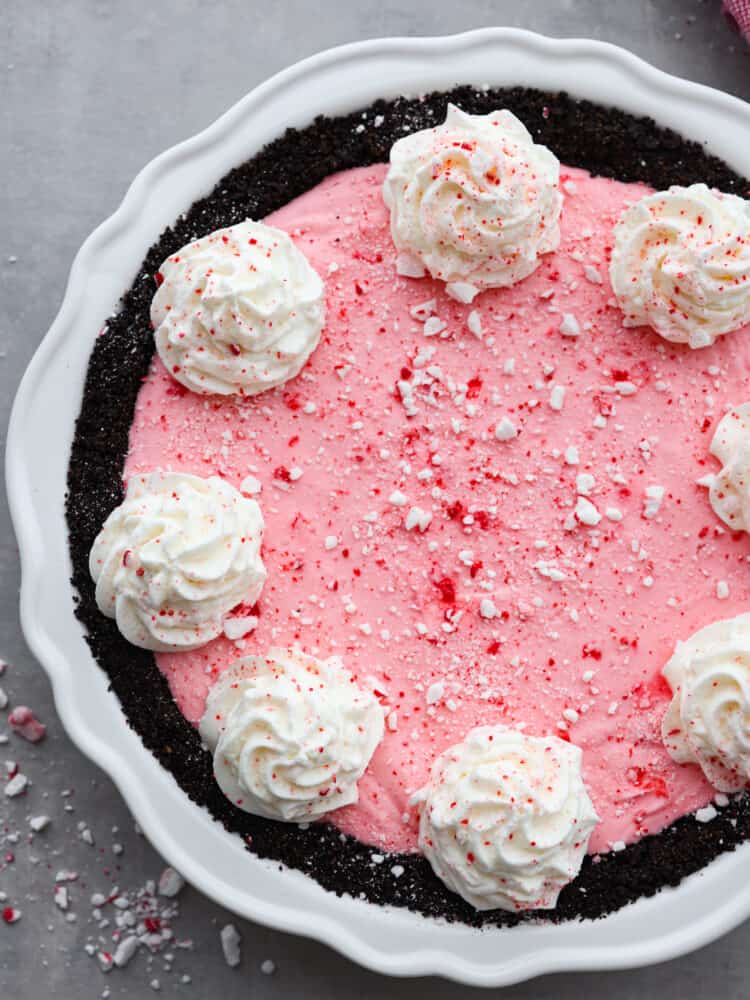
- Garnish: Garnish the top with your whipped cream and sprinkled crushed candy canes. I piped mine in simple swirls around the edge of my pie and additionally garnished with one whole candy on each swirl. You can get creative with this step, have some fun with it!
Is This a No-Bake Pie?
If you buy your crust pre-made, then yes! You don’t have to bake any part of this peppermint pie! I have included instructions on making an oreo crust in this recipe but feel free to swap it out for something pre-made to save some time!
Candy Cane Pie Recipe Tips
I have gathered a few baking tips to help your oreo crust peppermint pie turn out perfectly! It’s so delicious, your entire family will love it!
- Peppermint Flavor: Add or subtract the peppermint extract as you’d like, depending on how potent you want the peppermint to be
- Use a Pre-Made Crust: If you want to save a little time, using a pre-made oreo pie crust will work
- When Do I Garnish the Pie? You should garnish this peppermint pie just before serving so it will look it’s best and the crushed peppermint doesn’t get soggy.
- Decorate: You can take the festivities up a notch by decorating this with actual candy canes on top! I like to use the miniature ones and add one to each dollop of whipped cream! I also like adding on some white chocolate chips to the top as a garnish.

Can I Make This Ahead of Time?
Yes! You can definitely make this oreo crust peppermint pie ahead of time. In fact, because it needs to chill in the fridge anyways, making this the day before and letting it sit overnight is the best way to do it!
In the Fridge: Follow the instructions on the recipe card and when the pie is finished, before you garnish it, place it in an airtight container in your fridge. I like to use this to store my pies. Then, take it out and add the whipped cream and crushed peppermint to the top just before serving!
Oreo Crust
-
In a food processor fitted with the blade, pulse de-frosted Oreos until completely crumbled.
-
Add in butter and brown sugar, pulse until everything is well mixed.
-
Pour mixture into a 9” pie pan and press firmly around the bottom and sides until your mixture is well packed evenly around the pan.
-
Bake at 350℉ for 10 minutes.
-
Let cool completely before filling. You can chill it in the fridge to speed up the process.
Filling
-
Soften your gelatin by pouring it in a bowl with your cold water, let sit.
-
In a small saucepan, heat ½ cup of your heavy whipping cream and 1 cup of your crushed peppermint candy on medium low heat until the candy dissolves, stirring every few minutes. Remove from heat.
-
Add your gelatin water, vanilla, and peppermint extract to the hot mixture and whisk to combine, set aside at room temperature to cool, but do not allow it to cool and set completely yet.
-
Whip the remaining 1 ½ cups of heavy whipping cream until stiff peaks form
-
Gently fold the peppermint mixture, and remaining ½ cup crushed peppermint candy into the whipped cream.
-
Pour filling into your oreo crust and spread evenly.
-
Allow to set completely before garnishing and serving. About 2 hours in the fridge.
Topping
-
Beat your heavy whipping cream, powdered sugar, and vanilla together until stiff peaks form
-
Garnish the top with your whipped cream and sprinkled crushed candy. I piped mine in simple swirls around the edge of my pie and additionally garnished with one whole candy on each swirl. You can get creative with this step, have some fun with it!
Add or subtract the peppermint extract as you’d like, depending on how potent you want the peppermint to be
If you want to save a little time, using a pre-made oreo crust will work
This pie can be made the night before serving, in fact it’s probably better to let it sit overnight.
Garnish just before serving so it will look it’s best.
Serves: 8
Calories739kcal (37%)Carbohydrates72g (24%)Protein5g (10%)Fat48g (74%)Saturated Fat28g (140%)Polyunsaturated Fat3gMonounsaturated Fat14gTrans Fat0.4gCholesterol123mg (41%)Sodium249mg (10%)Potassium188mg (5%)Fiber1g (4%)Sugar51g (57%)Vitamin A1575IU (32%)Vitamin C1mg (1%)Calcium73mg (7%)Iron5mg (28%)
All nutritional information is based on third party calculations and is only an estimate. Each recipe and nutritional value will vary depending on the brands you use, measuring methods and portion sizes per household.
